I guess I can safely say that this is my most favorite DIY so far! I have always loved tattoos especially the girly ones, and I do have a few (small ones). But it is still a very big step to get a (new) tattoo. So how excited was I, when I discovered that you can design and print your own temporary temporary tattoo!
You can just change your look in minutes, and go back to your old self the next day!
I have been brainstorming so much on what I would like to have as a temporary tattoo, to show you how great this technique is. And I decided on using my most favorite inspirational archive: the Rijksmuseum website. I already used this source for my shoe restyle DIY a few months back, and I felt it would be perfect for this project as well. the Rijksmuseum is a museum in Amsterdam that also lets you explore their archives online and you can download the high ress images for free!
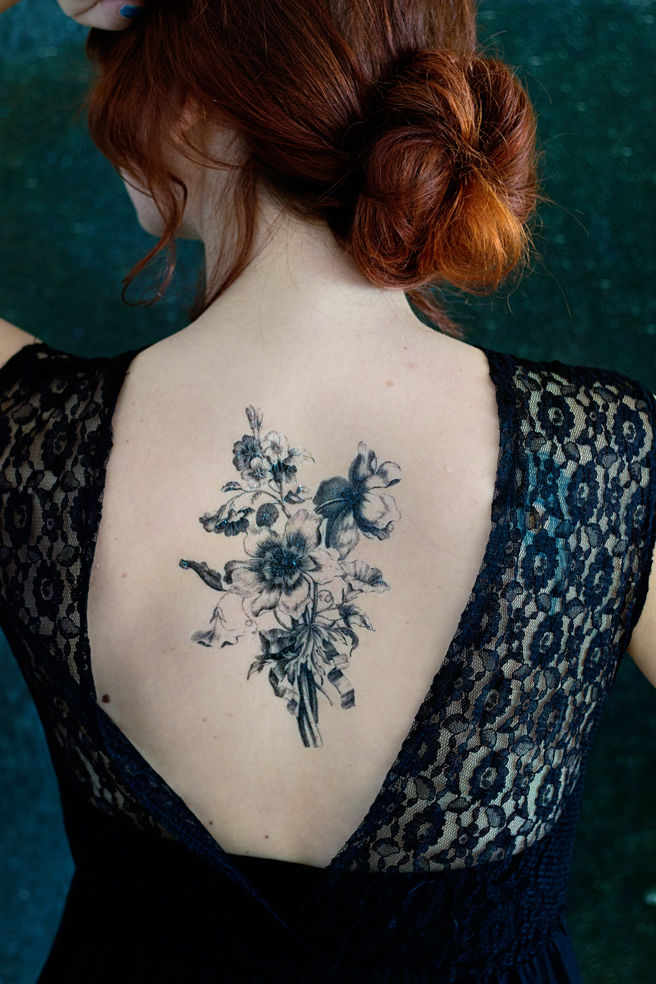
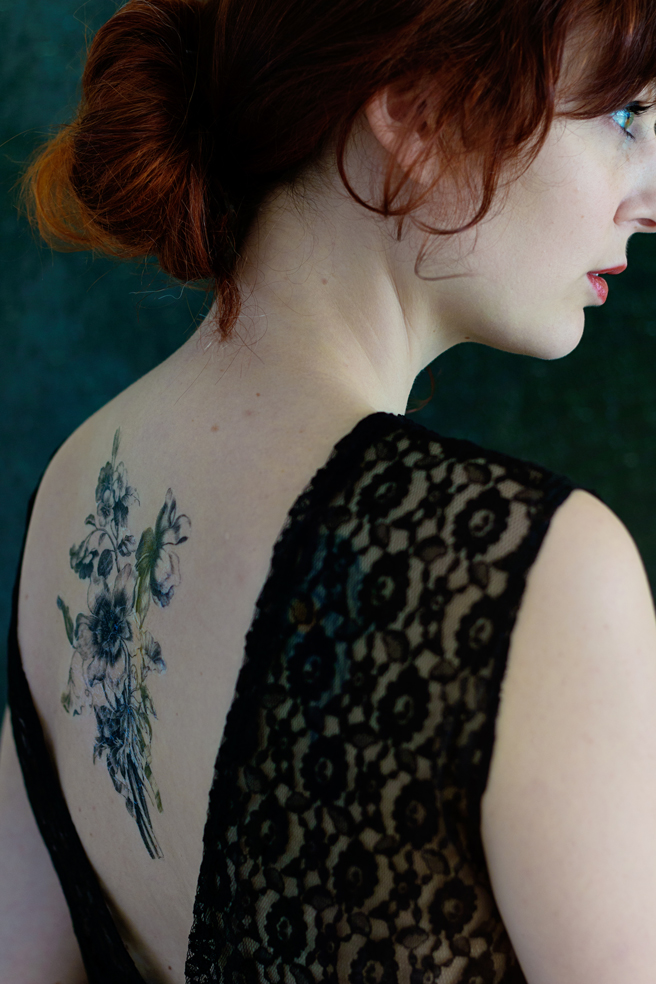
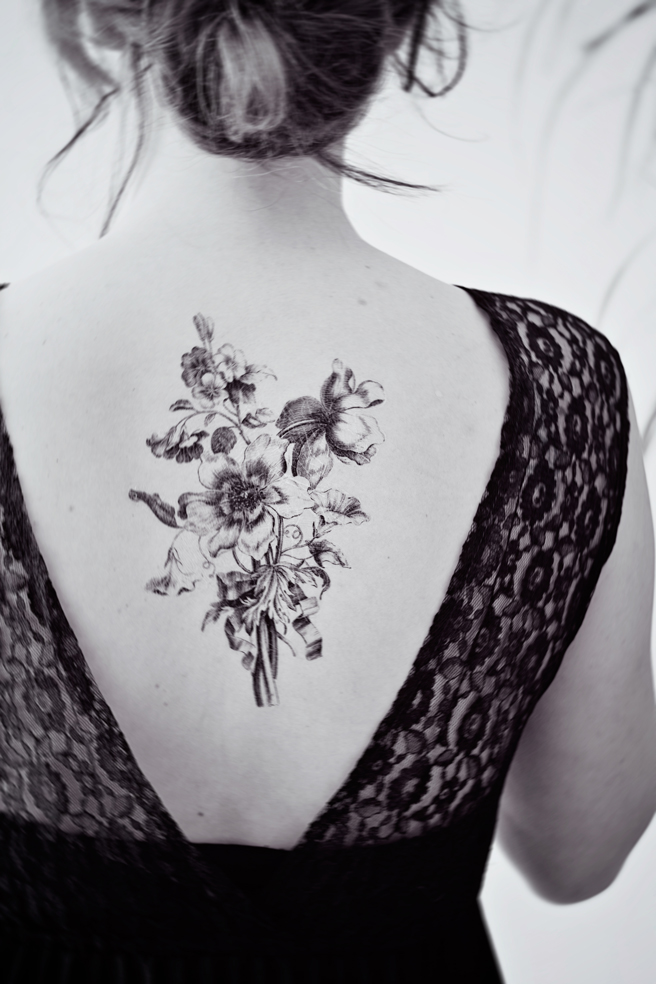
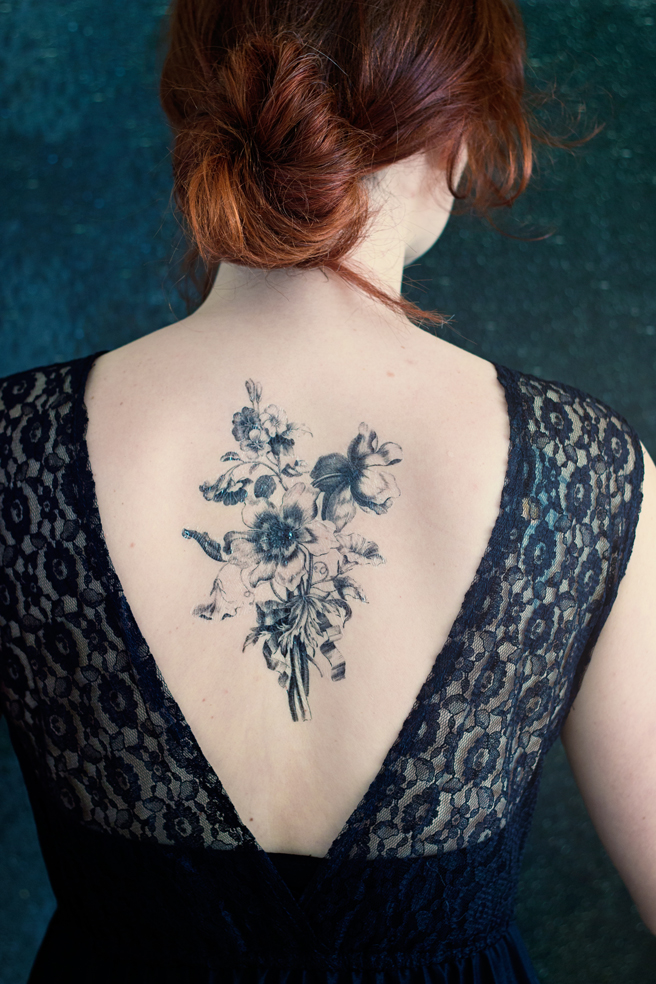
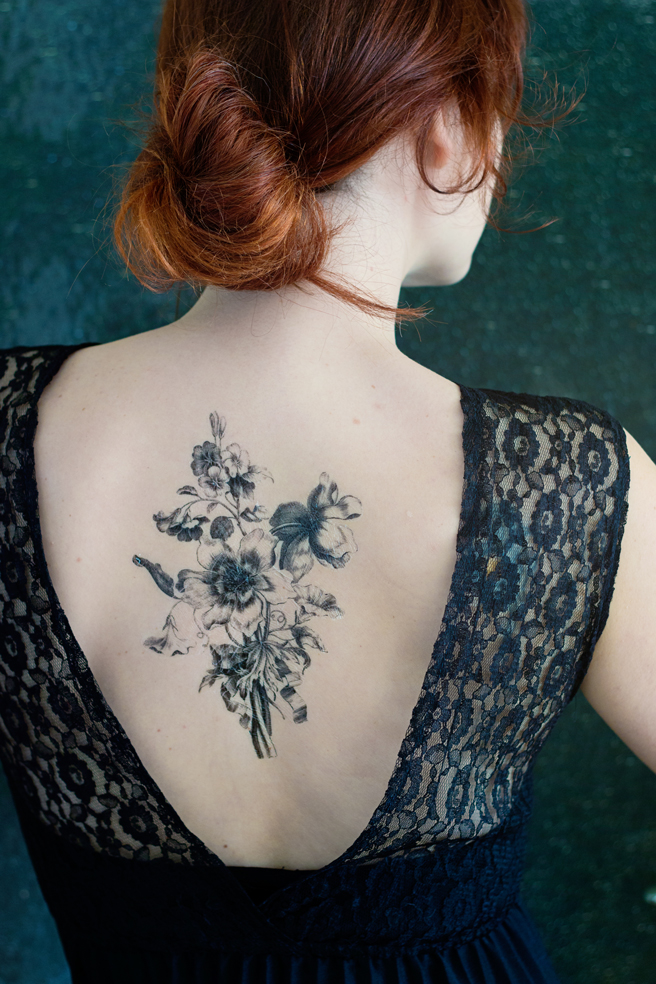
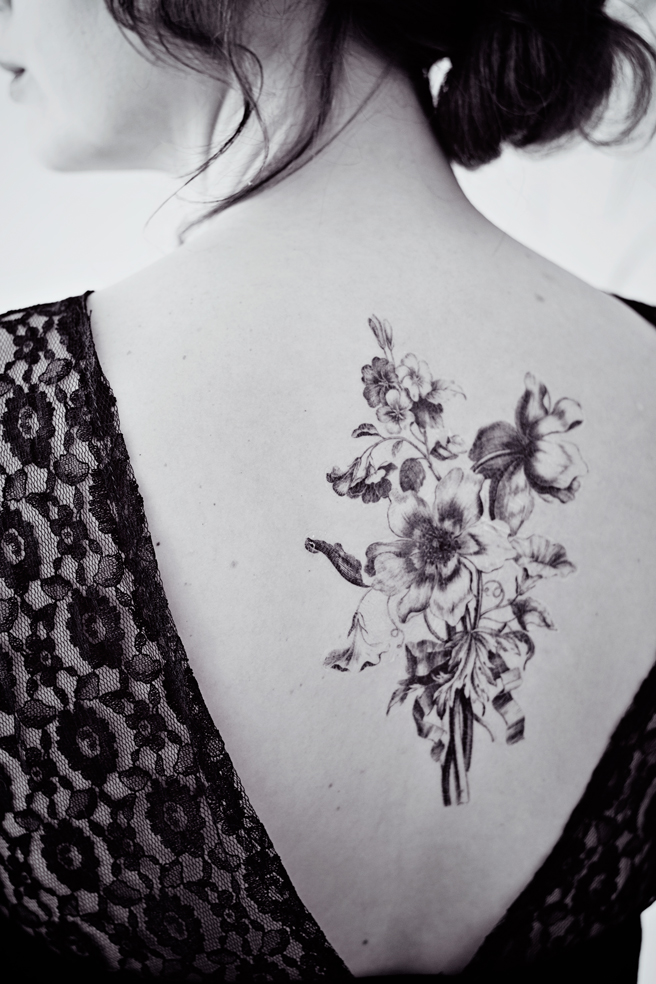
I went for a beautiful bouquet that I applied on my back. What kind of temporary tattoo would you choose and where would you wear it? Let me know!
How to make your own temporary tattoo:
Supplies:
Tattoo Transfer Paper Pack (I bought mine at paperspecials) | Laser printer | Scissors
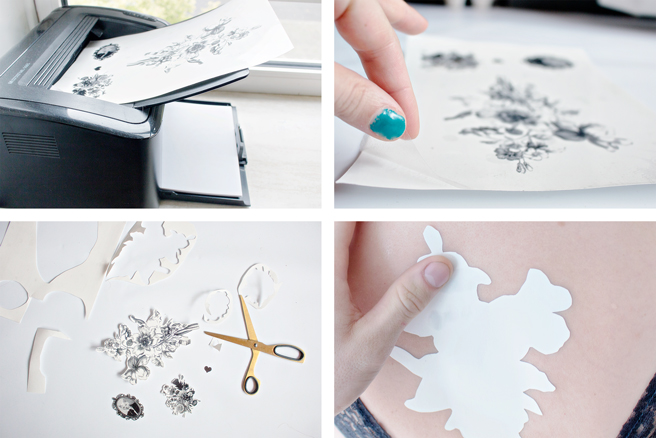
1. Decide your tattoo art and print it according to the instructions.
2. Apply the sticky transparent sheet over the printed images according to the paper instructions. If you still have some airbubbles between the sheets, use your finger or a small plastic card to rub them away.
3. Cut the shapes out of the paper.
4. Remove the top sticky part and apply the tattoo onto your body. Apply some water on the white surface until the hole surface is damp. Remove the white sheet.
** My experience is that the temporary tattoo will stay on for quite a while, I showered with it (not rubbing on it) and it stayed on very well for about 5 days
All done!

17 comments
wow, it looks sooo beautiful on you!
Dat is super gaaf zeg. I lOVE IT!
But the printer ink doesn’t risk creating any skin reaction?
Hey, I was just looking and wondered if it mattered which image you use because I couldn’t find the right website page?
If i just printed an image from say Google then that would work?
Thank you :)
Hi Chloe! You can use any image that you find on google. I just referred to the museum website, because I love their collection and it’s rights free. So that made it possible to use it for the blog:)
Hey, Lana. This is really interesting. Do we need specific kind of printer?or specific tint? to make this temporary tattoo?
Thank you.
Hi Erika!
You can actually get the tattoo transferpaper for inkjet- as well as laser printers. I have a black and white laser printer at home and used that one for this tutorial. I bought the paper at a Dutch website: http://www.paperspecials.nl which also ships internationally.(you can click on top of the website for the English version)
Good luck with your tattoo! And please let me know if you have more questions! xx Lana
Wow, this is gorgeous ! I so want to try it ! And i put it in my DIY selection :
http://dododo.fr/selec-diy-look-festival/
Hope you like it ;)
Thank you for featuring me!!xx Lana
Hee Lana
Wat toevallig dat ik je DIY nu tegenkom. Net nu ik het nodig heb. Ik wil van mijn tekeningen tattoos maken en transferpapier lijkt me de ideale oplossing aangezien opnieuw tekenen heel veel tijd kost! Ik scan mijn tekeningen dan in om ze vervolgens te printen (ik heb inkt).
Mijn vraag is nu wat voor papier ik hiervoor het best kan gebruiken en hoe dit precies heet op de site.
Je zou me er ontzettend mee helpen ! Thanks :)
Hi Jaimy,
Wat leuk dat je je eigen tekeningen wilt omtoveren tot tattoos!
Ik heb mijn tattoo papier bij paperspecials.nl gekocht. Op hun website kun je bovenin kiezen tussen inktjet media of laser media, dit is dus afhankelijk van het soort printer dat je hebt. Vervolgens kies je voor ‘tattoo papier’. Let erop dat je ook dubbelzijdig zelfklevend folie erbij besteld!
Veel succes!x Lana
Hoi Lana, wat een gaaf idee! Hihi, plakplaatjes zijn op deze manier niet langer meer voor kiddo’s ;)
Ik ga eens op jacht naar van dat papier. Want ik wil eigenlijk geen tattoo maar ik vind het wel leuk. Dus dan is dit een leuke oplossing. Dankewanke X
Hi Mijntje! Bedankt voor je reactie! En leuk dat je de plaktattoo wil uitproberen. Het is zeker speelgoed dat niet niet alleen voor kiddo’s leuk is;) Mocht je nog vragen over de tutorial hebben dan weet je mij te vinden. xx Lana
Hey so that link you posted to get the tattoo paper is not in english but thai. Theres not option to translate. I dont think anyone who cant read this language would feel comfortable buying something. When I see that typically its a scam. I think your website would improve by using links to buy option in a more popular language. Thanks.
Hi! Thank you for your comment. The website that I linked to is http://www.paperspecials.nl it’s a Dutch website. At the top of the website you can choose either the Dutch or English language by clicking on one of the flags underneath the word ‘language’ next to the header logo. I have ordered from this company many times. But in case you would like to use a different store you can google: ‘temporary tattoo transfer paper’ and a lot of options will show. Best, Lana
I used to be seeking this particular information for a very lengthy time.Thank you and good luck.we provide.Creating Memories, One Tattoo at a Time.Biomechanical tattoo
Hello, I was wondering if it made a difference which image you used because I was having trouble finding the correct page on the website. The products I purchased from https://wannabeink.com/ were only excellent for roughly a month.