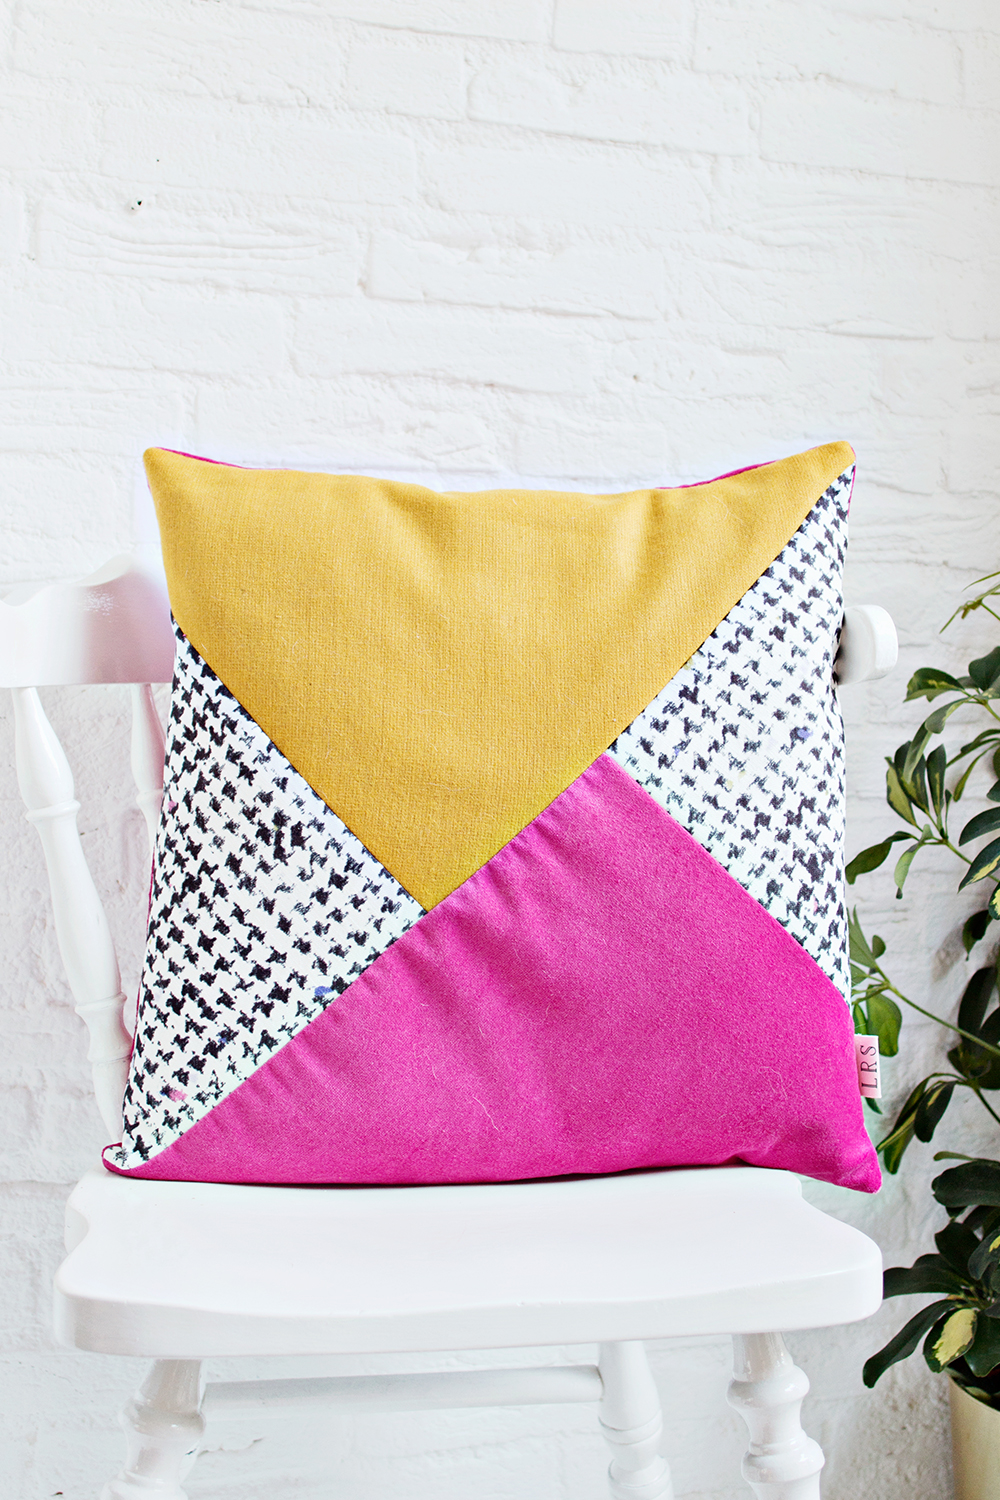
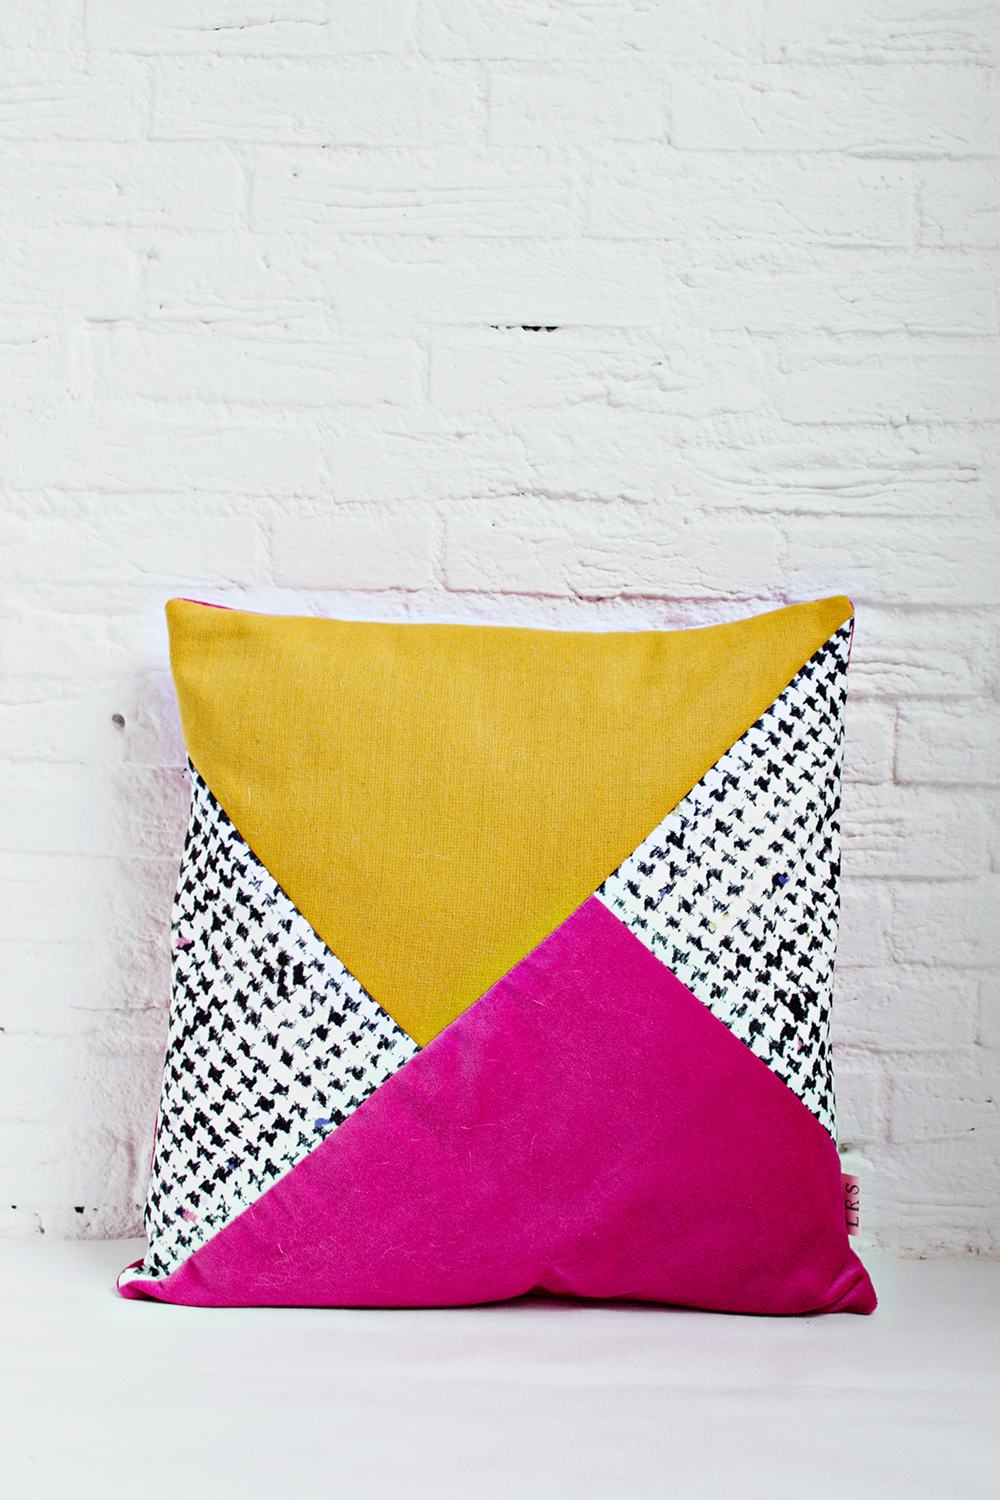
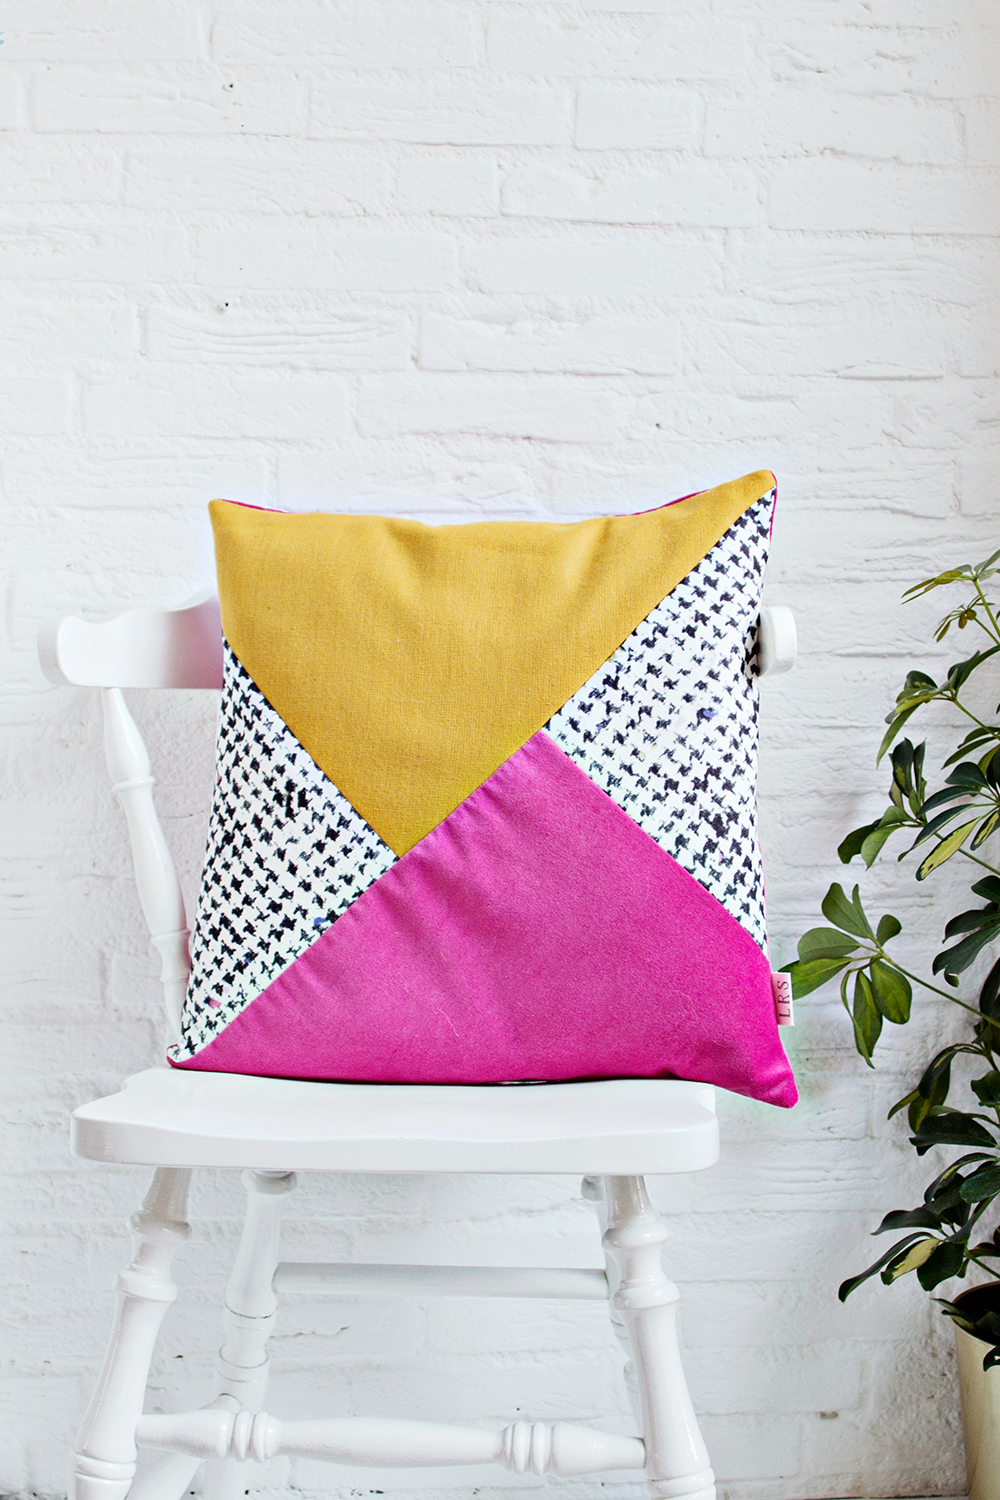
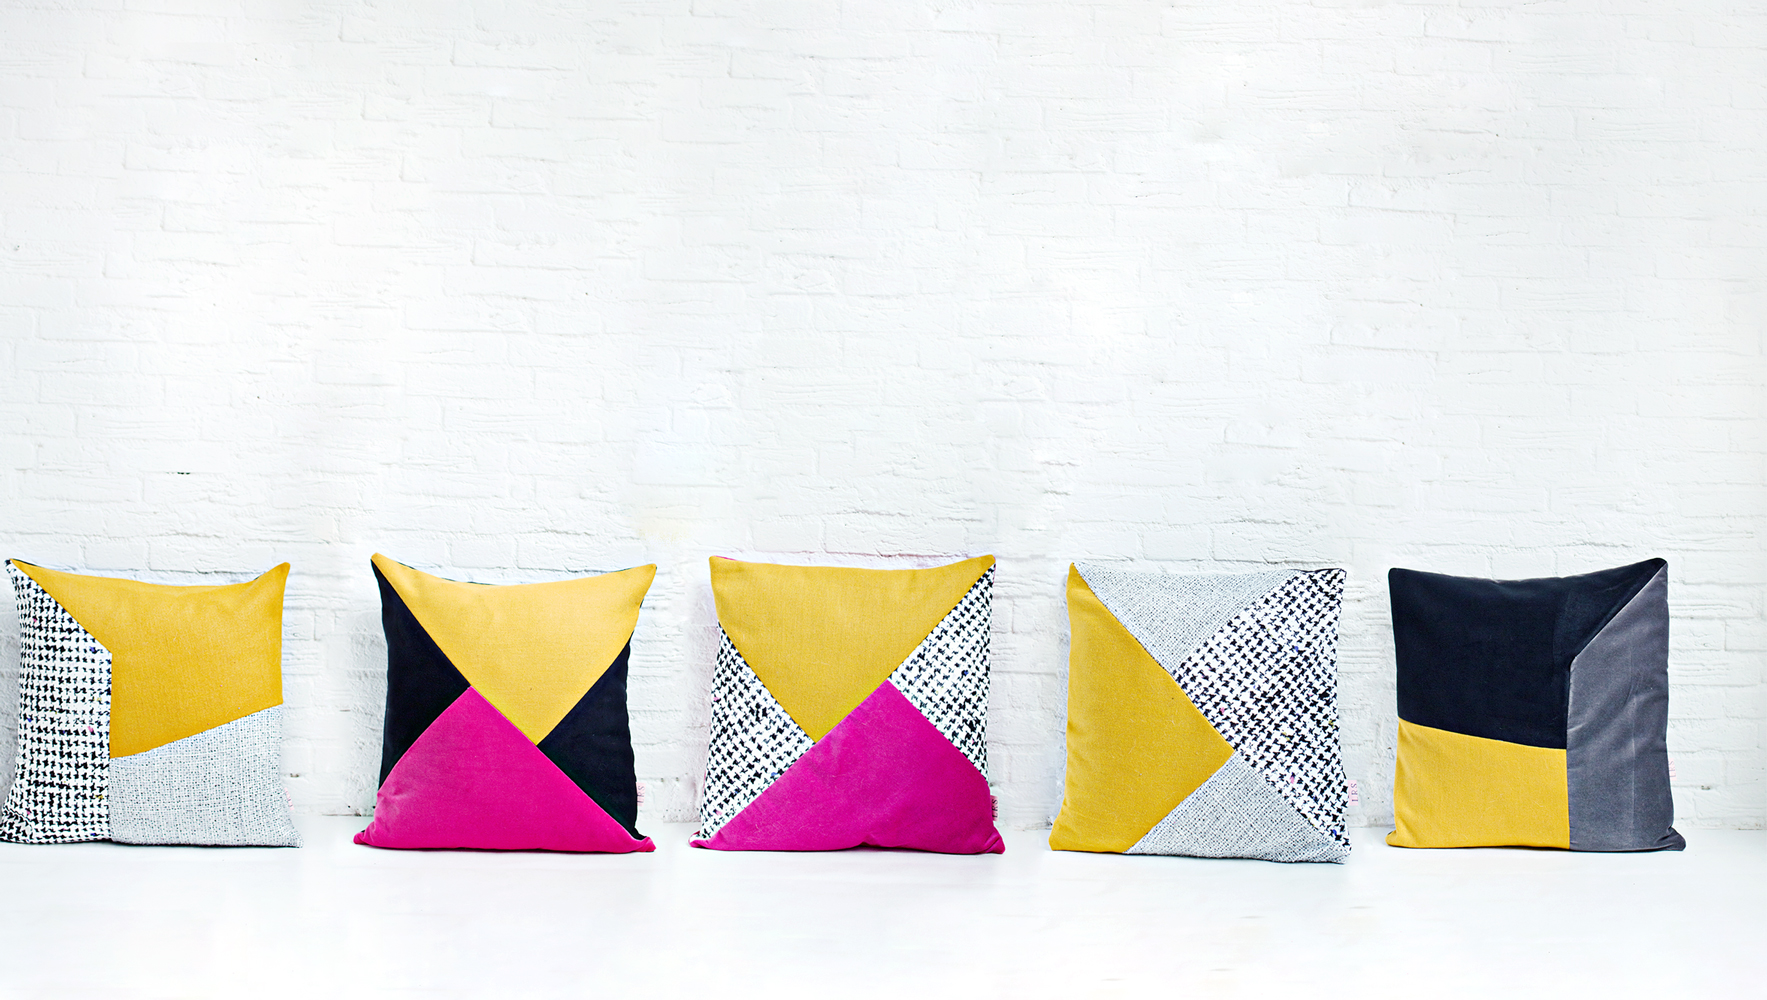
Fabric scraps, discount fabric coupons or simply that old dress that doesn’t fit anymore, I just love to use one-of-a-kind materials that would normally go to waste and turn them into a handmade statement piece like this cushion cover project!
Today I will be showing you in a very detailed step by step how to make your own geometric patchwork cushion cover.
As you might know, I try to make DIY projects that are adjustable to everyones taste. I mean you can copy away if you like ;) But how amazing would it be if we all followed the same step-by-step tutorial and had completely different end-results! Well, I believe that this is one of those projects.
Because not only can you go for your favourite colours and materials, even the patchwork shapes are adjustable! And you can make the pillow cover of your dreams and still have enough material left over for a new project like these patchwork zipper pouches.
DIY | Color Block Print Cushion Cover
This project is a part of the LRS DIY it / BUY it collection.
Make it yourself, or buy it today!
SUPLIES
– Different types of fabric
– Zipper
– Sewing Machine (and serger)
– Pins
– Measuring Tape
– Drawing Chalk
– Big piece of paper
– Pencil
– Scissors
– Pillow Insert
STEP 1
– Cut a large piece of paper in the size of your choosing for your cushion cover. The cover that I made is 50cm x 50xm
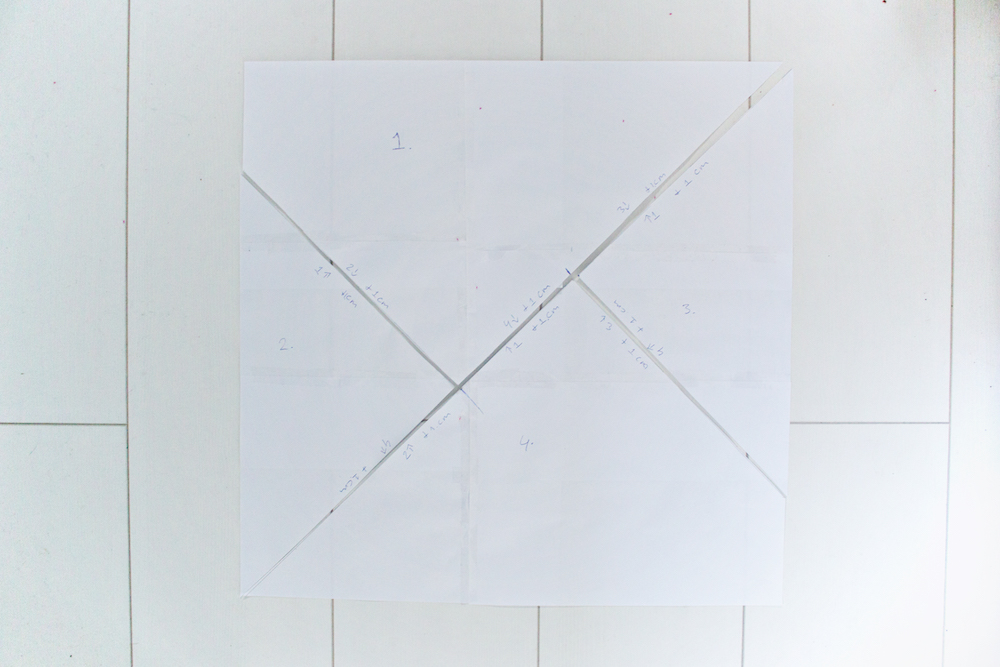
– Take your pencil and divide the piece of paper into as many pieces as you want, by drawing straight lines. Each piece will represent a part of the patchwork pattern. (if you wish to use my pattern shoot me an email and I will send it to you)
STEP 2
– After your have divided the paper into multiple pieces, cut the paper by following the drawn lines, but make sure to keep them all in place!
– Once you have cut all of the pieces, assign a number to each of them to keep track later on.
– Write the number of the pieces that are side by side along the edges, this way we won’t loose track later on and avoid cutting a piece of fabric in the wrong size.
STEP 3
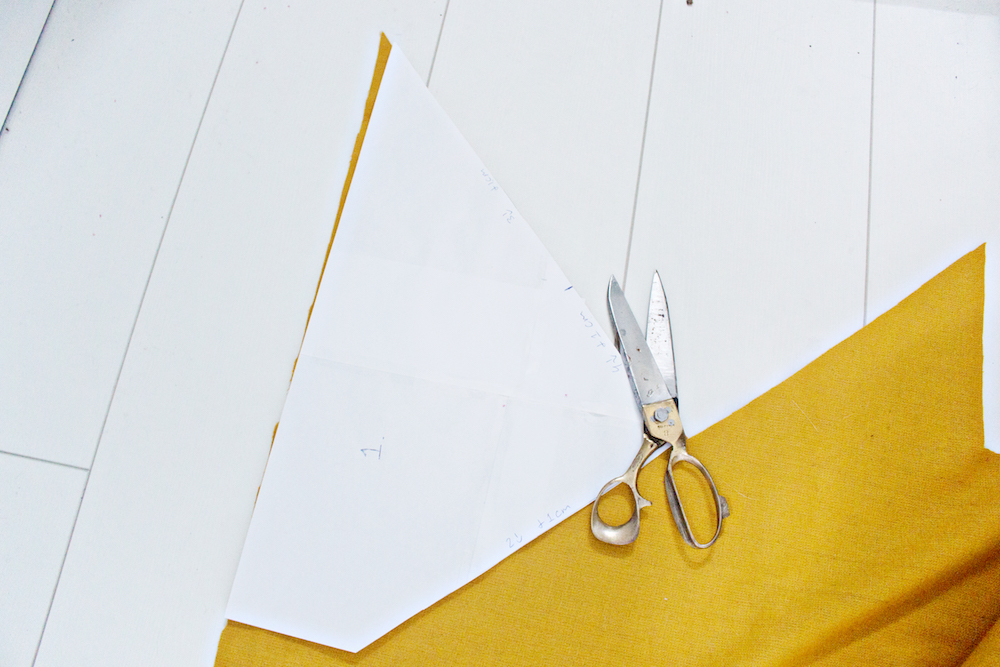
– Place each pattern piece of the fabric of your choosing with the right sides up.
– Add 1cm all around with fabric chalk (or something similar) and cut the fabric.
STEP 4
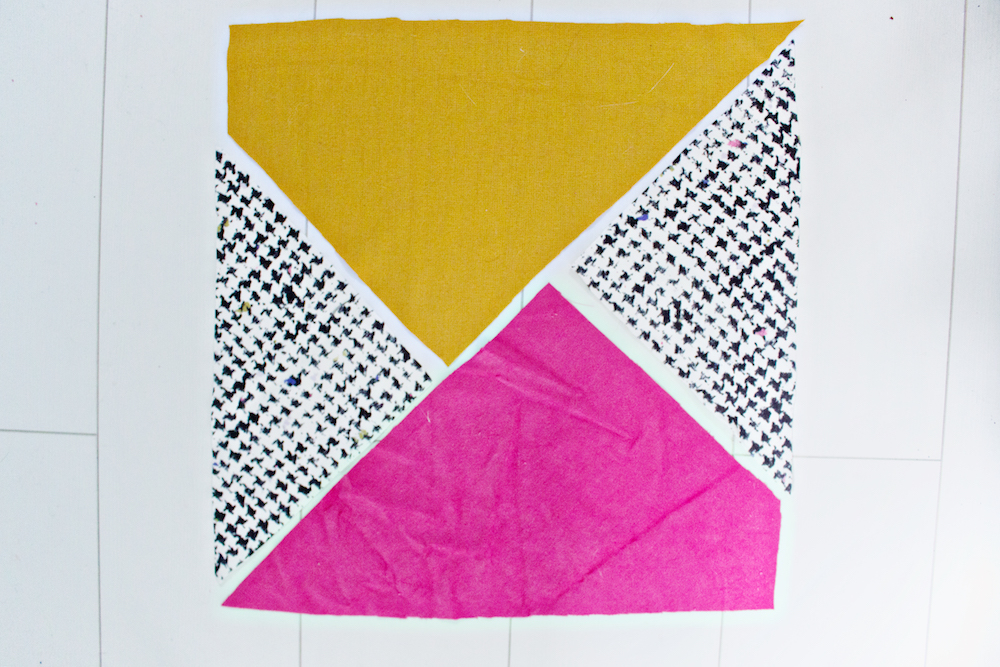
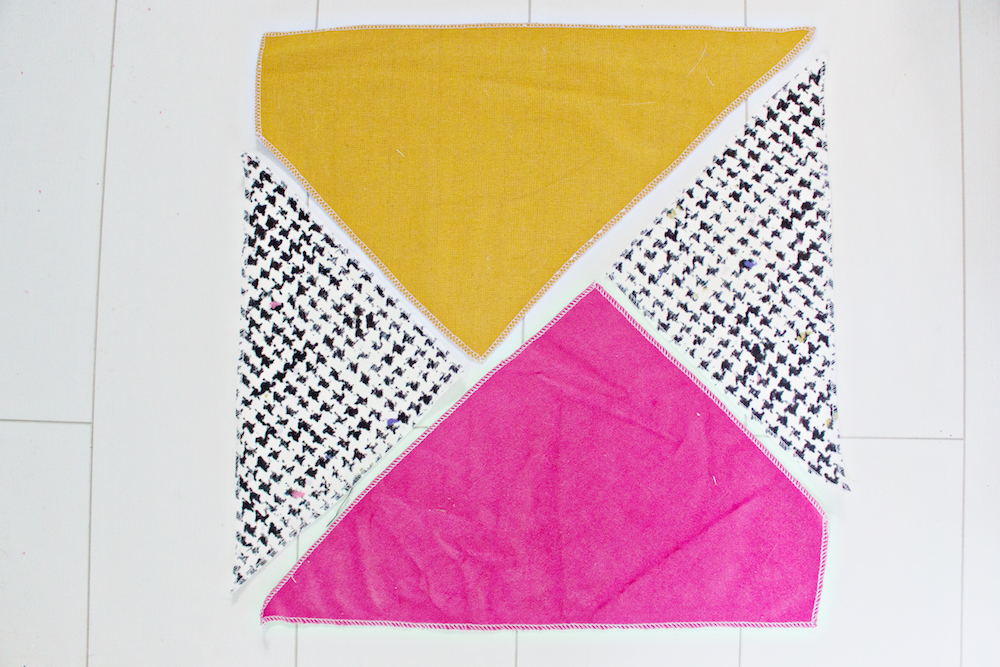
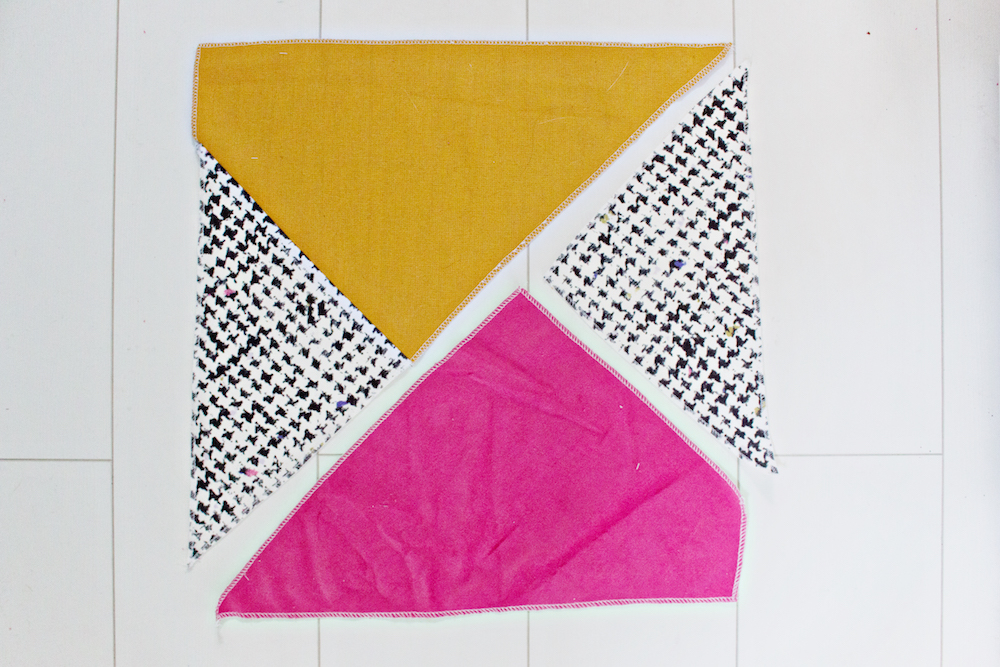
– You will now have the patchwork pattern pieces ready!
STEP 5
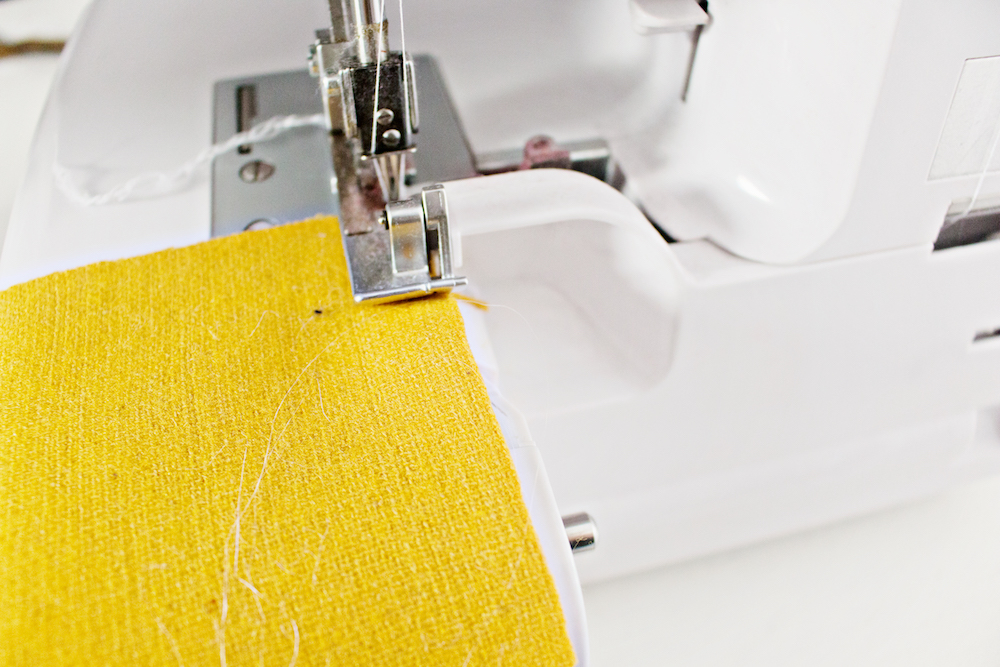
– Use a serger or zigzag stitch and follow all of the pattern piece edges.
STEP 6
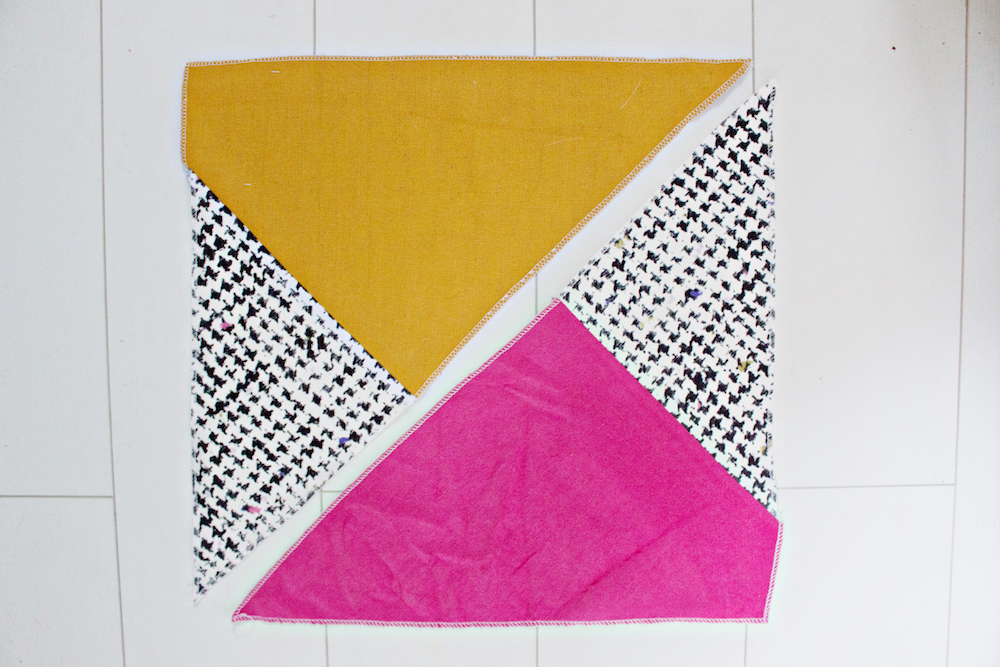
– Once you have serged or zigzagged all of the edges, place the pattern pieces in their original pattern to keep track of what you are doing.*
*This may seem a bit excessive, but if you are making an elaborate patchwork pattern with a lot of pieces, trust me it will make sense!;)
STEP 7
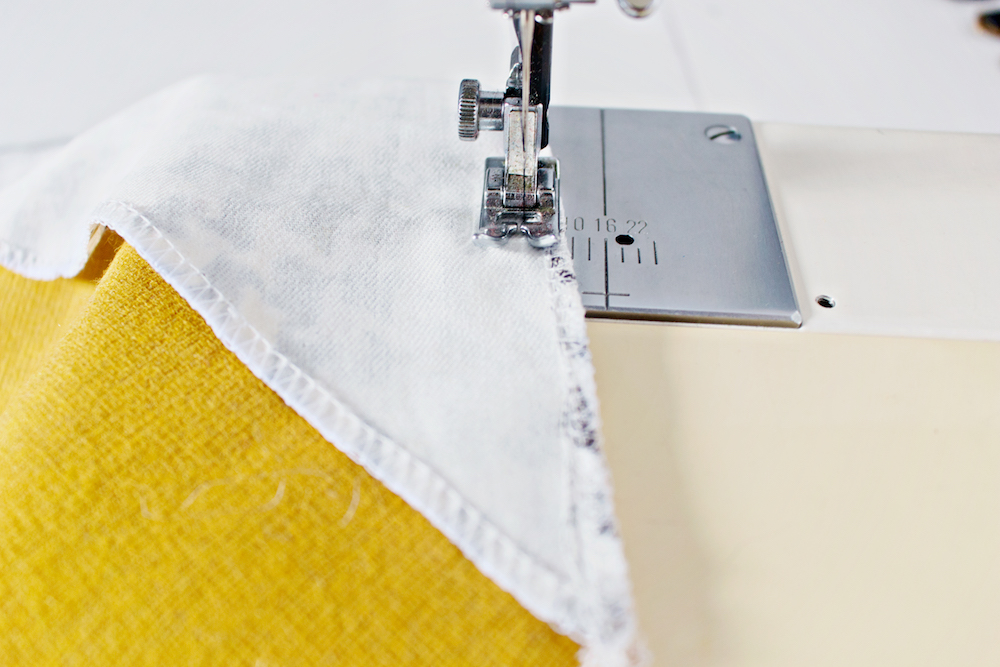
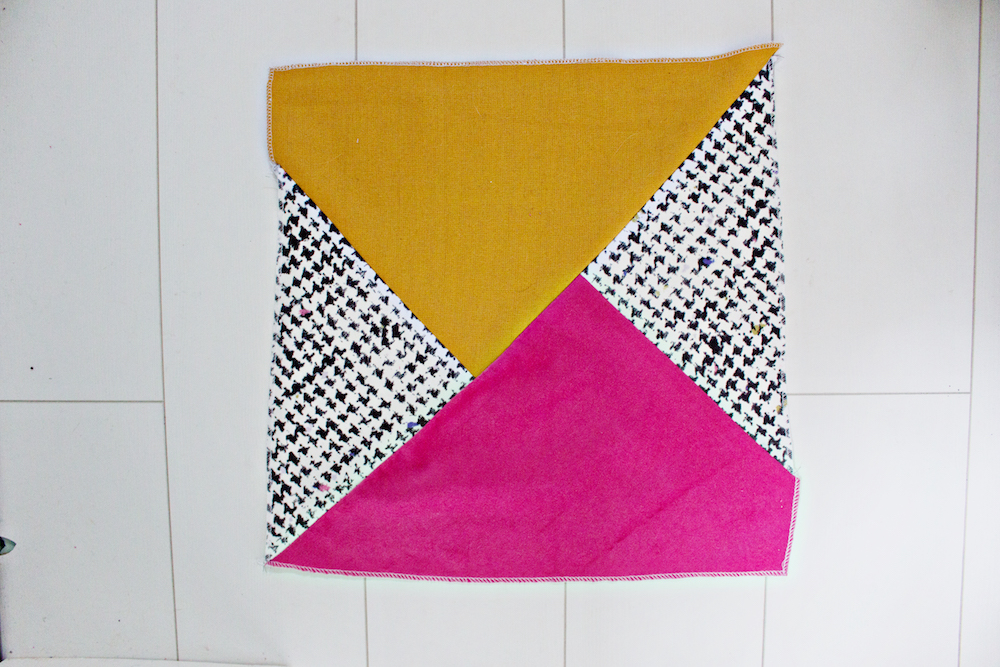
– Start attaching the pattern pieces. Pick two of them and use your sewing machine to sew them together.
STEP 8
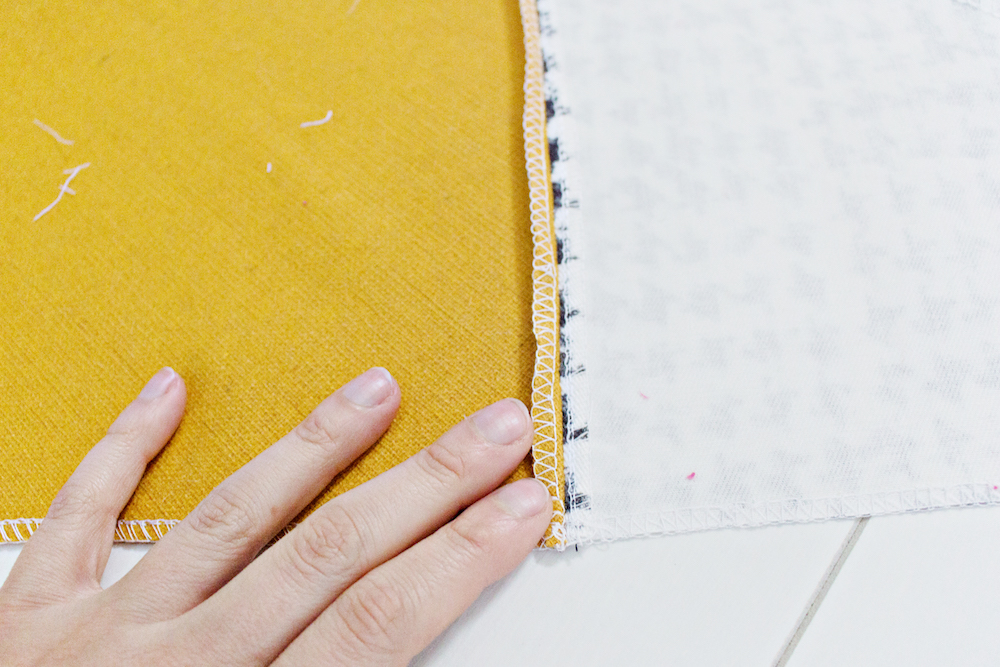
– Once you have sewn the two pieces together, use your iron and flatten the seam. This will be important before attaching the next pieces.
STEP 9
– Place the pieces back in their place and decide in which order to sew the next pieces.
STEP 10
– Repeat sewing and ironing the pieces together.
STEP 11
– Once you have sewed all of the pieces together, carefully iron the top of the seams flat.
STEP 12
Creating the back
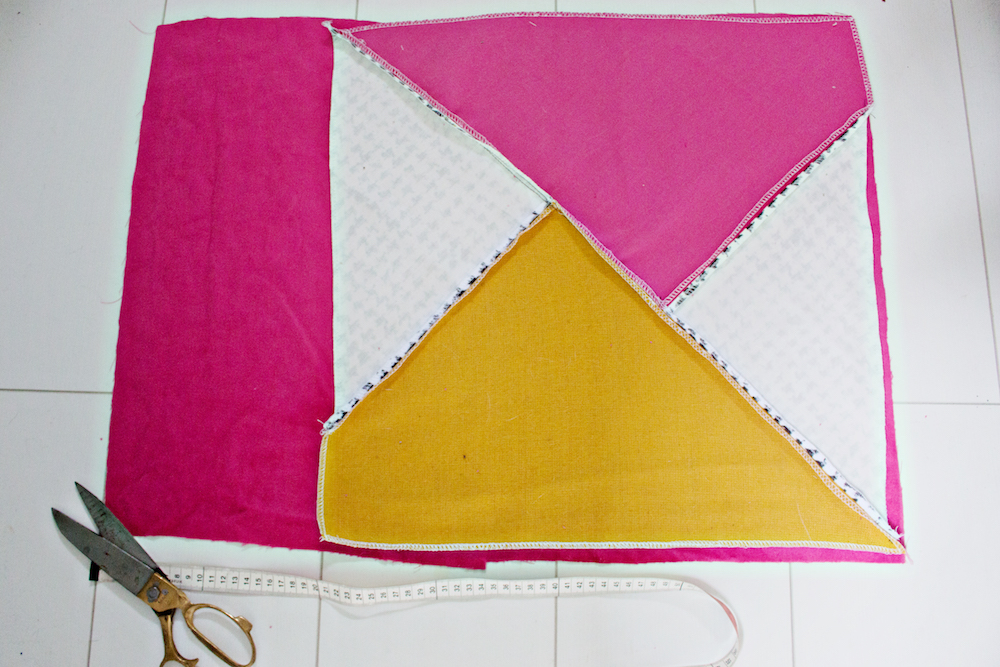
– Place the front of the cover face down on a piece of fabric.
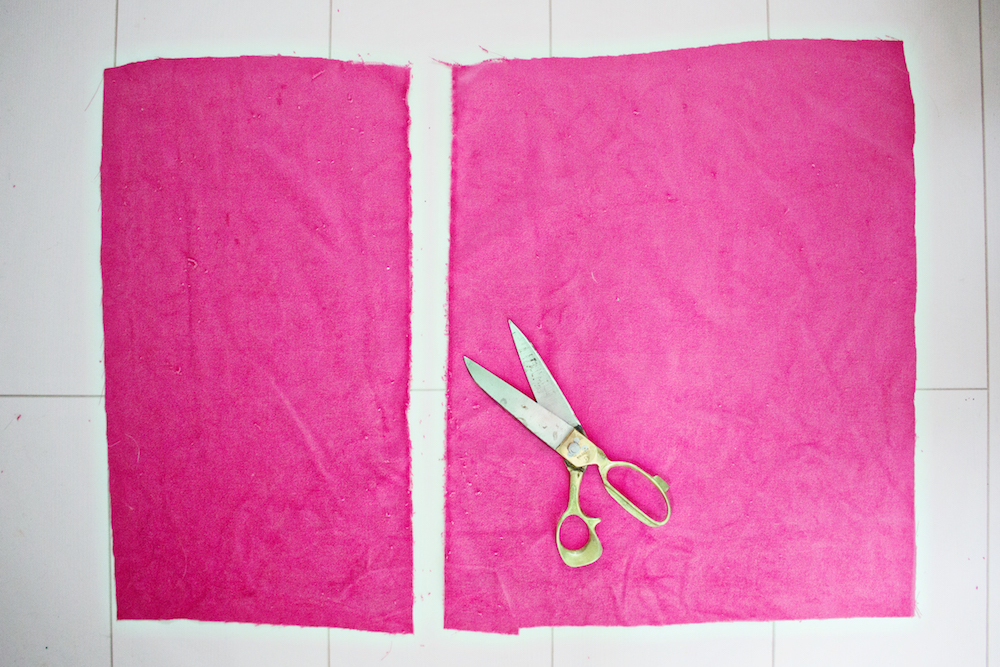
– Cut around the shape of the cover and add an addition 20cm to the top.
STEP 13
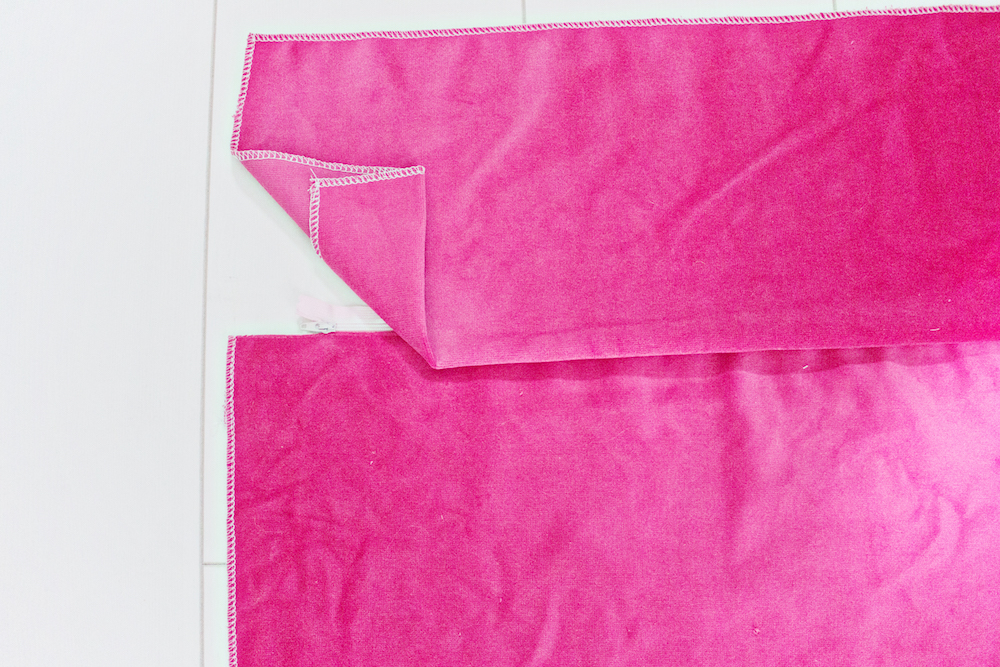
– Take the back piece and cut a straight line approx. 4ocm from the top of the fabric.
STEP 14
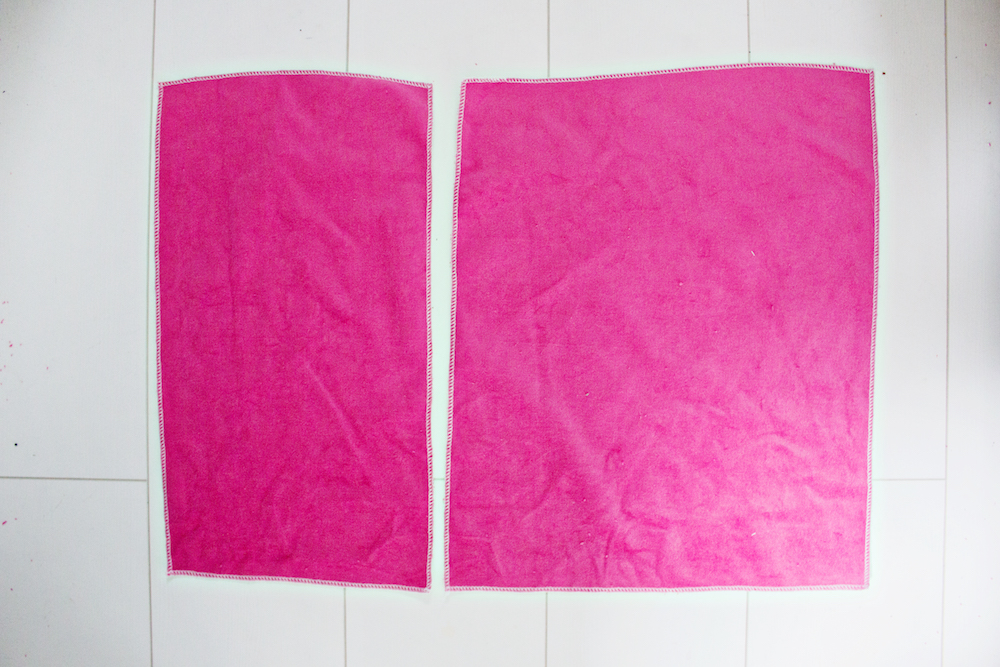
– Finish the edges with a serger or zigzag stitch.
STEP 15
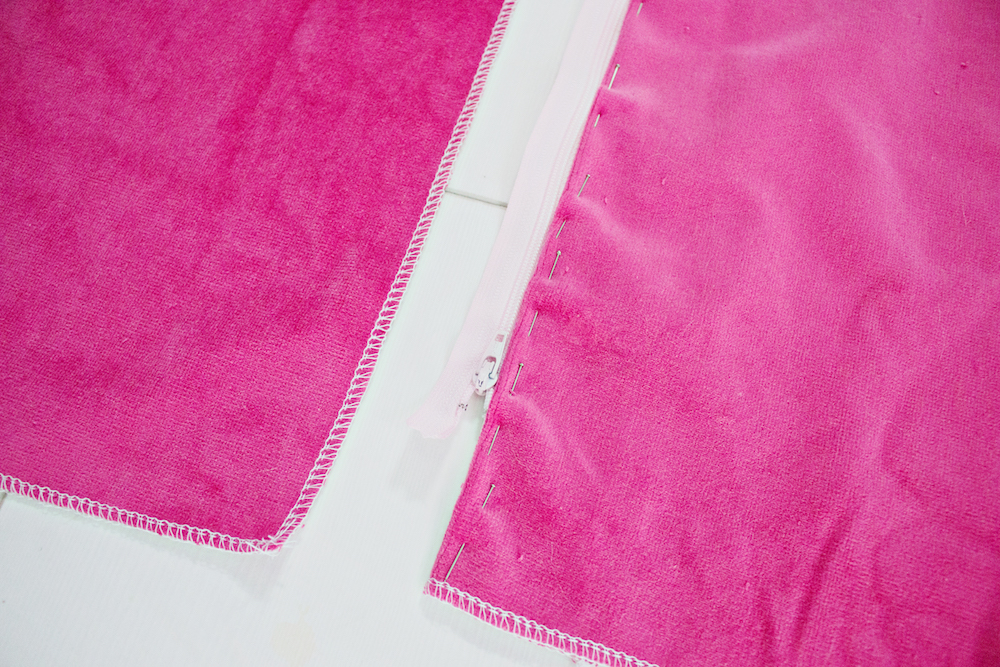
– Fold the top of the biggest back piece towards the inside.
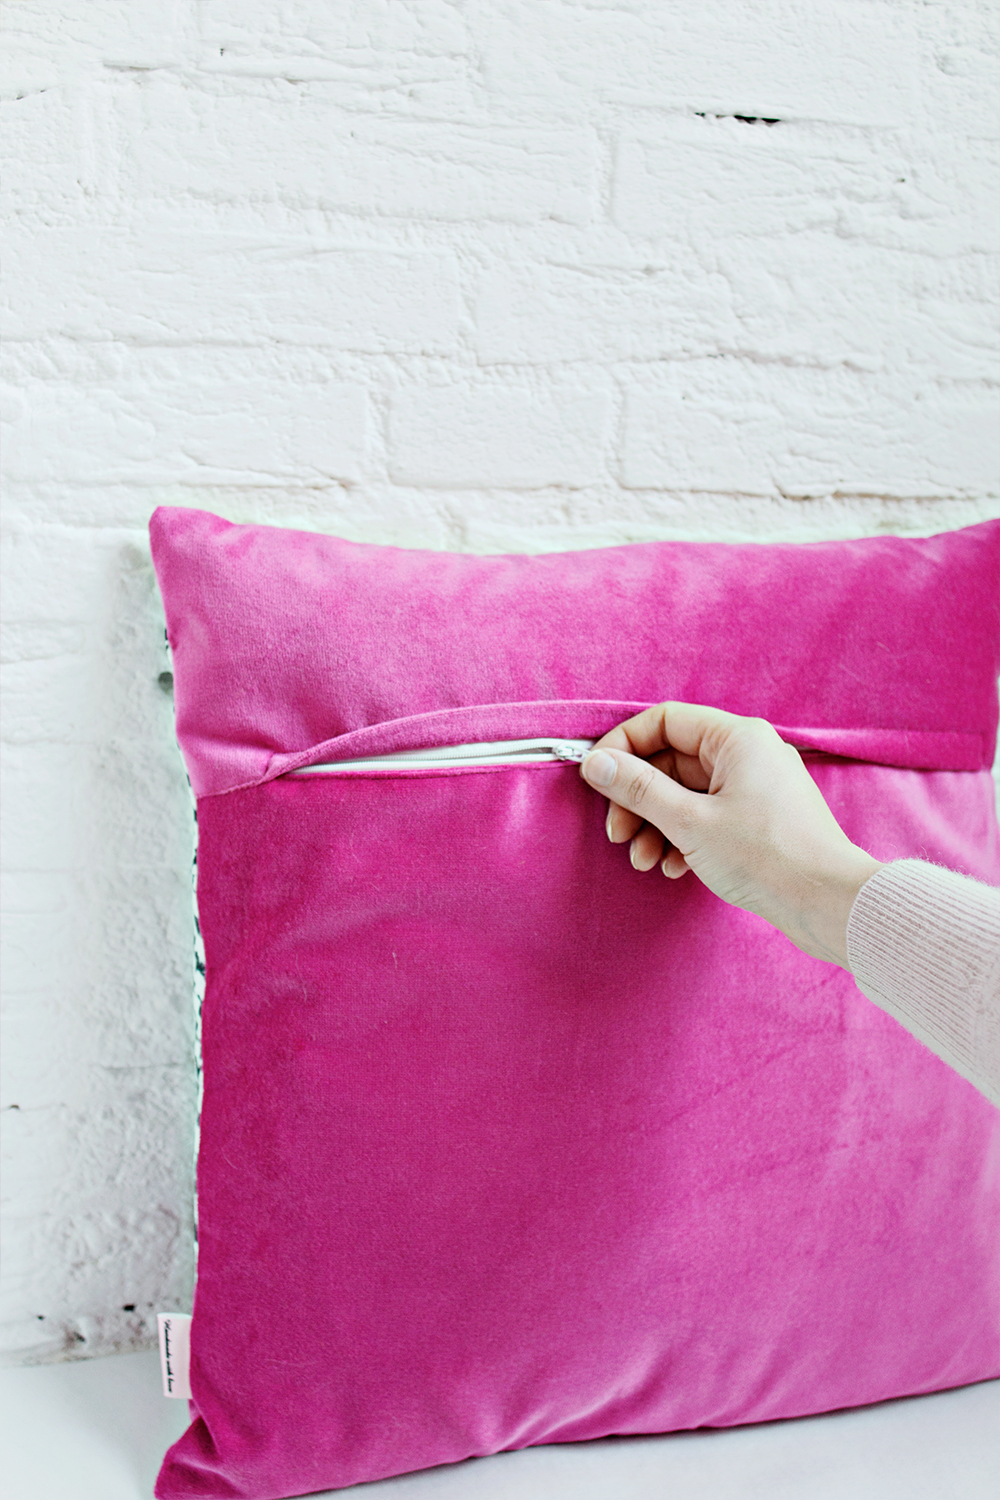
– Attach the zipper in the middel and pin it to the folded edge.
STEP 16
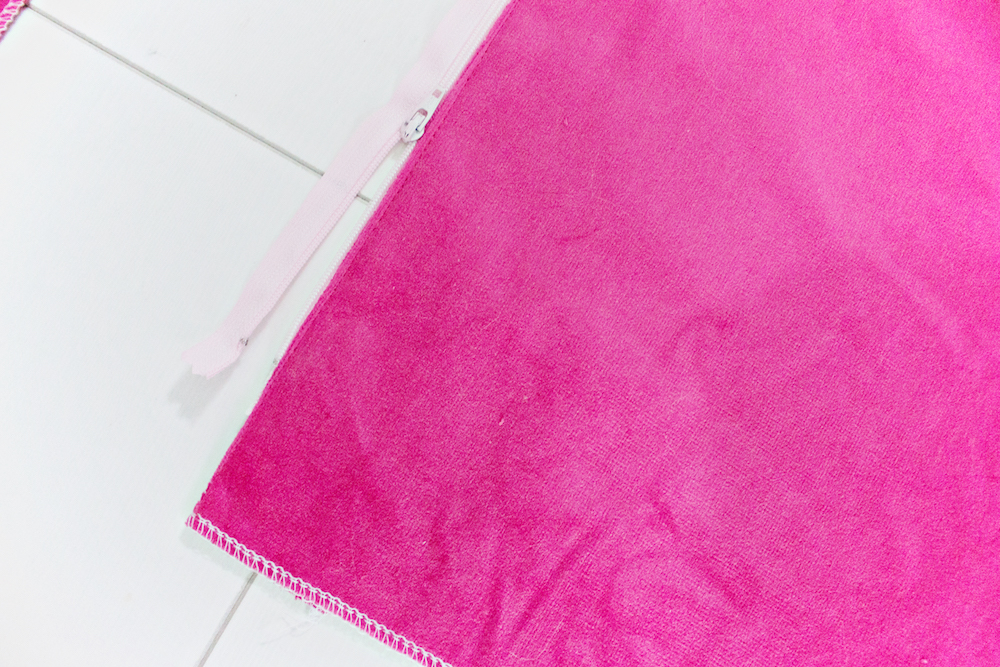
– Sew the pinned zipper line.
– Close the sipper for the next steps.
STEP 17
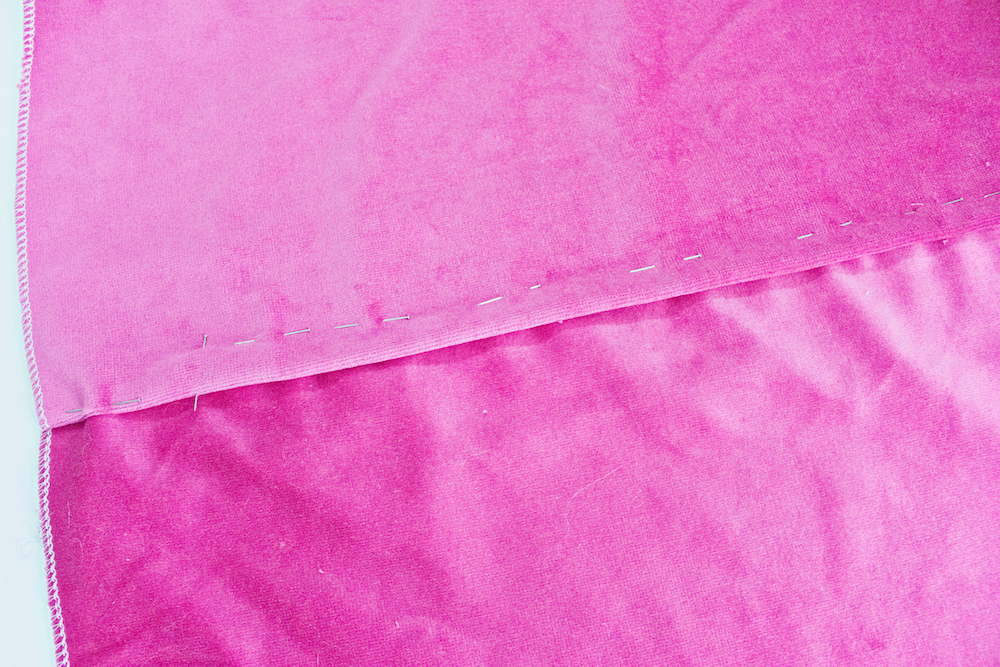
– Fold the top back piece inwards.
– Place it on top of the zipper and let it overlap slightly.(approx. 1 cm)
STEP 18
– Start by pinning the fabric to the top of the zipper line.
– Add a pin to both ends of the zipper.
– Pin the remaining fabric together towards the side.
STEP 19
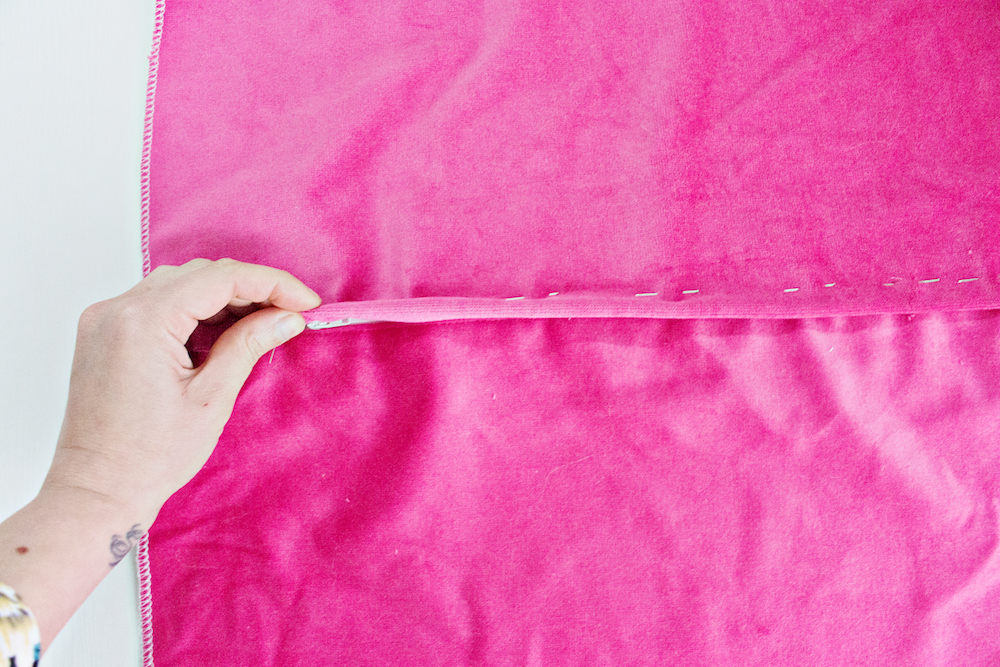
– The zipper should still be closed.
– Check if the top fabric is overlapping the entire zipper and if the ends of the zipper aren’t showing.
STEP 20
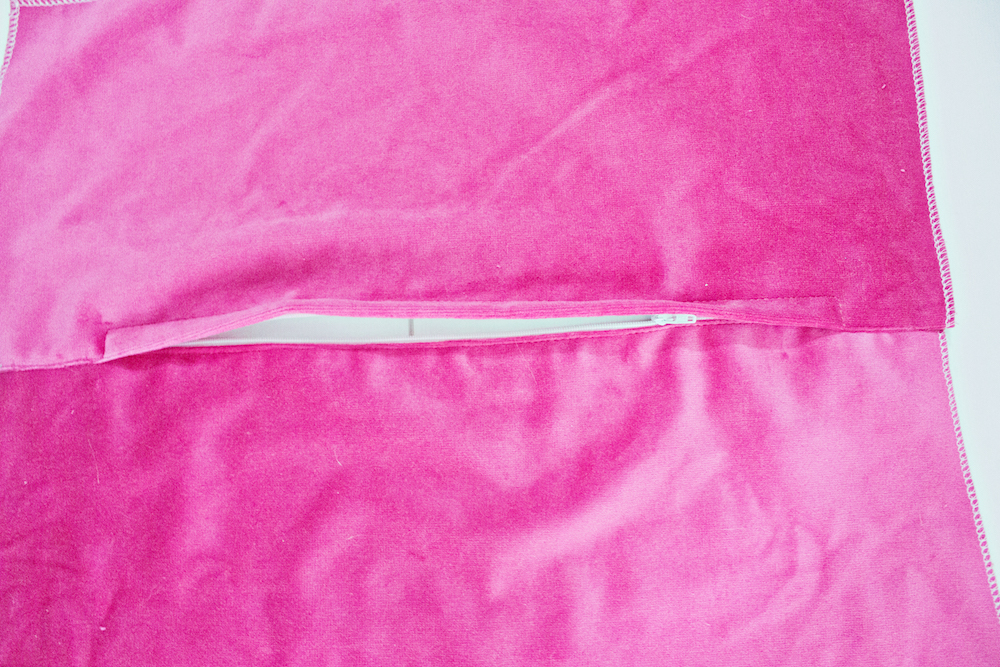
– Carefully attach the zipper by sewing the pinned line.
– After you have finished the zipper, open the zipper for the final step.
STEP 21
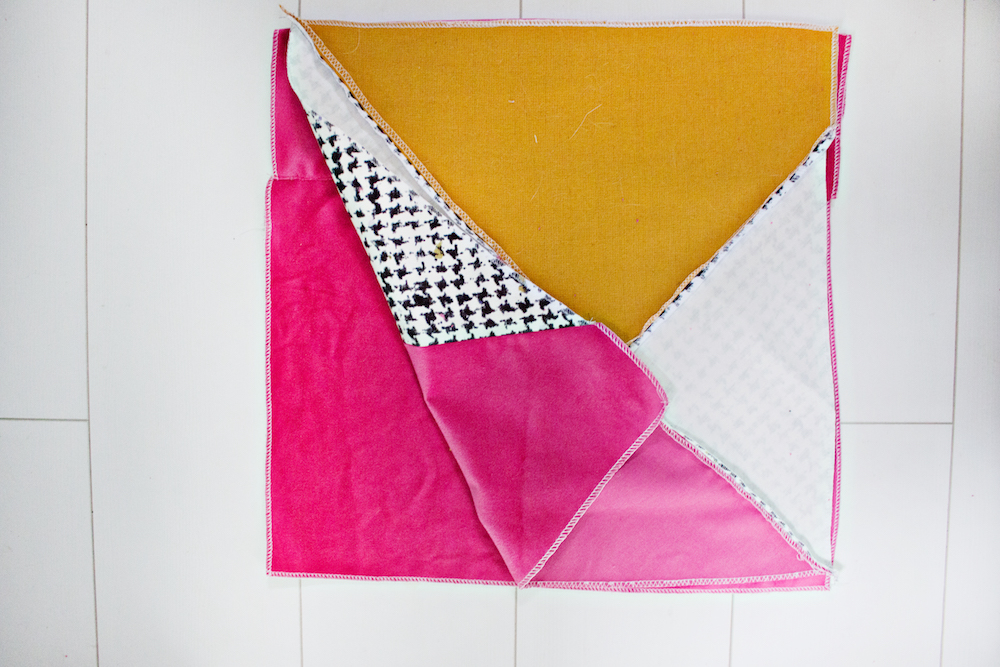
– Place the two cover pieces face down on top of each other. (remember to keep the zipper open!)
– Sew the outside lines together.
– Fold the cushion cover inside out through the zipper opening.
Go professional:
– Add your own fabric label to take your items to the next level!
– Simply attach it in the last step of this DIY, by placing it in between the two covers when you are closing up the edges.
Patchwork, unfortunately still has an outdated label so lets go with geometric!
With the ‘geometric’ technique you can make a million combinations and designs! And what I love the most about it, is that if you use only a few basic fabrics it will easily result in a matching series of cushions! Your sofa or bed will immediately be stylishly matched!

