LRS
  • START HERE
  • DIY
    • SEWING & STYLE
    • HOME DECOR
    • JEWELRY
    • TECH DIY
    • ANIMAL
    • ROUNDUPS
    • CHRISTMAS CRAFTS
  • FASHION
    • NAIL DESIGN
    • HAIR
    • MAKE-UP
    • OUTFITS
    • FASHION INSPIRATION
    • TIPS & ADVICE
  • RECIPES
    • BREAKFAST
    • DESSERTS
    • TREATS
    • SAVORY
  • TRAVEL
    • TRAVEL
    • BERLIN GUIDE
  • INSPIRED
    • ART
    • BLOGGING
    • PERSONAL
  • ABOUT
    • CONTACT
  • SHOP
  • START HERE
  • ABOUT
  • CONTACT
L A N A R E D S T U D I O
  • CRAFTS

    SEWING & STYLE

    HOME DECOR

    JEWELRY

    ROUNDUPS

    TECH DIY

    CHRISTMAS CRAFTS

    ANIMAL

    UPCYCLING

    HOME DECOR

    UPCYCLING DIY | Decoupage Lampshade, with paper napkins

    TECH DIY

    DIY | Card Holder Phone Case

    JEWELRY

    JEWELRY DIY | Polymer Clay Flower Earrings

  • FASHION

    OUTFITS

    HAIR

    MAKE UP

    NAIL DESIGN

    FASHION INSPIRATION

    TIPS & ADVICE

    HAIR STYLES

    HAIR DIY VIDEO | Braided Scarf Hairstyle

    NAIL DESIGN

    NAIL DIY | It's a Glittery Sharpie Christmas

    Outfits

    OUTFIT | Autumn, Me & My Tripod

  • RECIPES

    DESSERTS

    SAVORY

    TREATS

    BREAKFAST

    BREAKFAST

    RECIPE | Sugar Free - Banana Bread

    TREATS

    RECIPE | Courgette Chips

    SAVORY

    RECIPE | Sweet Potato & Goat's Cheese Tart

  • INSPIRED

    ART

    BLOGGING

    PERSONAL

    BLOGGING

    HOW TO | 10 PRACTICAL Tips Every Blogger Should Learn

    PERSONAL

    PERSONAL | Grief and other things

    ART

    DIY | Double Exposure Photography

  • TRAVEL

    Berlin

    TRAVEL | BERLIN GUIDE

    Travel

    LIVING ABROAD | How to Make Your Temporary Home Feel Like Home

    explore

    TRAVEL

    BERLIN GUIDE

  • Uncategorised

Cushion Restyle DIY

Total
0
Shares
0
0
0
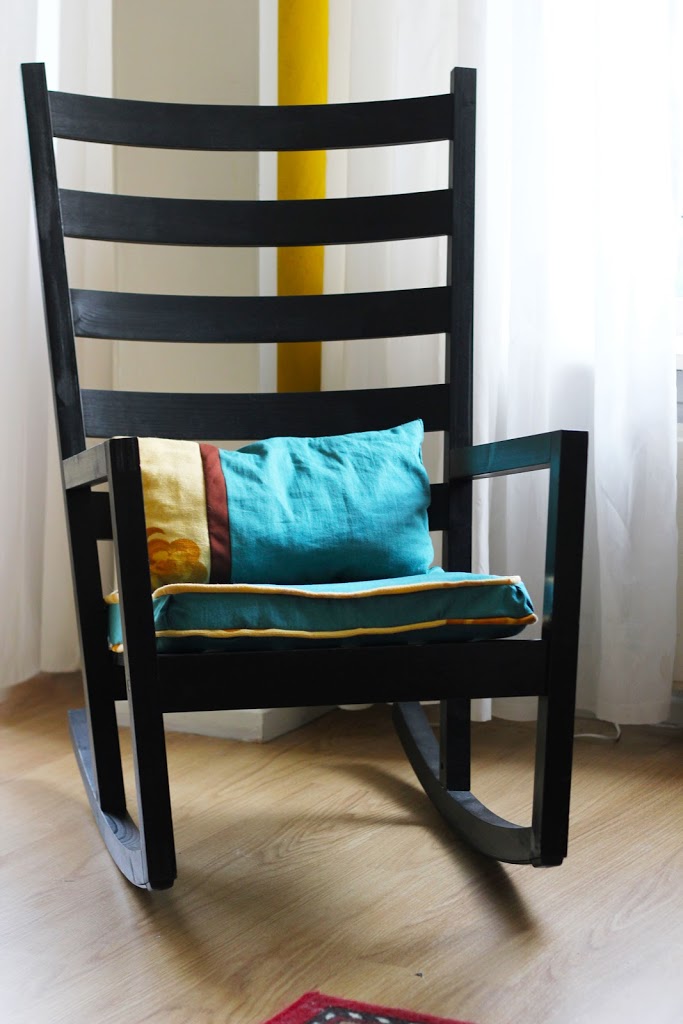
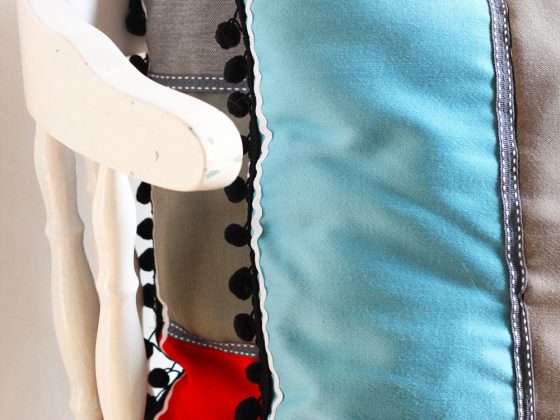
I bought this rocking chair a while ago and didn’t have a cushion that matched my other cushions. So I decided to restyle an old cushion that I had to match the others. 
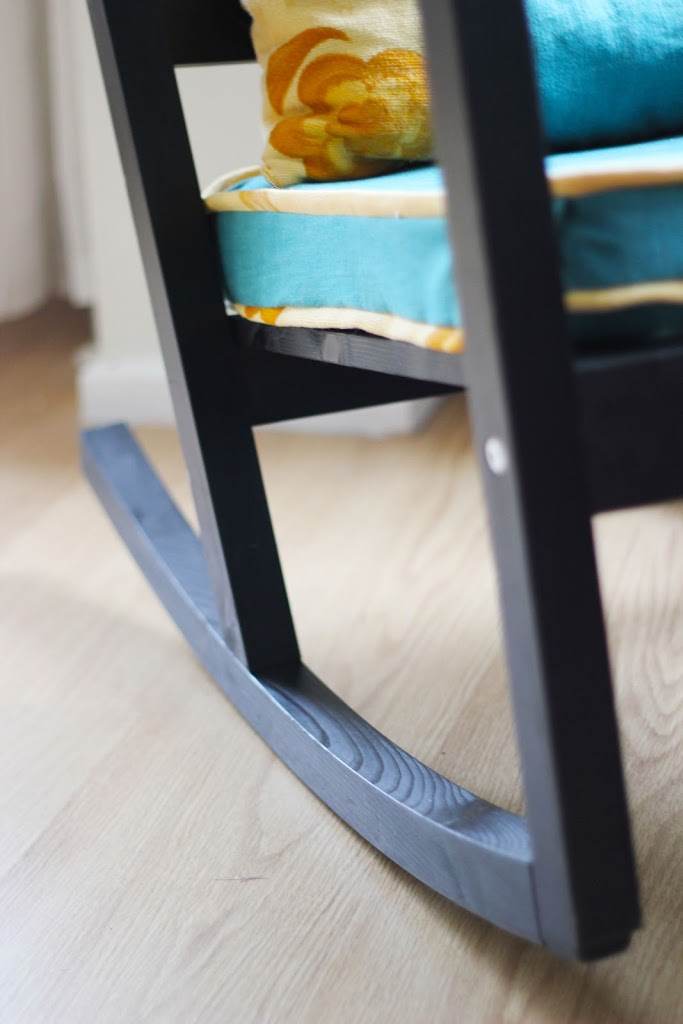
I wanted to give a personal touch to the cushion, and decided to make a unique edge around the stitching.
 
Here is the tutorial on how to restyle you’re own cushion:
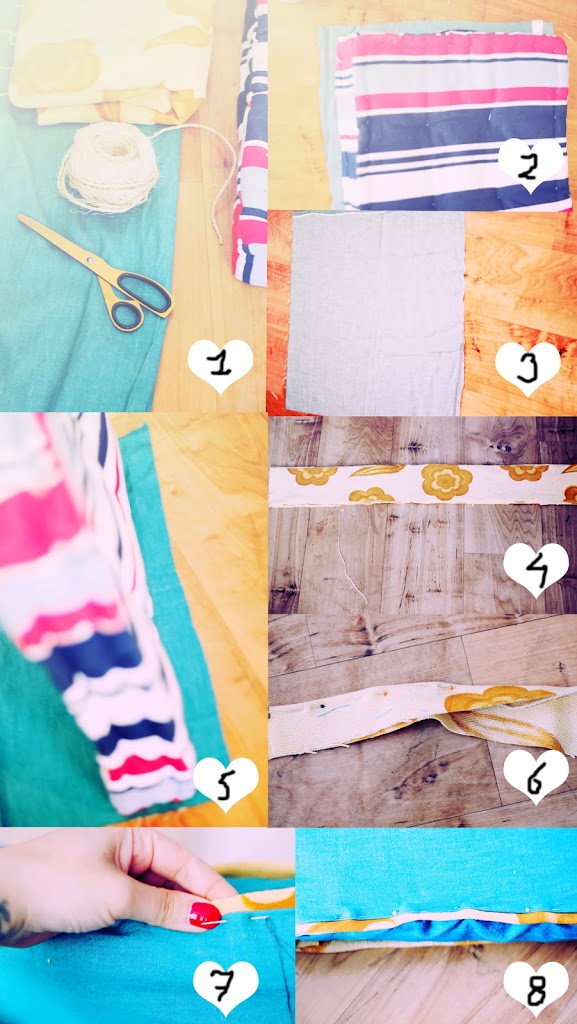
1. Get two different pieces of fabric, a scissor, rope, and an old cushion.
2. put the cushion on a piece of fabric en cut around it, with an extra 1 cm.
3. Repeat this step, to make sure you have two pieces in the same size. These are you’re top and bottom part.
4. Cut a long piece from the other fabric. It has to be about 3 cm wide.
5. Put the cushion on its side on the fabric and cut around it with an extra 1 cm. Repeat this for all 4 sides.
6. Put the robe in the middle of the strip and fold the fabric. The rope is now trapped between the fabric. Pin just underneath the rope,to make sure it stays in place.
7. Sew all the parts together, with the fabric piece with the rope sticking out. Leave one part open to put the cushion in.
8. When all sides are stitched together, put the cushion in. And hand stitch the opening.
 
All done!
Pictures by Lana
 
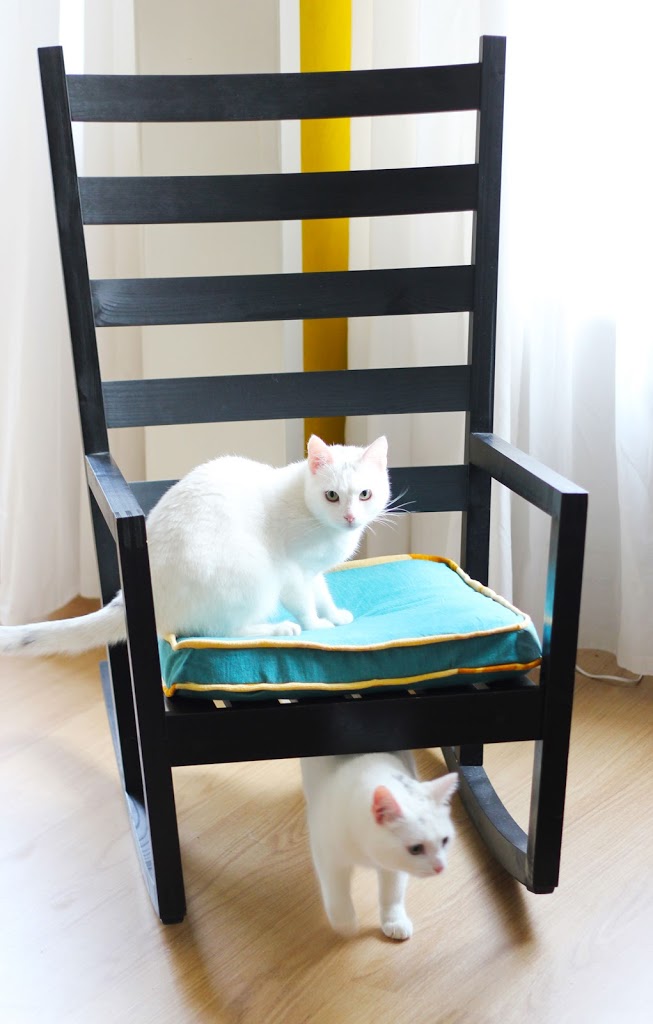
Look at these two cuties, enjoying there new spot! ♥
Total
0
Shares
Share 0
Tweet 0
Pin it 0
Previous Article
  • Uncategorised

Please Remember to vote!

View Post
Next Article
  • Home Decor
  • Sewing & Style

DIY | Modern Patchwork Pillow

View Post

Sign Up for the LRS Newsletter

Be the first to receive lots of crafty news!

2 comments
  1. ~Lana says:
    17th October 2012 at 3:12 am

    Gorgeous! Love those colors too. :)

    Reply
    1. Lana Red says:
      17th October 2012 at 8:33 pm

      Thank you!

      Reply

Leave a Reply Cancel reply

Your email address will not be published. Required fields are marked *

THE LRS NEWSLETTER
  • JEWELRY DIY | Polymer Clay Flower Earrings
  • DIY Decoupage Lampshade
    UPCYCLING DIY | Decoupage Lampshade, with paper napkins
  • JEWELRY DIY | Beaded daisy flower for Necklaces, Earrings and Bracelets
    JEWELRY DIY | Beaded daisy flower for Necklaces, Earrings and Bracelets

Sign Up for the LRS Newsletter

Let's be friends!

  • Privacy Policy

Input your search keywords and press Enter.