LRS
  • START HERE
  • DIY
    • SEWING & STYLE
    • HOME DECOR
    • JEWELRY
    • TECH DIY
    • ANIMAL
    • ROUNDUPS
    • CHRISTMAS CRAFTS
  • FASHION
    • NAIL DESIGN
    • HAIR
    • MAKE-UP
    • OUTFITS
    • FASHION INSPIRATION
    • TIPS & ADVICE
  • RECIPES
    • BREAKFAST
    • DESSERTS
    • TREATS
    • SAVORY
  • TRAVEL
    • TRAVEL
    • BERLIN GUIDE
  • INSPIRED
    • ART
    • BLOGGING
    • PERSONAL
  • ABOUT
    • CONTACT
  • SHOP
  • START HERE
  • ABOUT
  • CONTACT
  • SHOP
L A N A R E D S T U D I O
  • CRAFTS

    SEWING & STYLE

    HOME DECOR

    JEWELRY

    ROUNDUPS

    TECH DIY

    CHRISTMAS CRAFTS

    ANIMAL

    UPCYCLING

    HOME DECOR

    UPCYCLING DIY | Decoupage Lampshade, with paper napkins

    TECH DIY

    DIY | Card Holder Phone Case

    JEWELRY

    JEWELRY DIY | Polymer Clay Flower Earrings

  • FASHION

    OUTFITS

    HAIR

    MAKE UP

    NAIL DESIGN

    FASHION INSPIRATION

    TIPS & ADVICE

    HAIR STYLES

    HAIR DIY VIDEO | Braided Scarf Hairstyle

    NAIL DESIGN

    NAIL DIY | It's a Glittery Sharpie Christmas

    Outfits

    OUTFIT | Autumn, Me & My Tripod

  • RECIPES

    DESSERTS

    SAVORY

    TREATS

    BREAKFAST

    BREAKFAST

    RECIPE | Sugar Free - Banana Bread

    TREATS

    RECIPE | Courgette Chips

    SAVORY

    RECIPE | Sweet Potato & Goat's Cheese Tart

  • INSPIRED

    ART

    BLOGGING

    PERSONAL

    BLOGGING

    HOW TO | 10 PRACTICAL Tips Every Blogger Should Learn

    PERSONAL

    PERSONAL | Grief and other things

    ART

    DIY | Double Exposure Photography

  • TRAVEL

    Berlin

    TRAVEL | BERLIN GUIDE

    Travel

    LIVING ABROAD | How to Make Your Temporary Home Feel Like Home

    explore

    TRAVEL

    BERLIN GUIDE

  • Sewing & Style
  • Tech DIY

DIY | Phone Case

Total
105
Shares
0
0
105
DIY | Phone Case
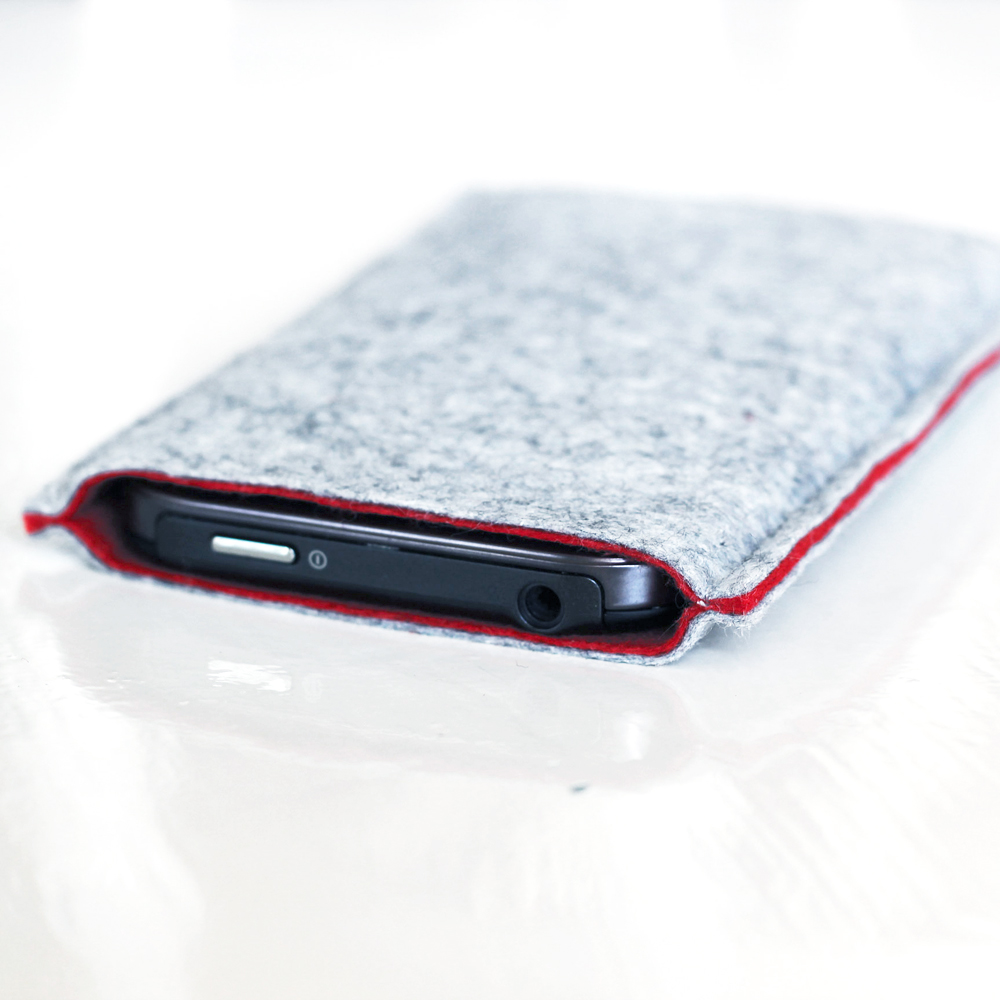
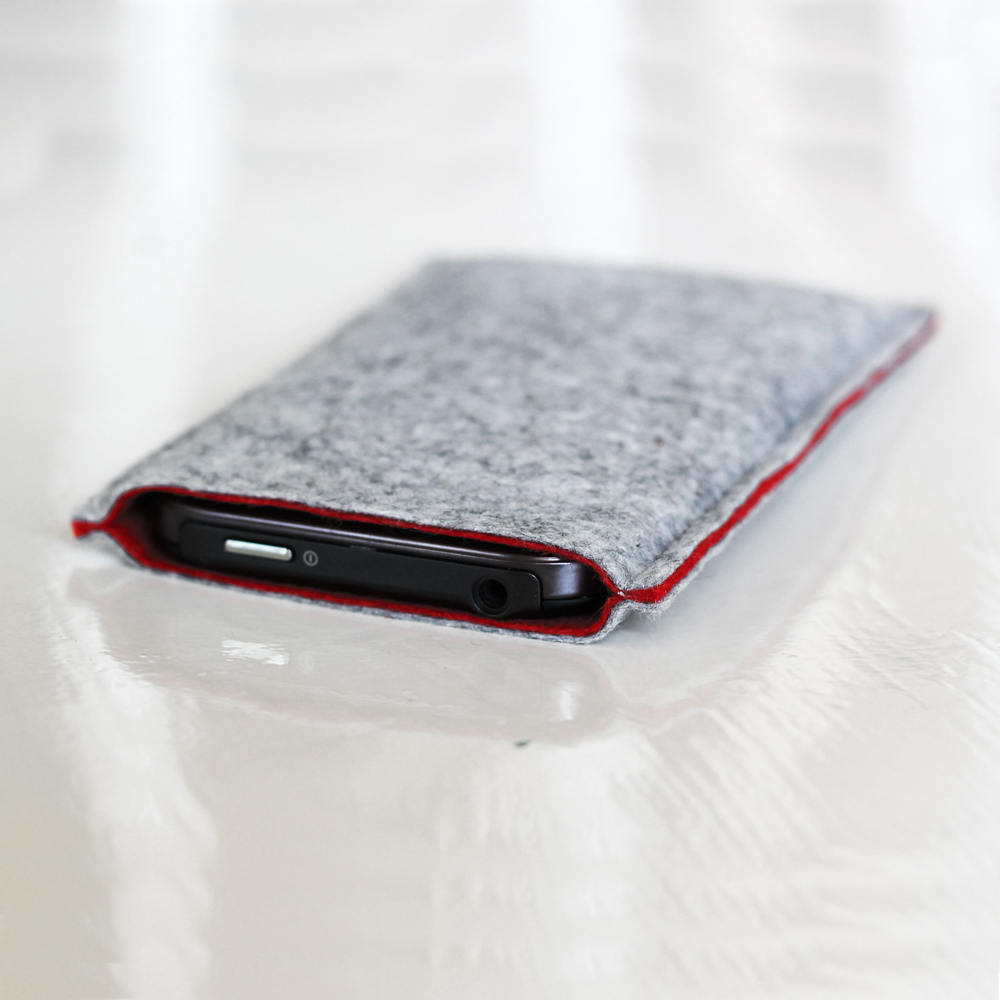
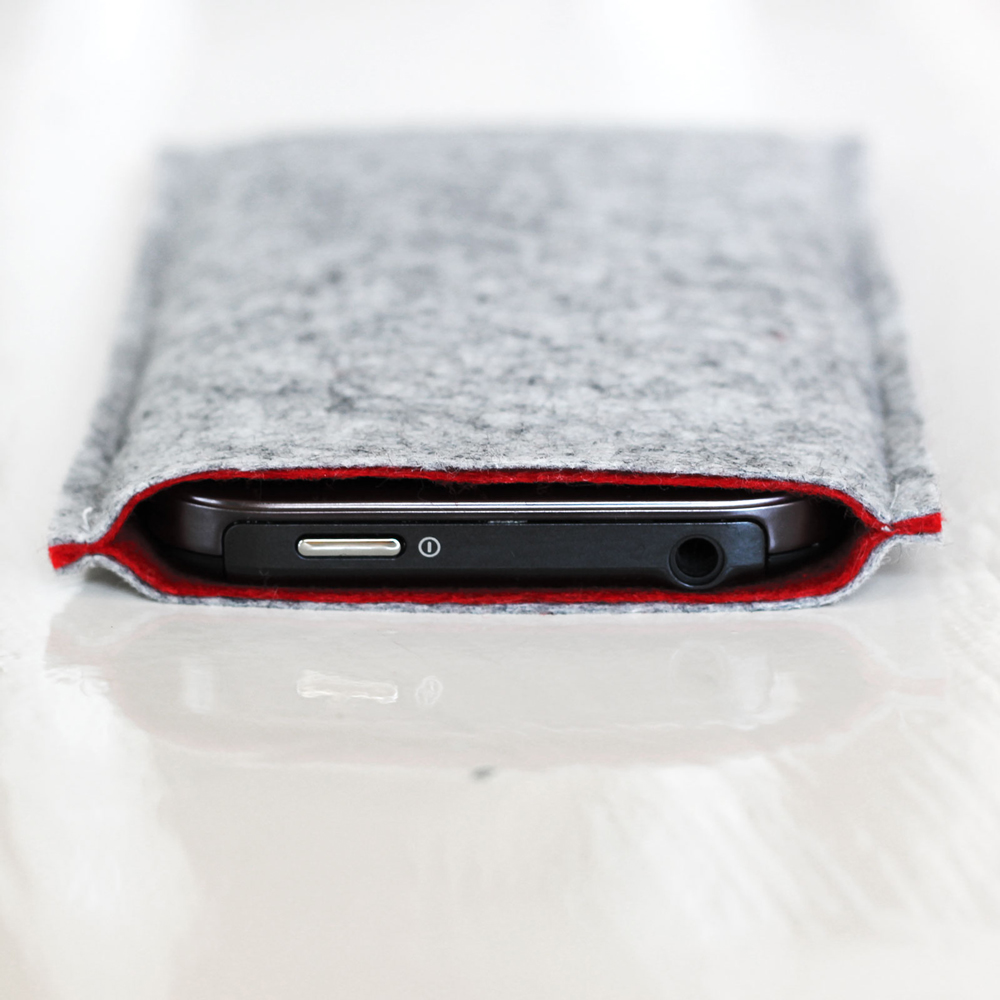
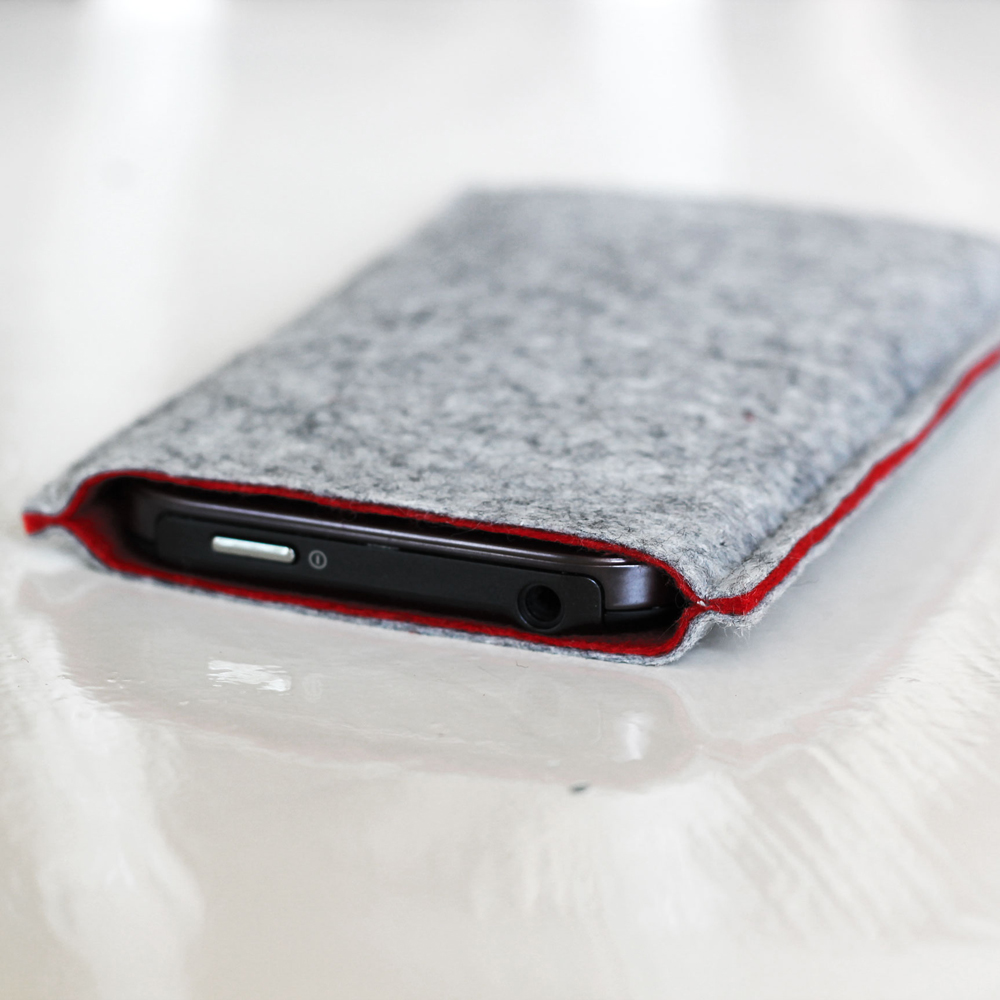
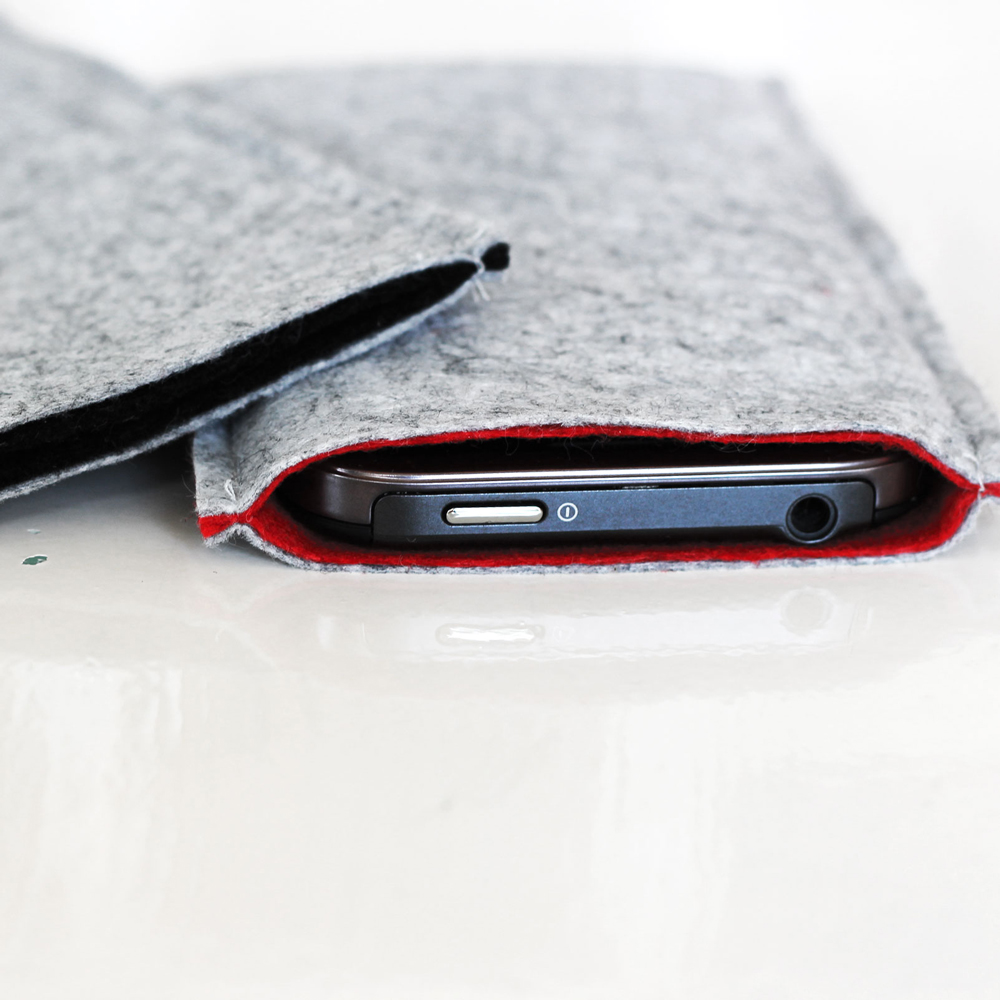
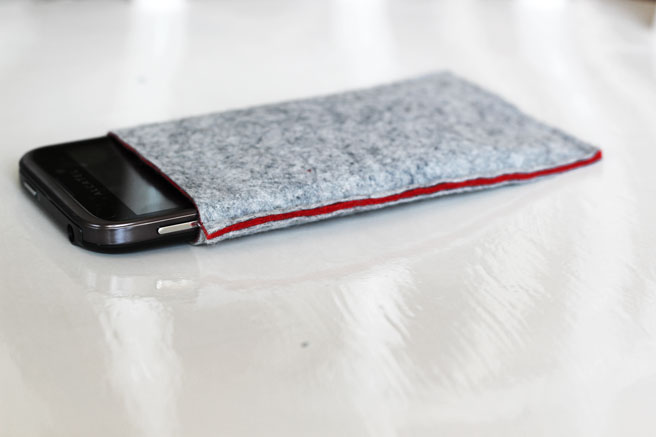
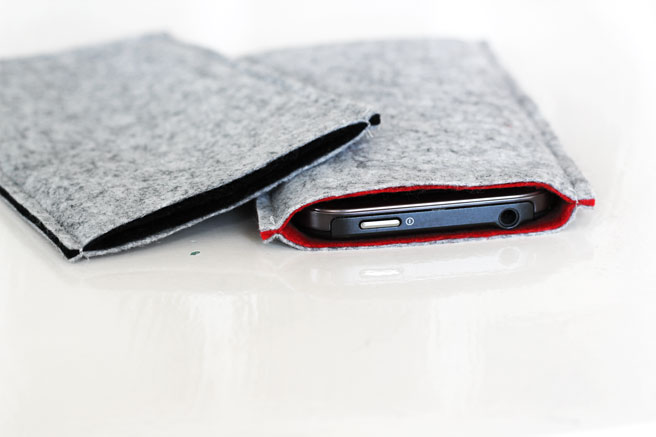
My boyfriend just bought a new phone and needed a new phone case to go with it. So I promised him I would make him one. He really wanted it to have a simple design and no bold colors. I decided to use felt, since it’s affordable and if you use it in grey it gives it that modern manly vibe. I mixed the grey with some red on the inside, to make it more design and less boring :)
 
He’s really happy with it, and it was ridiculously easy to make!
 
Here’s how, if you want to make one yourself:
DIY | Phone Case
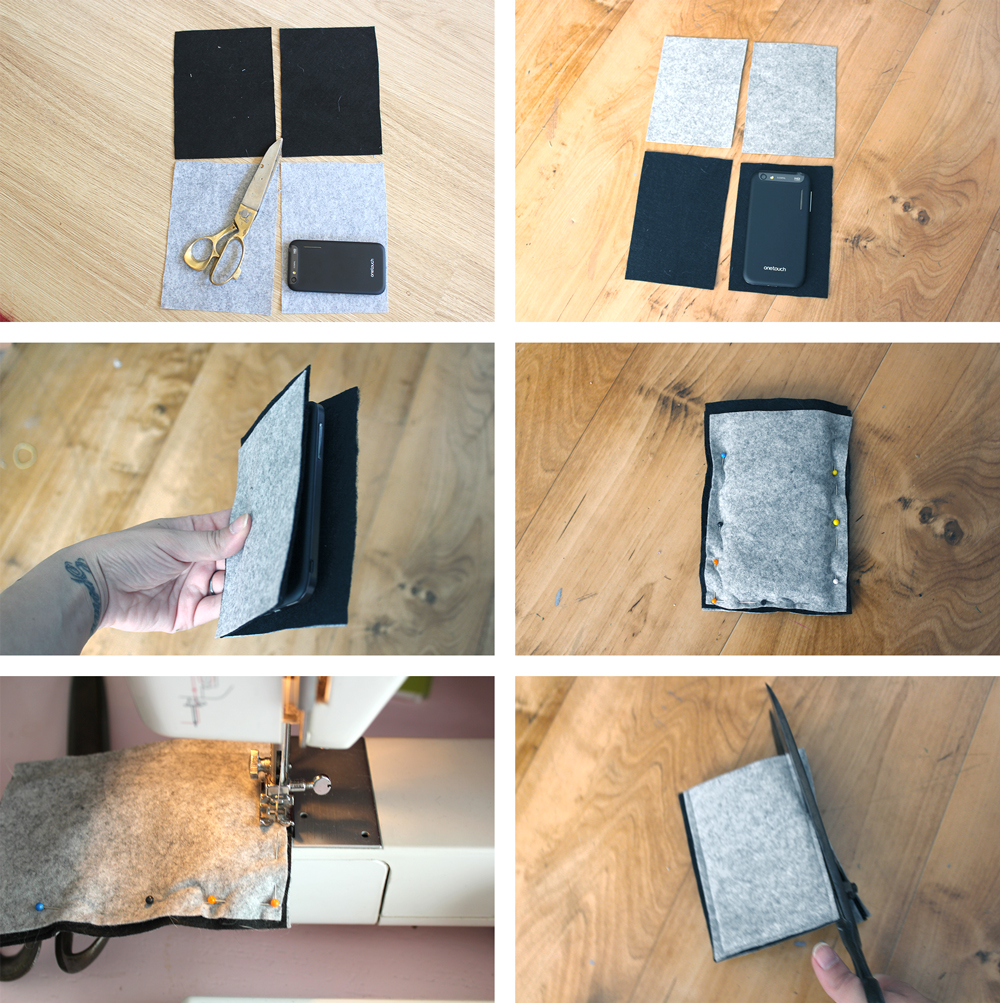
1. Get two different colors of felt, a scissor and some pins. 
2. Cut the pieces in the size of your phone + 1 cm all around.
3. Put the pieces on top of each other and put your phone in the middle.
4. Pin the sides with your phone still inside the felt pieces. Pin it pretty tight, because it will be a bit less tight when it’s sewn together.
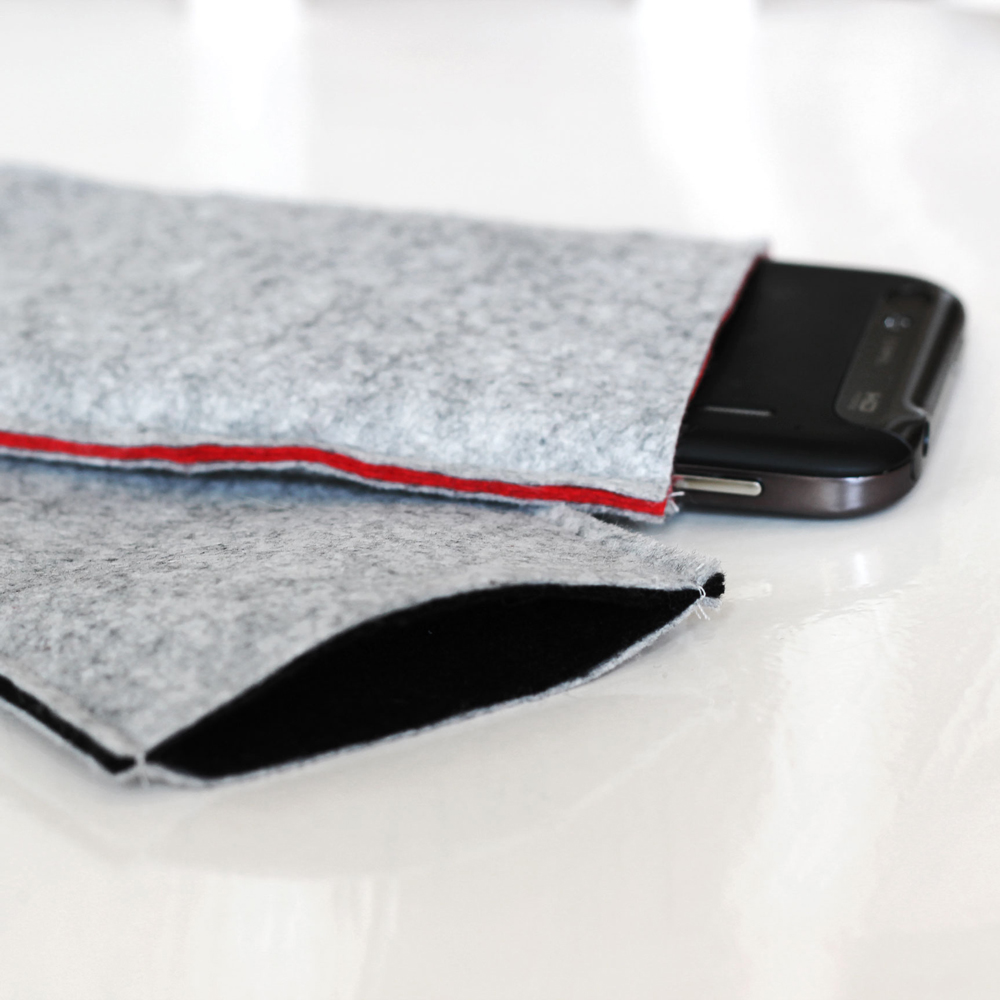
5. Take your phone out and stitch the pinned parts.
6. Cut the felt about 2mm. from the stitched sides.
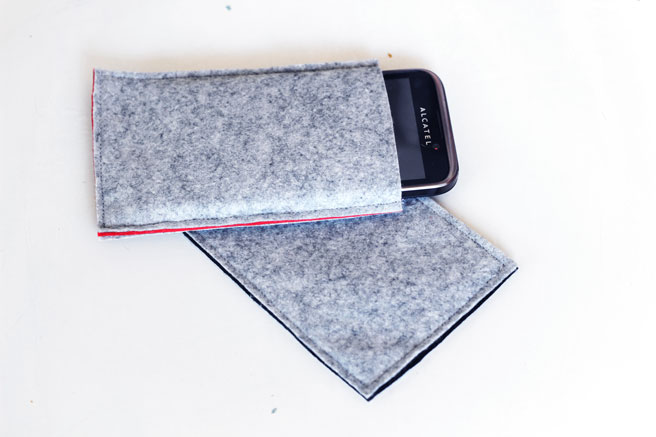
 
All done!
DIY | Phone Case DIY | Phone Case DIY | Phone Case DIY | Phone Case
 Pictures by Lana
Total
105
Shares
Share 0
Tweet 0
Pin it 105
Previous Article
  • Beauty

NAIL DIY | With Love Writing

View Post
Next Article
  • Personal
  • Travel

Holiday!

View Post

Sign Up for the LRS Newsletter

Be the first to receive lots of crafty news!

18 comments
  1. Charlotte Helle says:
    29th July 2012 at 5:53 am

    Love this! So simple. I want to make one for my Kindle. It’s perfect to embroider something pretty on! Maybe even some beads? I’m excited! Thanks for posting the tutorial!

    Reply
    1. Lana Red says:
      2nd August 2012 at 9:59 am

      I would also love to use beads! Unfortunately my boyfriend wouldn’t be so excited ;) So I guess I’ll have to make one for me too!

      Reply
  2. flower says:
    30th July 2012 at 4:03 pm

    Some people aren’t so bright, so you might want to add for their sake that they need to take the phone out before they stitch it. I’m sorry if this sounds pretty nasty, but it is sometimes necessary

    Reply
    1. Lana Red says:
      2nd August 2012 at 9:57 am

      I get what you mean ;) I changed it now, so thanks!

      Reply
  3. Seraphina´s Phantasie says:
    17th August 2012 at 10:44 pm

    Thank you very much for this clear instruction. Have a nice weekend !
    Best regards, Synnöve

    Reply
  4. Jenni says:
    17th August 2012 at 11:58 pm

    This looks very manly! I love how your phone case turned out. Gray looks great with almost every color. :)

    Reply
  5. Pam says:
    19th August 2012 at 2:49 pm

    I like the exposed seams and the simple design. I’ve just finished an iPhone case that’s a similar design to this, but it’s made from leather and felt.

    Reply
  6. Eliza Thorne says:
    24th August 2012 at 2:12 pm

    This is such a simple and great idea! I just followed your directions and made an absolutely awesome one! Although when I made mine, I wanted the seams to be hidden, so I made the layout a little bigger than it needed to be and flipped it inside out! This is way better than spending all that money on a store bought iphone case. The best part about this is that you can get as creative as you want with these, and make a bold statement! Thanks again!

    Reply
    1. Lana Red says:
      2nd September 2012 at 9:43 am

      Hi Eliza! How great that you made one to! And I agree, it is way better than spending all that money on one from a store. Have fun with yours! xoxo Lana

      Reply
  7. Wanessa Moore says:
    13th September 2012 at 5:29 pm

    This post was featured on truecharismacrafts.blogspot.com
    Check it out!

    Reply
    1. Lana Red says:
      14th September 2012 at 9:04 am

      Thank you so much for featuring me! Your blog looks great!

      xx Lana

      Reply
  8. Kate says:
    13th January 2013 at 10:48 pm

    Thank you very much for your tutorial! I have just made a case for my boyfriend and he loved it!! He said it was very elegant, and it is so simple to make!! Thank you!

    Reply
    1. Lana Red says:
      18th January 2013 at 2:41 pm

      Thank you! And how great that used my tutorial!

      Reply
  9. Eef says:
    22nd September 2014 at 2:25 pm

    Erg bedankt van je tutorial

    Reply
  10. Pingback: 20 Fun Tech Accessory Crafts - Little Red WindowLittle Red Window
  11. Noodles says:
    21st November 2019 at 4:25 pm

    Hi, sorry if I am being really thick here… I don’t understand why first i need to cut twice the size of the phone, and then in the second step 1cm around the phone? Can i skip step 1?
    thanks!

    Reply
    1. Lana Red says:
      21st November 2019 at 8:26 pm

      Hi! You are absolutely correct: the first step is completely unnecessary (it is one of my oldest and first tutorials, so I am not sure what went wrong there:-))
      I removed the confusing part, thank you for letting me now!
      Please let me know if you have any other questions. Lana

      Reply
      1. Noodles says:
        22nd November 2019 at 10:05 am

        Haha that is awesome, thanks so much!
        This design is great and your page so well presented and clear! THANK YOU!

        Reply

Leave a Reply Cancel reply

Your email address will not be published. Required fields are marked *

THE LRS NEWSLETTER
  • JEWELRY DIY | Polymer Clay Flower Earrings
  • DIY Decoupage Lampshade
    UPCYCLING DIY | Decoupage Lampshade, with paper napkins
  • JEWELRY DIY | Beaded daisy flower for Necklaces, Earrings and Bracelets
    JEWELRY DIY | Beaded daisy flower for Necklaces, Earrings and Bracelets

Sign Up for the LRS Newsletter

Let's be friends!

  • Privacy Policy

Input your search keywords and press Enter.