A couple of weeks ago I posted a tutorial showing how to make a hair bun for people with thin or shorter hair. I got some really kind replies and realized that there are of course, many like me that have not been blessed with thick long hair. Over the years I’ve been experimenting on how to style my hair to make it look thicker and still be able to wear it a bit different each day.
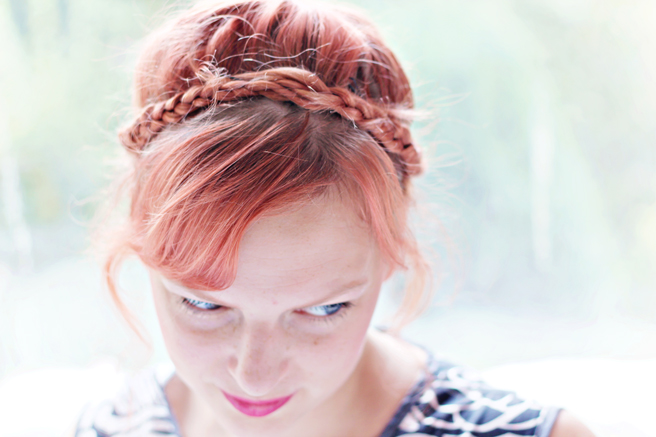
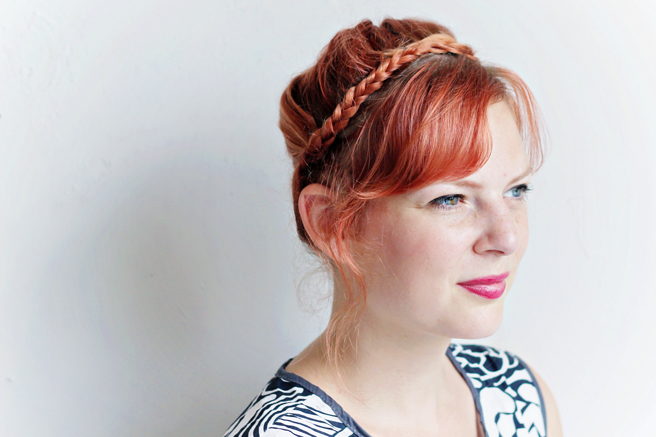
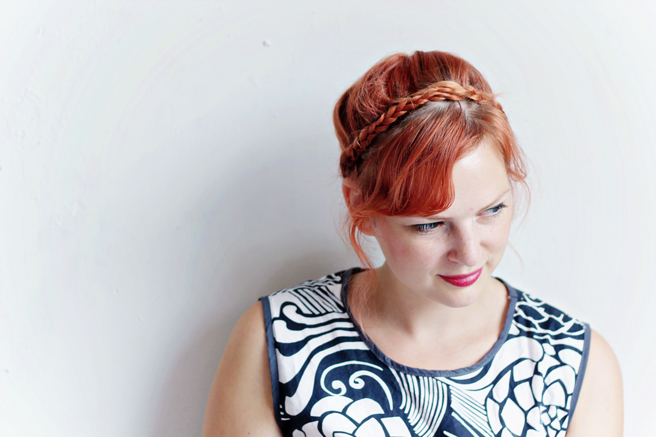
Today I will show you my way of making a Braided Crown. There is also another way to create this look by french braiding the crown, but it’s a lot more difficult and the results are very similar.
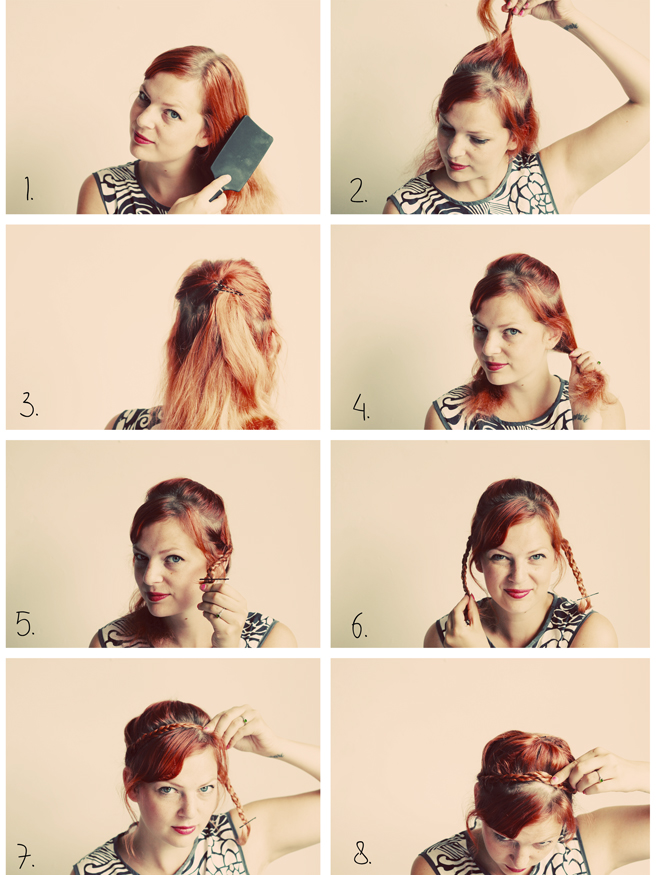
Here’s how:
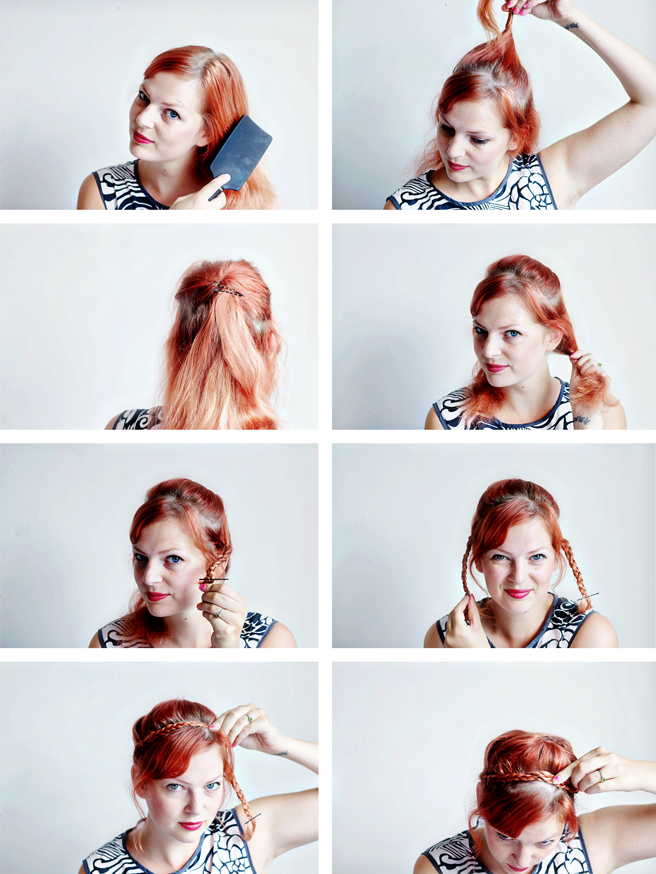
1. Brush your hair.
2. Take the top part of your hair and twist the end, like in the picture.
3. Push the twisted part a bit up against your head to get more volume at the top, secure with bobby pins.
4. Divide the rest of your hair in two parts.
5. Braid one of the parts and temporarily apply a bobby pin at the end.
6. Braid the other half of your hair, and look a bit like Pippi Longstocking ;)
7. Take both the braids and fold them over your head. Twist them around each other at the part where the braids meet.
8. Secure the braids with bobby pins.


10 comments
Wow this looks great! I’ll definetly try this one :)
Thank you! And have fun trying! Le me know how it went! x
Cute idea, looks great!
Thanks!
Just tried this on my hair; so easy yet very elegant.
How great that you tried it! And I am glad that you like it, and I agree it has an elegant feel to it :)
xx
I love tutorials that give a shout out to us ladies with thinner hair. Thanks for sharing this, I’m excited to try it!
Me to, there are always tutorials for long hair, but it’s pretty hard to find ones for thin or shorter hair. And it’s also nice to know that there are many other lovely ladies out there with the same hair hairissues.
And please let me know how it worked out!
x
It’s the securing part I have trouble with. Does anyone have any tips on where and how to insert the bobbypins? My hair just tends to slip out =(
I have this problem to sometimes. What I do is,
– I take both the braids and fold them over each other on top of my head.
– then I take a bobby pin and put it through both the braids. This will keep them together.
– Then I secure the braids by putting a bobby pin through the braids and a small part of the hair next to the braids(more to the back of the head). This part is pretty hard. You need a specific angle and a couple of tries. But eventually it always works for me.
I hope this helps, and please let me know if there’s anything else you need help with!
xoxo Lana