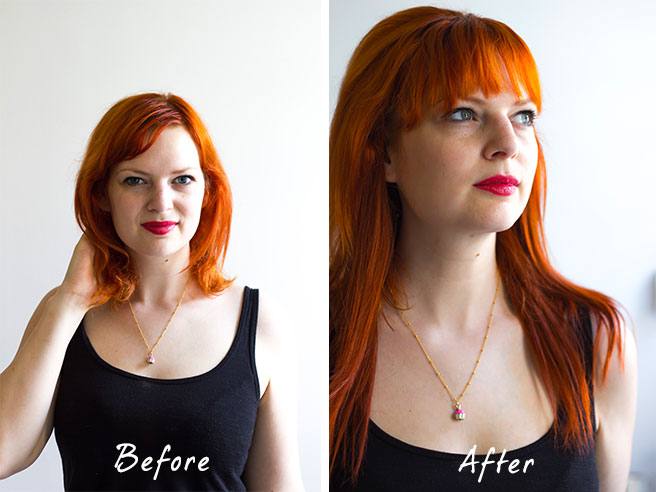
How about getting thicker and/or longer hair without an expensive stylist!
My hair is pretty thin and it just won’t grow longer than a certain length. And I have always wanted to have longer thicker hair, but because my hair is so fragile I was too afraid to use extreme options like the glue-in extensions.
The best non-permanent option was to get some clip-in extensions. But they are pretty expensive and it is still a bit of an experiment, because you never know if it’s going to look natural on your hair..
After many years of googling ‘hairstyles for thin hair’ I finally decided to make my own clip in hairextensions, and they turned out great!
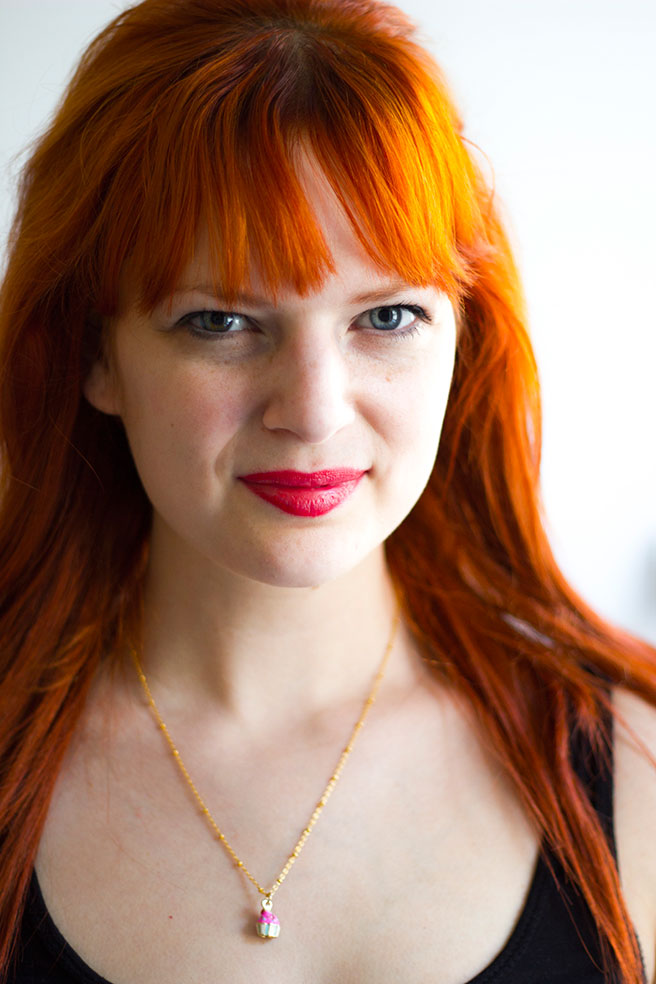
I wear them daily now and it just makes me feel like ‘me’. I notice that I am not embarrassed by it, or that it makes me feel ‘fake’. Whenever somebody compliments me on my hair, the first thing I mention will be the extensions and how it changed the way that I look at myself.
Don’t get me wrong, I looove the look of shorter hair, but I never felt like a short-hair-person if that makes sense.
So for everyone out there that is in the need of a change or has been dreaming of this since you watched Ariel flip her hair out of the water here is the:
Hair DIY:

Supplies:
– One pack of hair. I bought mine in Korea town NYC. But there are a lot of web shops online that sell them. The good thing about these packs of hair is that the hair will have at least 3 shades of color. This means that it will blend more natural to your own hair, and doesn’t have to be the exact same color. Also if you buy human hair like I did, then you can try to dye it. (although I tried to dye it with henna and that didn’t work, but regular hair dye should work better though..)
For those interested in the color I bought, it’s #350.
– 12 clips
– Needle and thread
– scissors
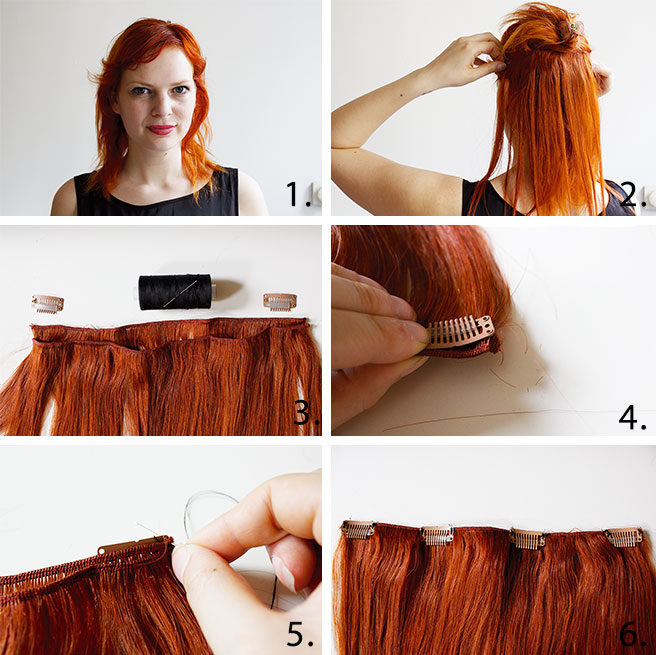
1. Brush your hair and if you have bought straight hair, then straighten your own hair too.
2. Put your hair up as shown in the picture and take a string of the bought hair and measure it across your head. Starting from the back of your ear to the other ear. Cut the strip of hear.
– I doubled the hair up, which means that you will use two strings of hair with the same width for 1 clip in extension.
– I made 3 clip in extensions. So that means that you will need 6 strings of hair with the width of one ear to the other.
3. Place the two strips of hair on top of each other.
4. Place the clip onto the hair. Make sure you place it in the right direction.
5. Sew the clip to the layered hair. Start with one side.
6. I used four clips for 1 extension piece. I first sewed the right one on and then worked my way to the left.
** as an extra option, you can have a hairdresser cut your hair with the extensions in, to style it more. Or give it extra layers.
Now on to the styling of the hair to make it look extra natural:
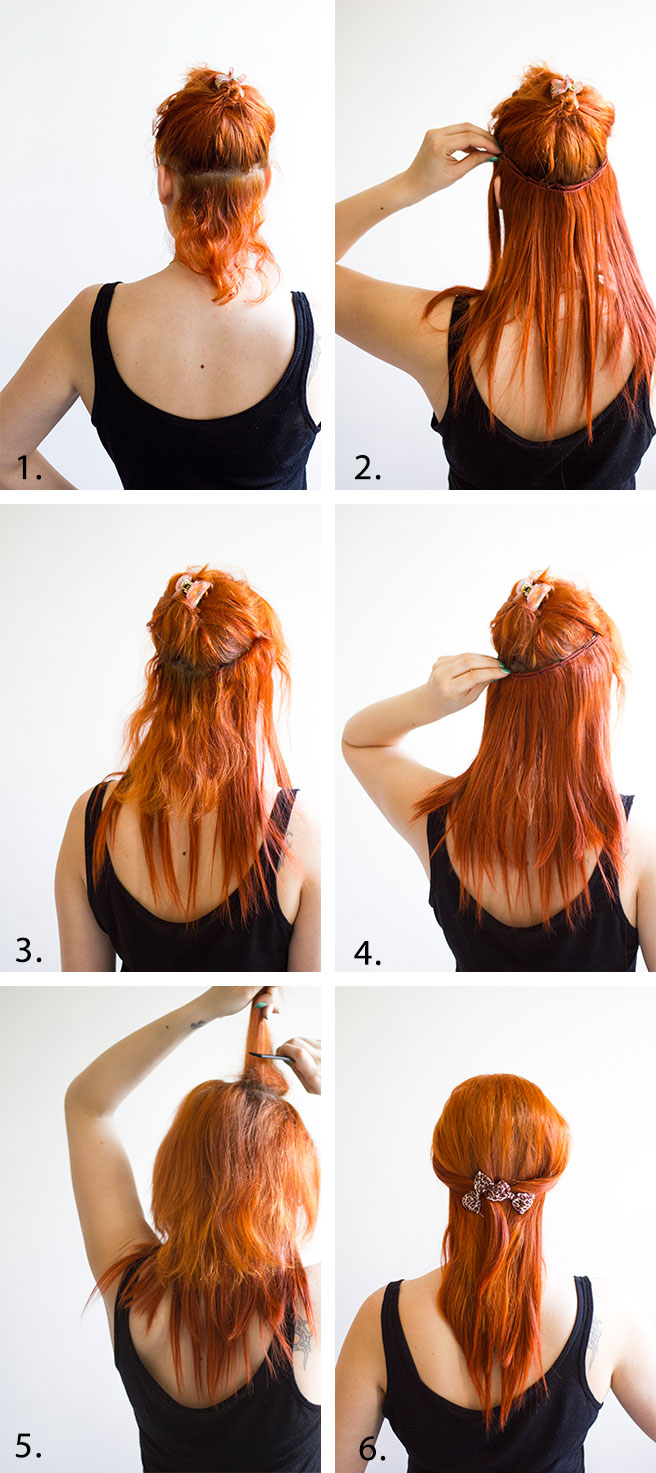
I kept my hair curly to show you the difference between the extensions and my natural hair in the photos, to get a true natural look: straighten your hair if your extensions are straight
1. Put your hair up from about mid-ear length. Also straighten your hair
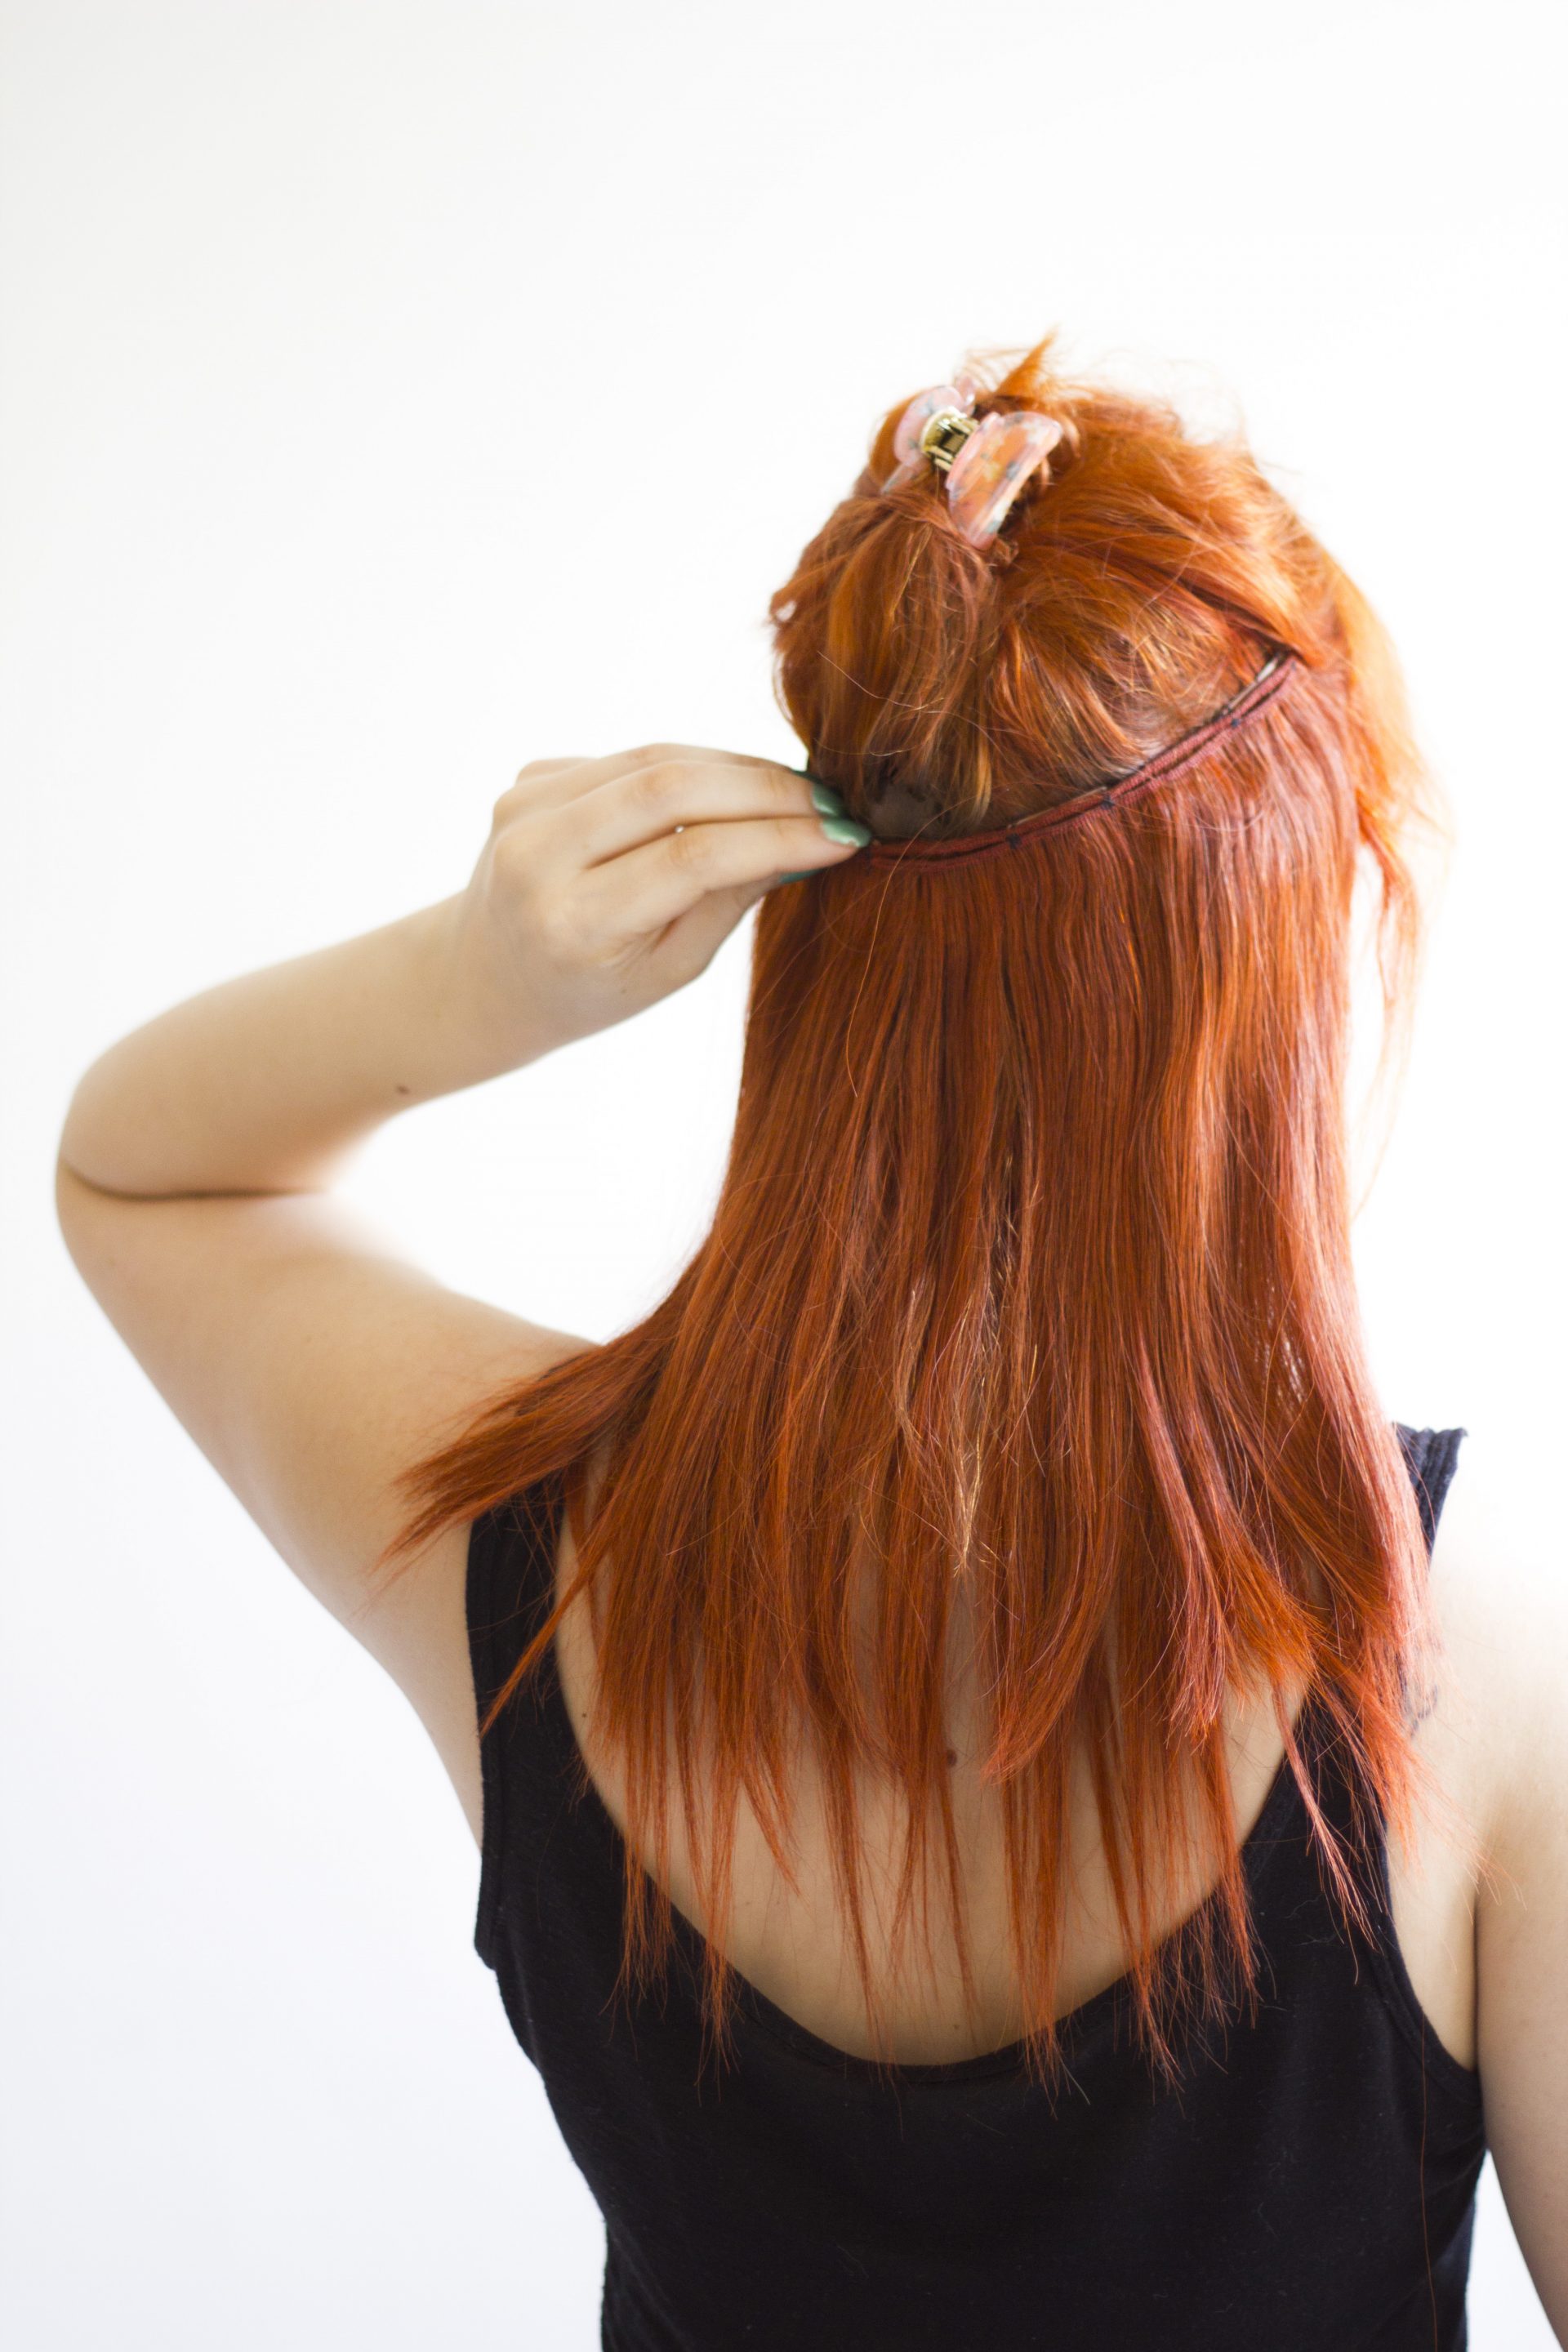
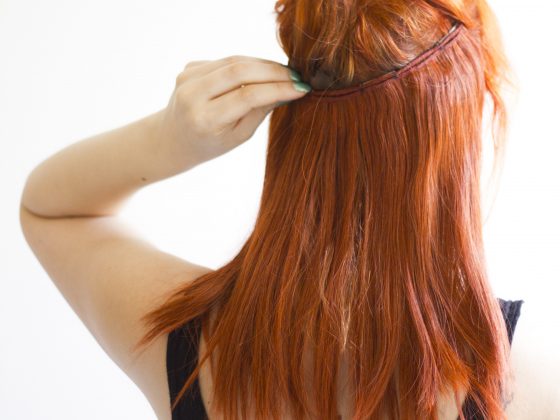
2. Place your first extension strip in your hair, starting with the middle clips. If the clips don’t feel very secure, then tease your hair a bit, to give the clips more grip.
3. Add a small layer of your own hair on top of your extension strip.
4. Put your second extension layer in.
– Repeat step 2-4 for as many layers as you have.
5. Put your hair down. (and I know that my hair looks totally unmatched in this picture, but that is due to the fact that my hair wasn’t straightened and combed with the extensions)
– Then tease your hair on the top a bit to be able to cover up the top clips in your hair.
6. Style your hair in any way you like!
The extensions don’t really look natural when I just wear my hair down, because my hair is a bit frizzy and curly sometimes. But when I wear it like this, it totally blends in!
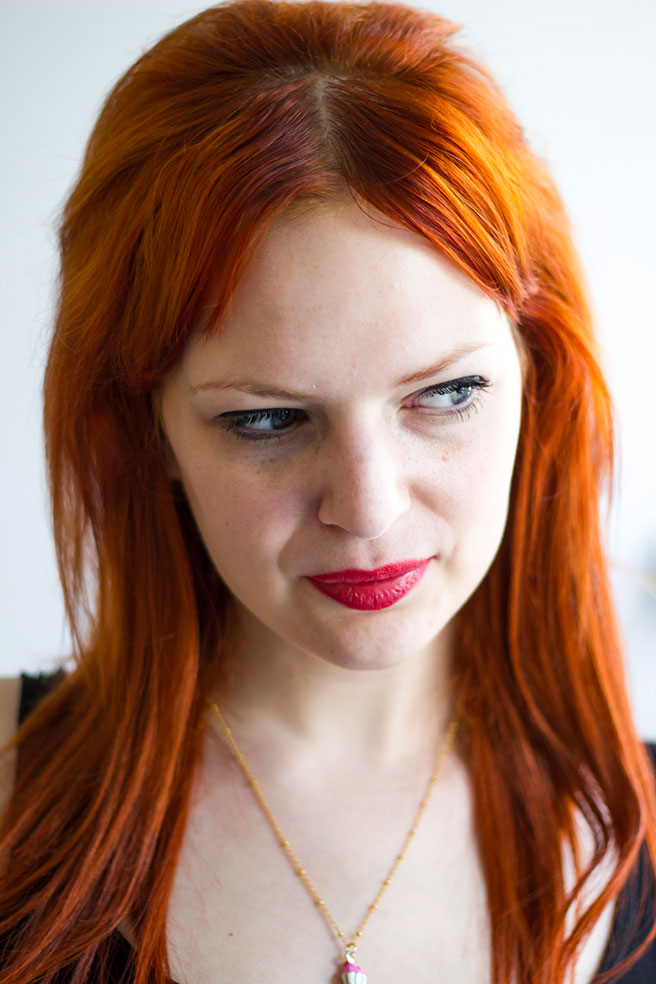

Necklace by Two Little Fairies

6 comments
You can definitely have many hairstyle options with human hair extensions. Your looks are awesome and I loved what you did here. You can also find other stuffs about hair extensions at eindianhair reviews.
Great style tutorial, Lana! I can hardly tell that you have extensions in this style. Great tip about human hair extensions too. I know some people opt to go for less expensive options, but the versatility in human hair extensions and the fact that they last longer can actually add some savings.
Thank you so much for the lovely comment!
love your hair! i have always used clip in extensions for the fact that my hair wont grow longer then my shoulders. now i have redish orange hair very similar to your hair color and i was wondering where you bought your hair for the extensions because i can not find that color anywhere.
Hi Sarah! I bought mine at a local store while I was still living in New York. It was more of an attic than a store, so I am pretty sure that they won’t have an online shop. But I googled it a bit for you and found this website that sells them:
http://www.cliphair.co.uk/Ginger-Natural-Red-Hair-Extensions-350/
Good luck!
I am very much grateful to the admin of this post. Because this above post is really helpful for those people who are worried with hair damage. The above tutorial is truly give us a great opportunity to protect our outlook. This Hair Extensions can change the lifestyle for a people who is totally disappoint with her life.