
This tutorial is perfect for everyone that always wanted a headboard behind their bed, but never had the right tools or skills for it!
I always see a lot of fabulous headboard DIY’s but they always involve heavy machinery or at least a car to collect all the materials. Since I don’t own a car and don’t always fancy carrying around heavy wooden boards, I discovered this way completely by accident.
I was walking around a cheap crafts store when I saw these cheap big canvases for painting. And than it just hit me: two of them combined make the perfect sized headboard!
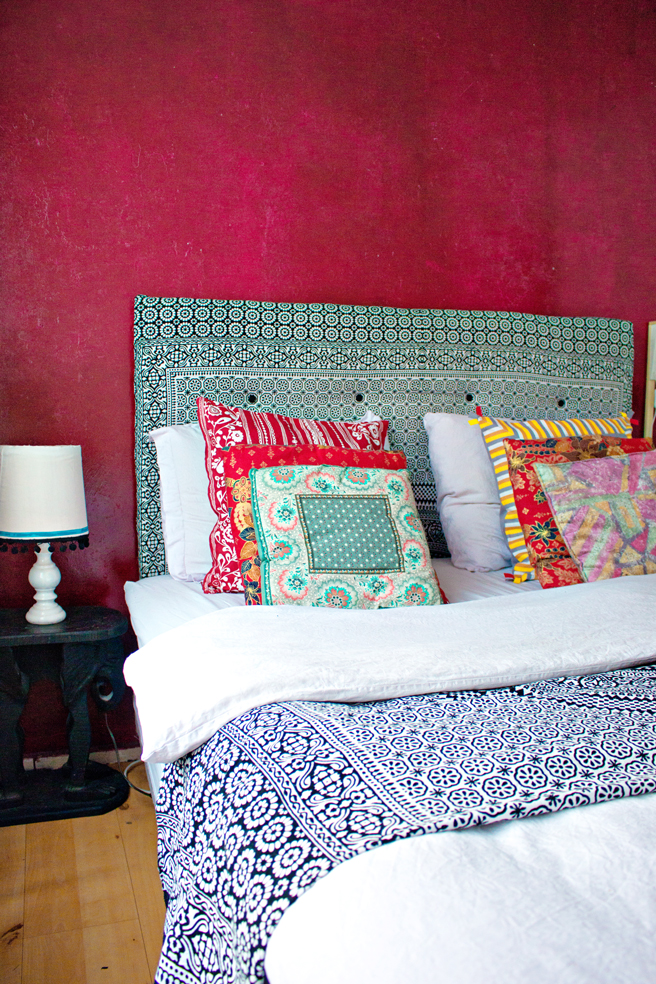
The canvases are extremely lightweight (maybe a bit big, but I had no trouble carrying them), cheap, two of them side by side are the exact size of my bed and they are long enough to stand on the floor behind my bed! How perfect is that!
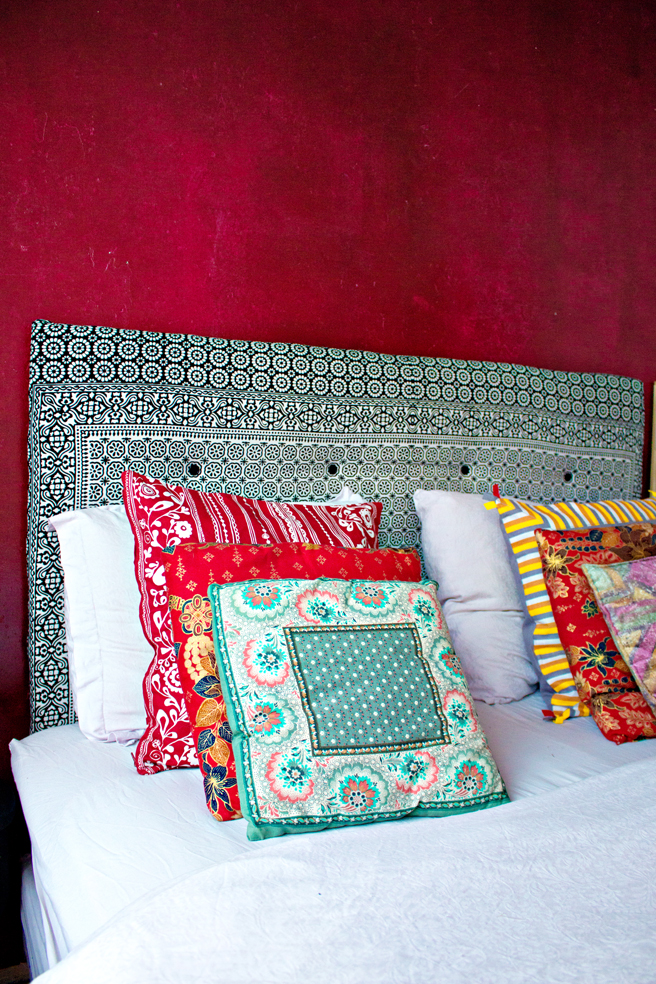
Combined with an old bed throw and two cheap Ikea blankets for the filling, you can make a stylish headboard in less than an hour!
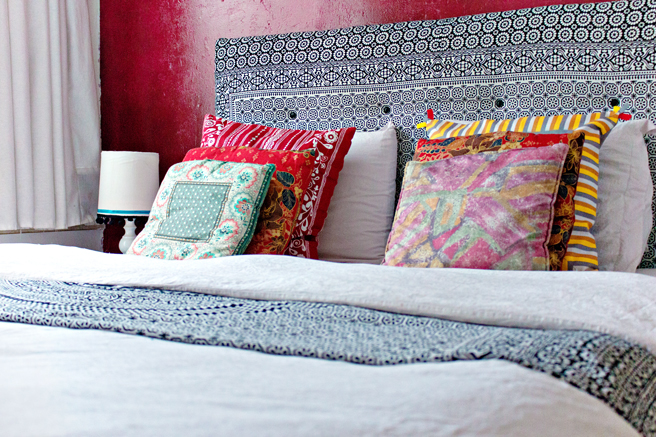
And the best part: you can change the fabric as often as you wish, I have this headboard for over a year now, and I used this tutorial as an opportunity to change the fabric. It used to be an off white fabric, but I was feeling a little bit bolder today and embraced prints! Let your imagination go wild!
Let’s start!
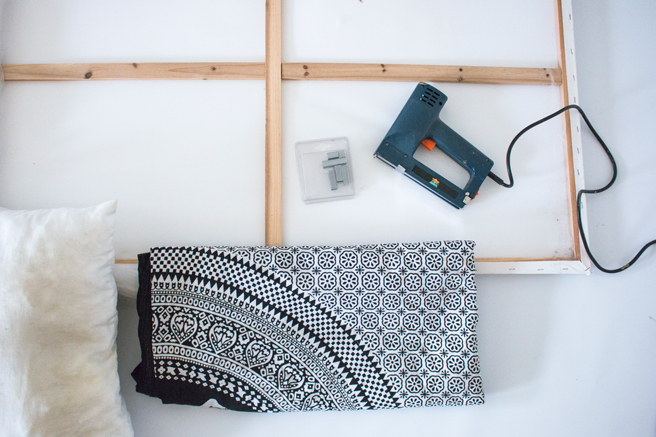
Supplies:
2 Canvas paintingboards (the size depends on the size of your bed) | Fabric | 1 or 2 cheap Ikea blankets | Nailgun & Nails (or small nails and a hammer)
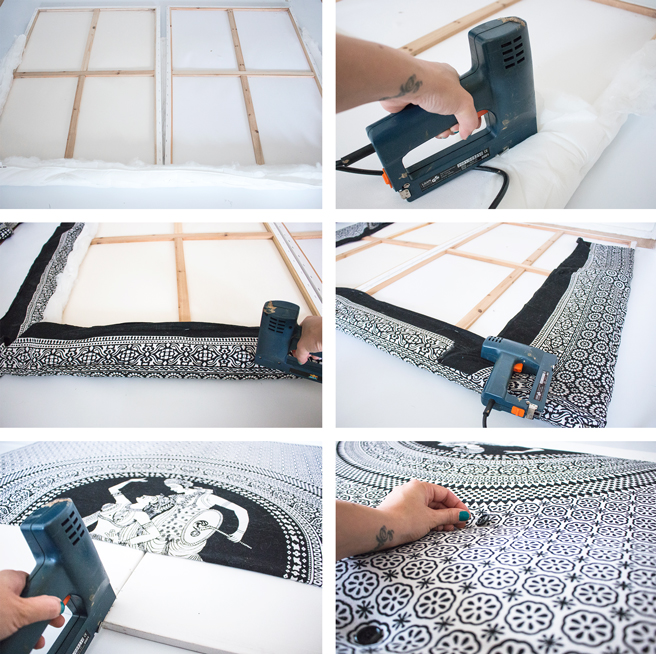
1. Spread the blankets out on a flat surface. place the canvases face down on top of the blankets.
2. Attach the blankets to the canvases with your nail gun or hammer by folding the edge of the blanket around the canvas.
Start with one nail in the middle part of the top and the middle part of the sides, and work your way inwards, while pulling tightly on the blankets.
3. Place the fabric face down on a flat surface. Place the canvases with the blankets face down on top. Attach the fabric to the canvases with your nail gun or hammer by folding the edge of the blanket around the canvas. Start with the top: Place one nail in the middle, pull tightly to the right and place one nail on the right corner. Repeat on the left side.
4. Fold the left side of the blanket around the canvas and attach it to the canvas. Repeat this on the right side.
5. Use your nail gun to secure the two canvasses together if necessary.
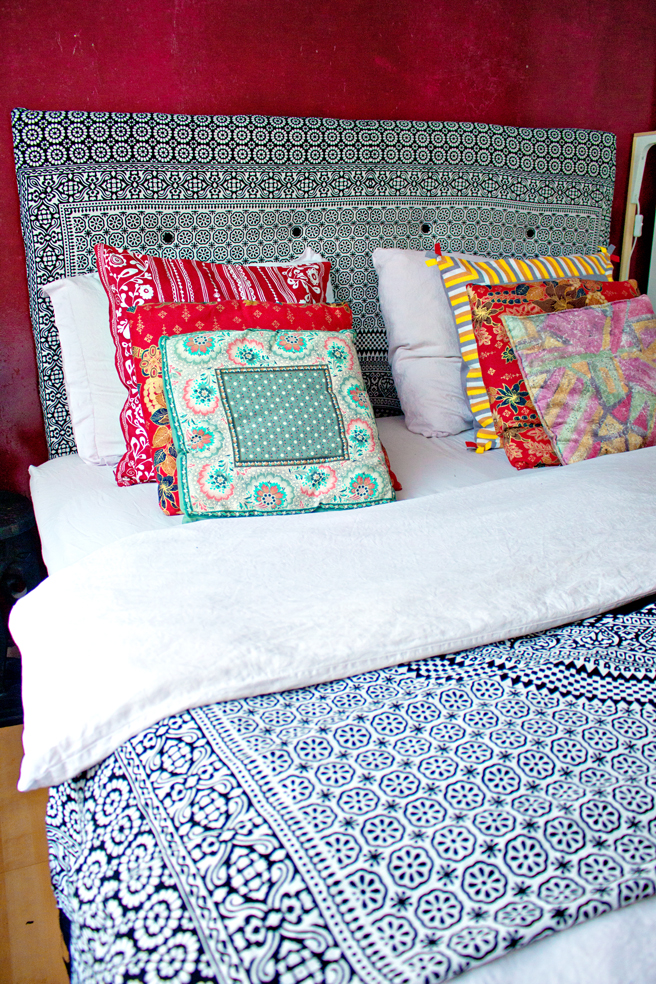
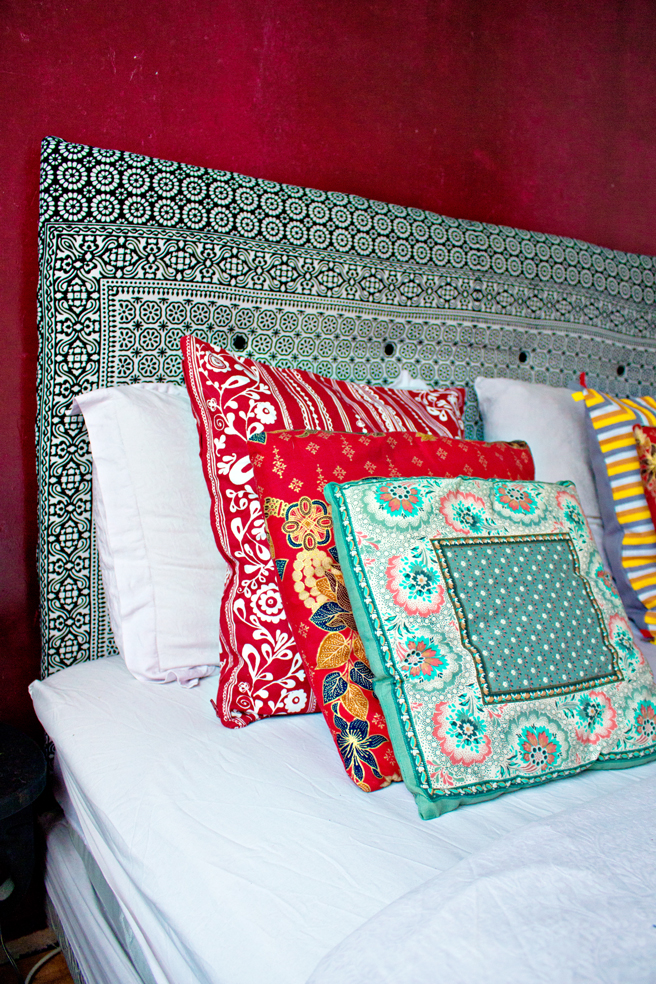
6. **optional: Create a more finished look, using buttons.
All done!
3 comments