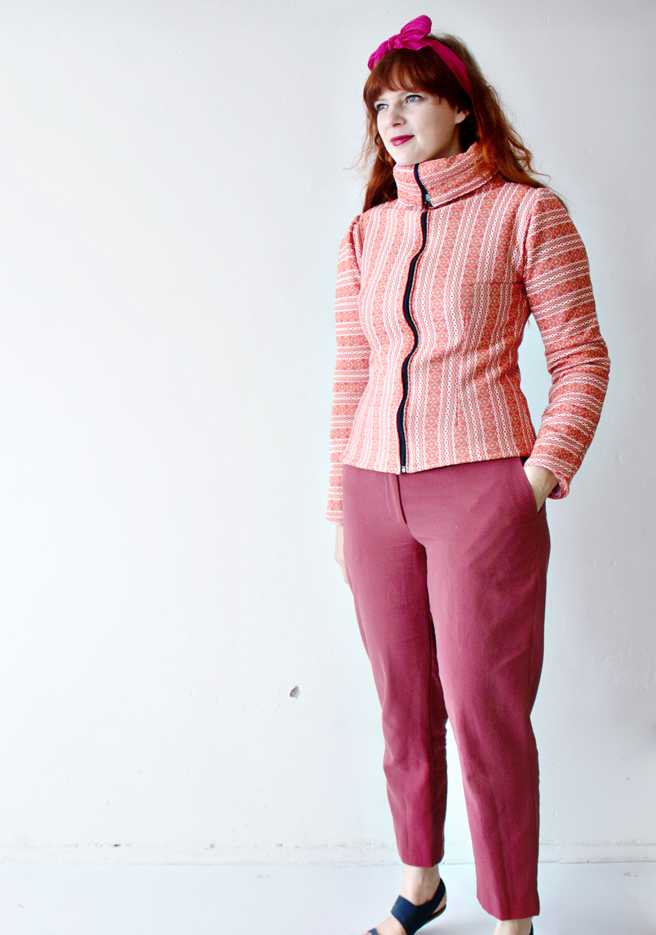
There is one thing that annoys me the most while preparing for traveling or dressing for a long walk, and that is the look of fleece sweaters. They are oh so practical being lightweight and warm, but it seems like there are not many designers that bothered to update the look of them (at least not in Dutch stores), leaving the well known sweaters to still look shapeless, colorless and most of all just dull. (but that’s just my opinion;)
It was time to take control and stop wining every time I needed one and ended up spending money on something I didn’t even like, just because it was “practical”. It was time to make one myself!
And on a budget of course!
Where to find cheap fleece fabric? Apparently not on the market (they all know it’s getting colder and there is more demand for it). The perfect solution? A blanket! They sell them everywhere, and they come in so many colors and prints! I chose a pink and red one to really make a color statement. The outside fabric of my project is not a fleece fabric, because I really liked the orange fabric that I still had laying around, and that is the best part of this project! You can mix and match fabrics and colors and still be warm!
DIY: Here’s how:
Supplies:
Fleece Blanket | Fabric for the outside | Long Zipper | Scissors | Sewing Machine | Pins | Sweater In Your Size
2. Fold both the blanket as the fabric double and place them on top of each other.
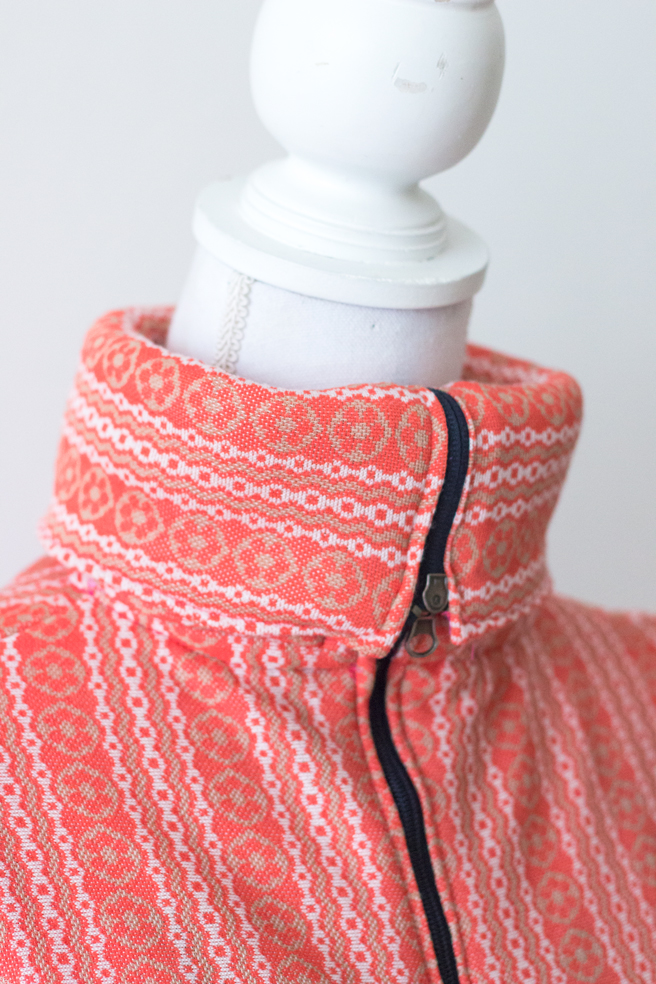
3. Place your sweater on top of the fabrics. And decide how long the sweater will be placing the zipper onto the fabric. (be aware that your zipper will stick out of the neckline to attach the collar!
4. Fold the sleeves of your sweater inside, to clearly see the contour/pattern of your sweater. Cut along the sweater with an extra 1.5 cm.
5. Place the sleeve of your sweater on the fabrics. (make sure that both of the fabrics are still folded and on top of each other.
6. Cut around the sleeve with and extra 1.5cm. Your fabric should look like this (see image).
7. Take one fleece fleece part and one outside fabric part of the body. Place them on top of each other with the fleece on top. Fold the fabrics vertically.
8. Cut along the fold.
9. You will now have 1 fleece and 1 outside fabric of the full body(the back). And 2 fleece and 2 outside fabric parts of the front.
10. Place the full body fleece part on a flat surface. Place the outside fabric full part on top of it. Place the front outside fabric parts on top of the back. And finish with the fleece front parts. (see image).
Sew along the side and shoulder lines, with a 1cm border.
Wow! You did very well! Now get ready for part 2!!
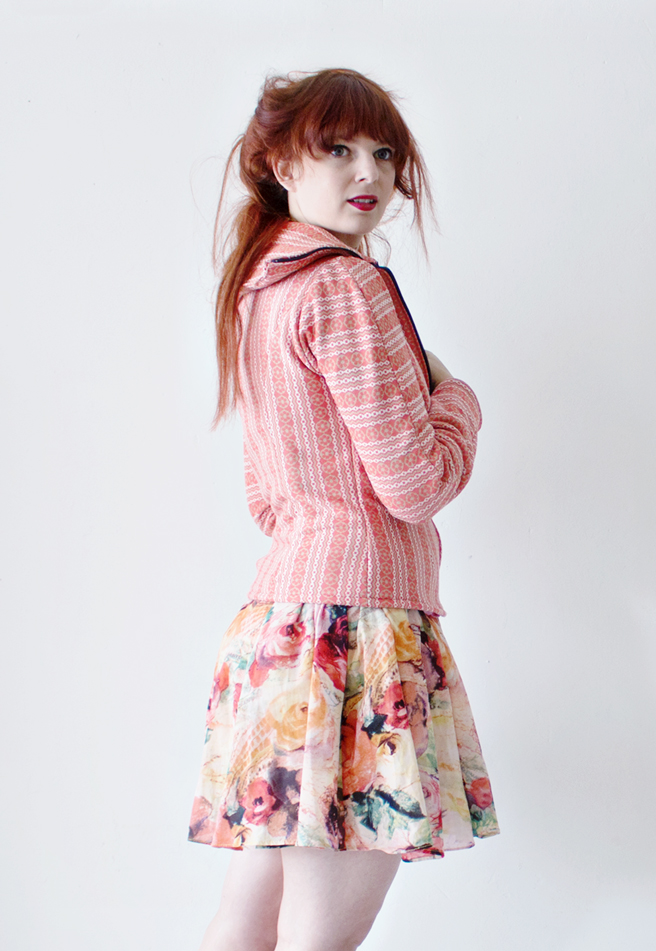
1. Put the sweater on (inside out) or use an adjustable mannequin in your size. Pin the front with a 1 cm border. Now model your sweater. I took it a bit in at the sides to create a waist. And a bit at the front. **If you are not sure how to do this, I am sure that you have a piece of clothing in your closet that has seams like this, just copy that.
2. Your sweater should look likes this. Now on to the sleeves.
3. Place the fleece sleeve pieces on top of each other. Place the outside fabric pieces in between. Sew along the left and right side with a 1cm border.
4. Pin the sleeve onto the sweater and stitch it together. Repeat with the other sleeve.
5. Check you sweater and try it on. see if it’s comfortable and if the sleeves are fitted right at the shoulders.
6. Place your sweater right side out on a flat surface. Place the zipper on the sweater with the bottom alining with the zipper. Measure how much zipper is left at the top.
Place 1 piece of fleece and one piece of outside fabric on top of each other and fold it once. Cut the folded fabric in the size of the leftover zipper +1cm.
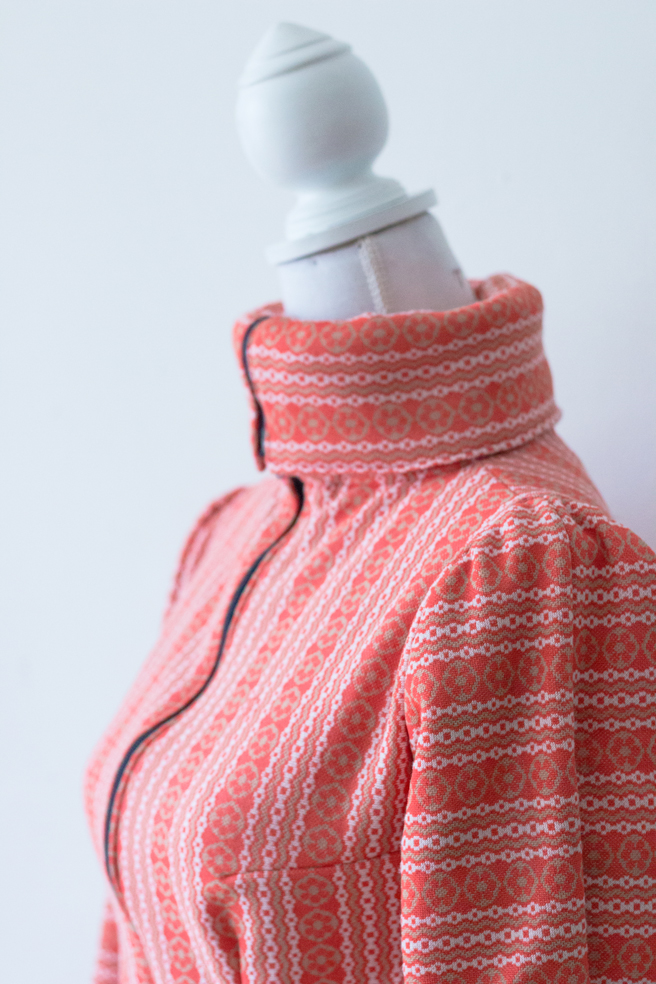
7. Pin the collar onto the neckline of the sweater and sticht it together.
8. Pin the zipper onto the front of the sweater and stitch it together. Hem the bottom and the sleeves.
All done!
3 comments
the colour and pattern are perfect and you look so stylish! i’m in love with your new sweater : ) if only i could sew… ; )
Thank you so much! I actually brought it with me on my Vietnam trip and it was perfect! I guess I’m in love with my new sweater now too;)