LRS
  • START HERE
  • DIY
    • SEWING & STYLE
    • HOME DECOR
    • JEWELRY
    • TECH DIY
    • ANIMAL
    • ROUNDUPS
    • CHRISTMAS CRAFTS
  • FASHION
    • NAIL DESIGN
    • HAIR
    • MAKE-UP
    • OUTFITS
    • FASHION INSPIRATION
    • TIPS & ADVICE
  • RECIPES
    • BREAKFAST
    • DESSERTS
    • TREATS
    • SAVORY
  • TRAVEL
    • TRAVEL
    • BERLIN GUIDE
  • INSPIRED
    • ART
    • BLOGGING
    • PERSONAL
  • ABOUT
    • CONTACT
  • SHOP
  • START HERE
  • ABOUT
  • CONTACT
  • SHOP
L A N A R E D S T U D I O
  • CRAFTS

    SEWING & STYLE

    HOME DECOR

    JEWELRY

    ROUNDUPS

    TECH DIY

    CHRISTMAS CRAFTS

    ANIMAL

    UPCYCLING

    HOME DECOR

    SMALL STUDIO APARTMENT | 10 Tips, Tricks and Ideas to Maximize Your Space

    TECH DIY

    DIY | Card Holder Phone Case

    JEWELRY

    JEWELRY DIY | Gold Leaf Teardrop Earrings

  • FASHION

    OUTFITS

    HAIR

    MAKE UP

    NAIL DESIGN

    FASHION INSPIRATION

    TIPS & ADVICE

    HAIR STYLES

    HAIR DIY VIDEO | Braided Scarf Hairstyle

    NAIL DESIGN

    NAIL DIY | It's a Glittery Sharpie Christmas

    Outfits

    OUTFIT | Autumn, Me & My Tripod

  • RECIPES

    DESSERTS

    SAVORY

    TREATS

    BREAKFAST

    BREAKFAST

    RECIPE | Sugar Free - Banana Bread

    TREATS

    RECIPE | Courgette Chips

    SAVORY

    RECIPE | Sweet Potato & Goat's Cheese Tart

  • INSPIRED

    ART

    BLOGGING

    PERSONAL

    BLOGGING

    HOW TO | 10 PRACTICAL Tips Every Blogger Should Learn

    PERSONAL

    PERSONAL | Grief and other things

    ART

    DIY | Double Exposure Photography

  • TRAVEL

    Berlin

    TRAVEL | BERLIN GUIDE

    Travel

    LIVING ABROAD | How to Make Your Temporary Home Feel Like Home

    explore

    TRAVEL

    BERLIN GUIDE

  • Home Decor
  • Sewing & Style

SEWING DIY | Geometric Blanket

Total
1
Shares
0
0
1

SEWING DIY | Geometric Blanket

I have always had a fascination for textiles and prints. Every time I would shop for clothes, bedding, etc. I would come home with fun prints or unusual fabrics.

But why shop for something that you can make yourself! Today I am showing you a very detailed DIY of my geometric blankets!

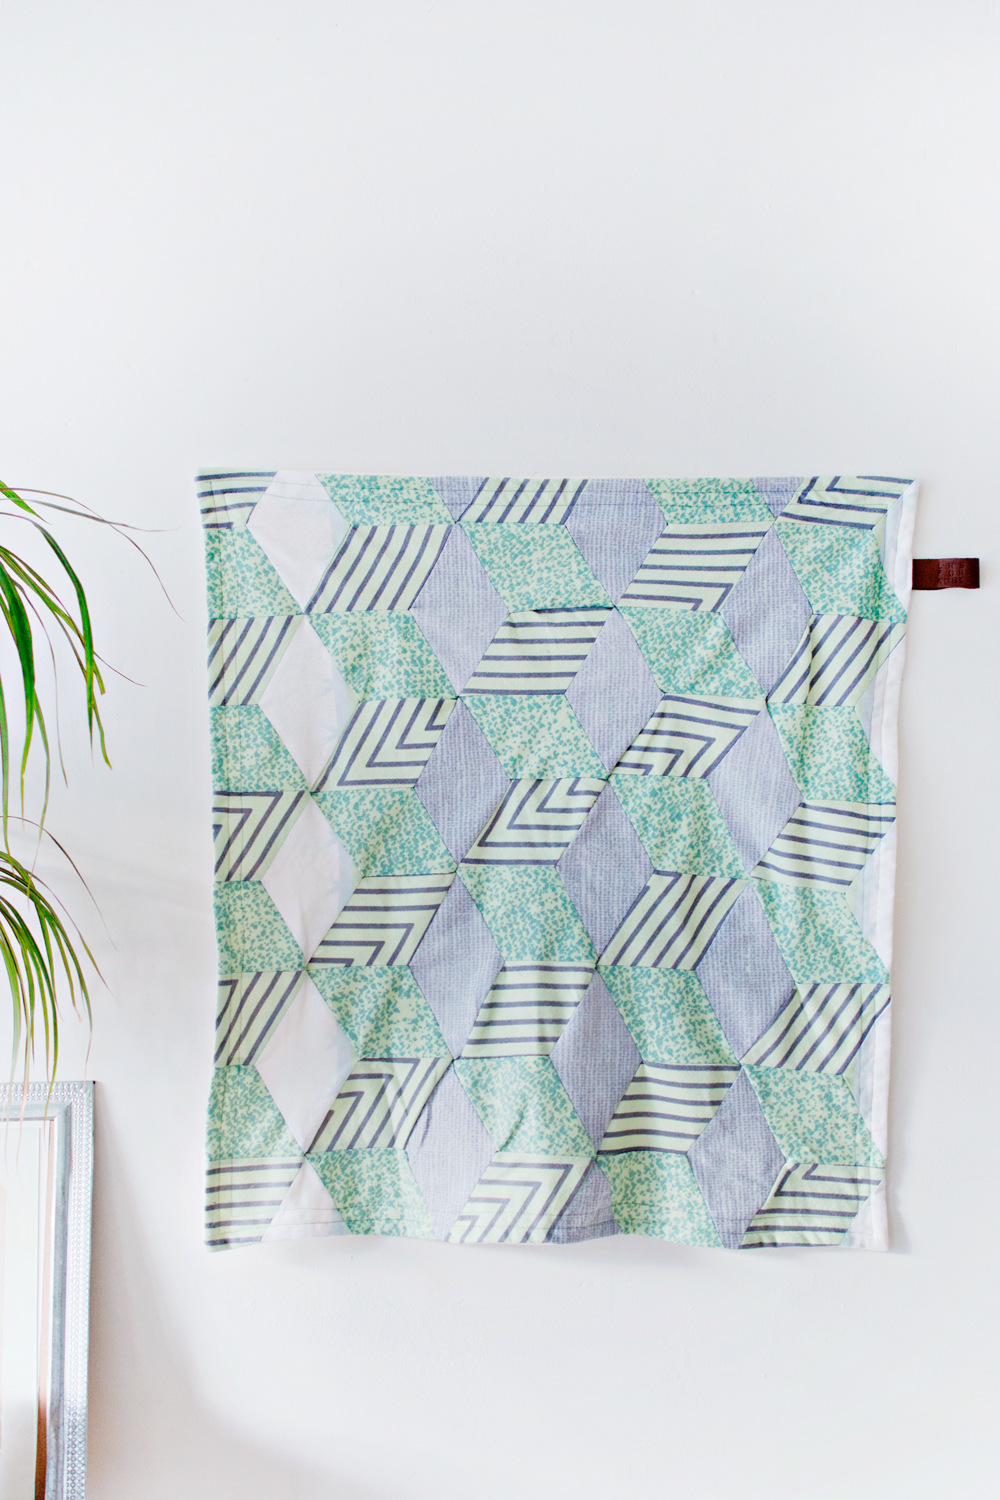
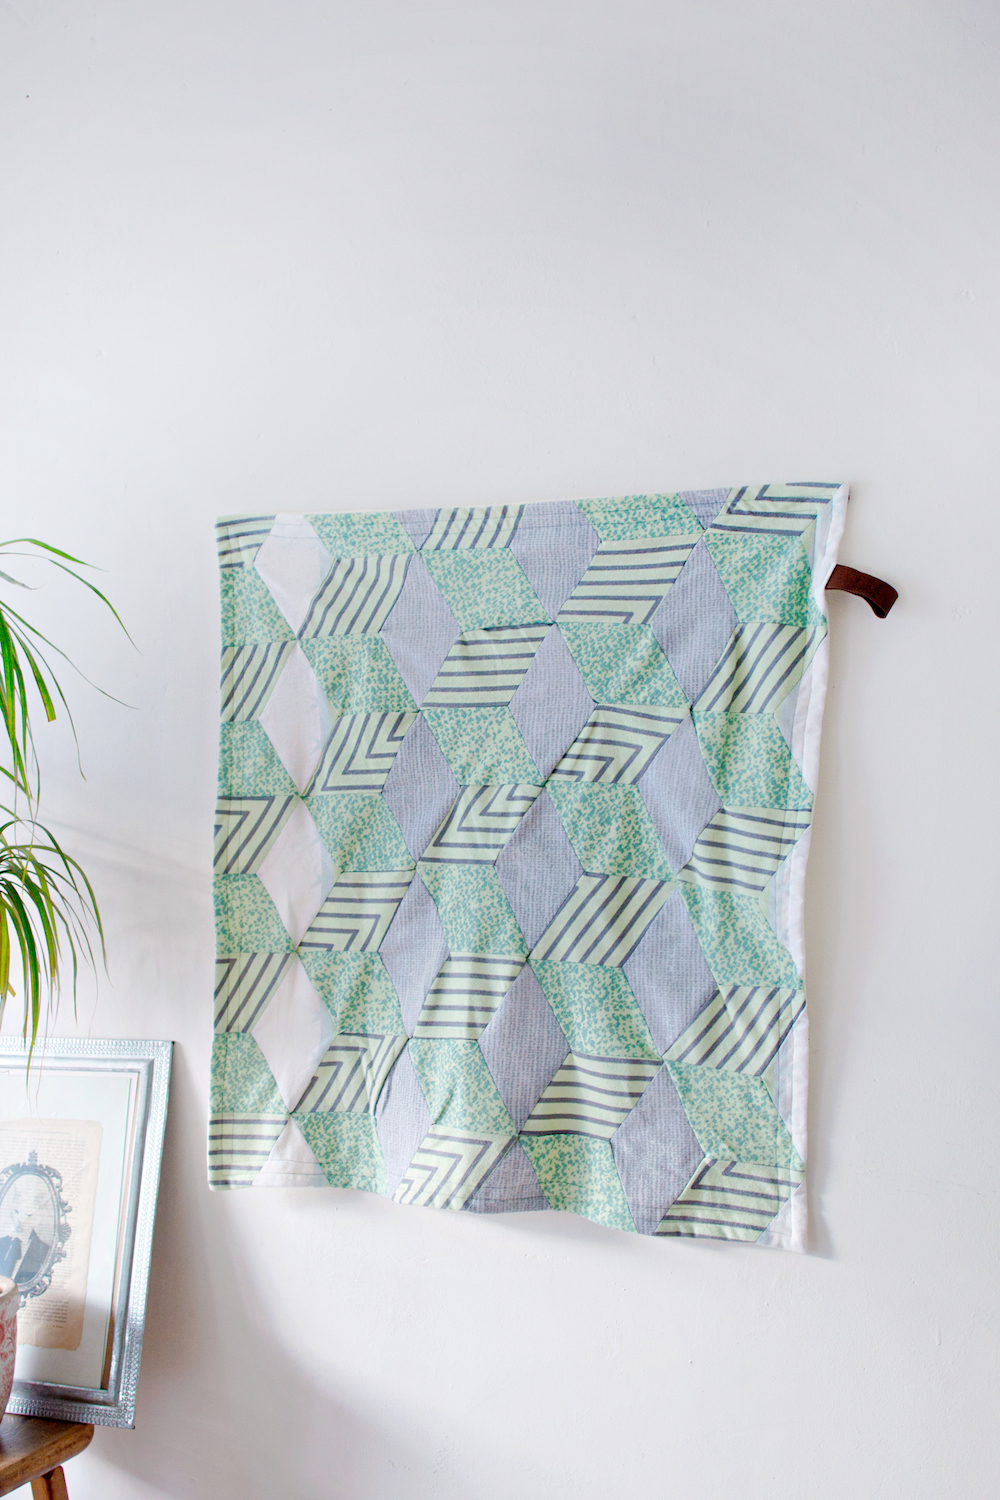
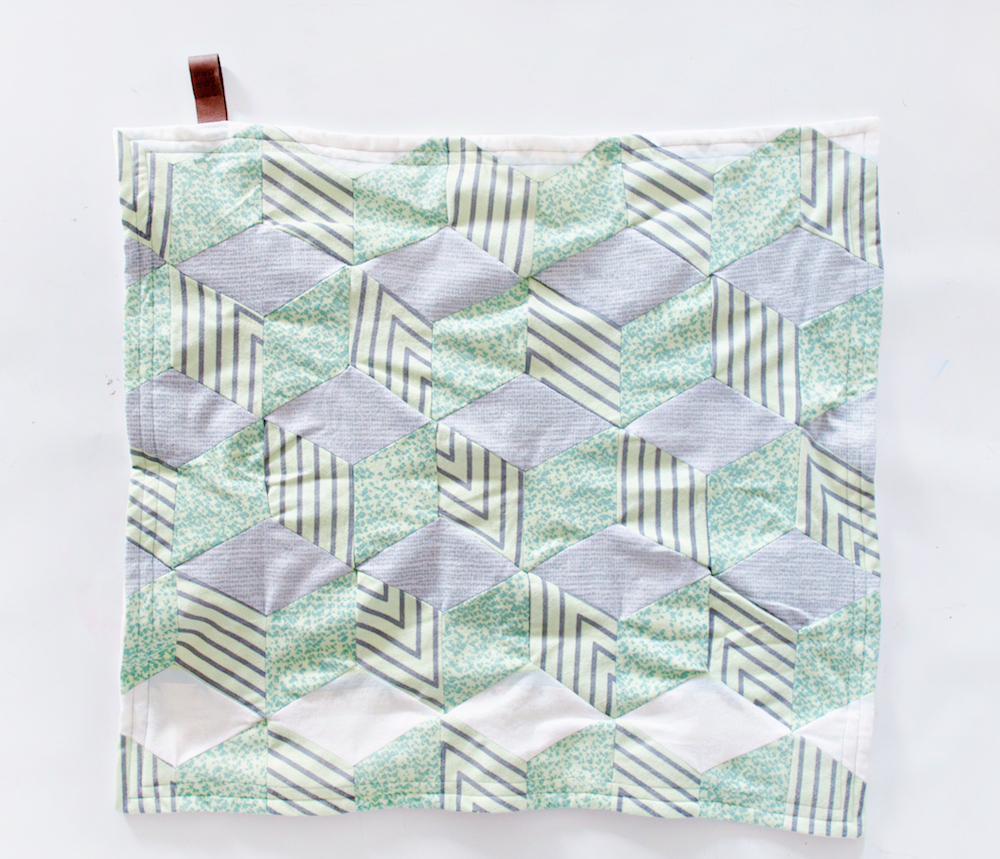
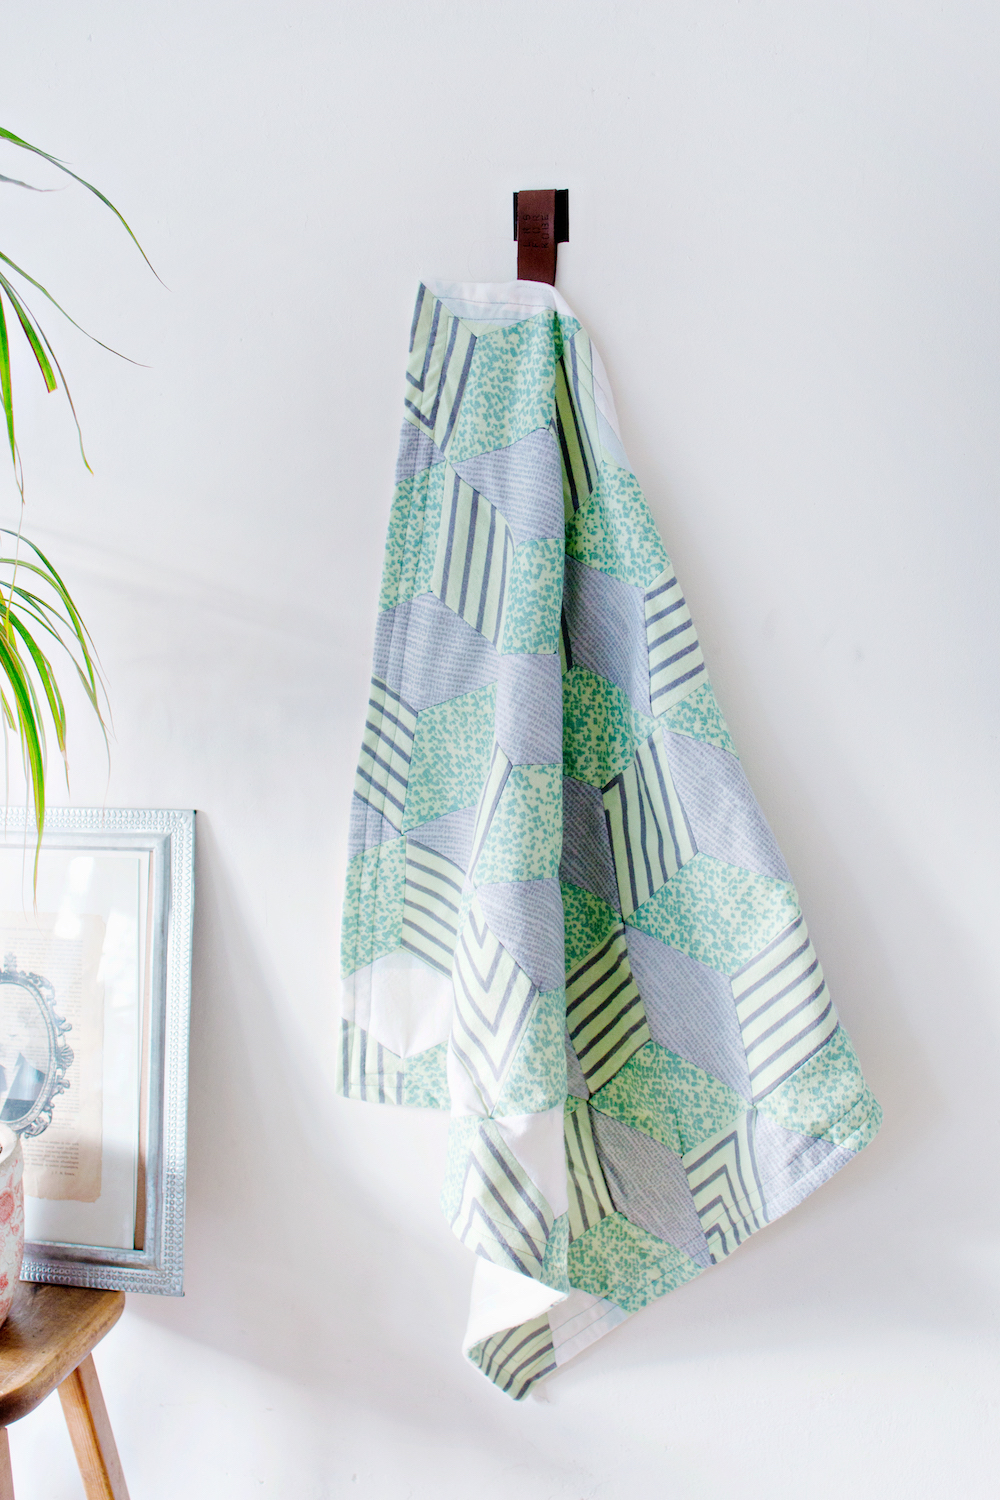
The idea behind this project, is that you can repurpose old pieces of fabric or use fabrics that might be too bold or boring on their own. And turn them into a fun pattern and a completely new piece of fabric that you can use for anything you like! I used it for these two baby blankets as a personal gift (this explains why they are a bit small), but you can also turn the new sewn fabric into a skirt, dress, scarf, etc.

I guess you can call this a patchwork sewing project, but I feel that the word ‘patchwork’ has a bad reputation for only resulting in hippie skirts, and jeans projects.

The patchwork technique really doesn’t have to be used in the old fashioned way. Starting with modern fabrics, or pastel coloured textiles, it can turn out to be a a very modern looking item.

Using a geometric print also modernises the fabric and adds an optical illusion ones the fabric is folded open.

Ready for a new sewing challenge?! Let’s start the project! 

First things first:
– This project is a bit of an advanced sewing project. No pattern skills necessary, but the corners can be tricky.
– This is not a one day project. Cutting the fabric pieces with the template takes some time. I suggest to listen to some fun music, or see it as a focus project. It kinda felt like knitting, pretty relaxing actually;) Obviously the duration of the project is based on the size fabric that you need.
– What else: It’s a lot of fun to do!! And you don’t have to stick to the pattern that I used. You can easily create your own geometric pattern and use that for this project.

DIY:

SEWING DIY | Geometric Blanket

SUPPLIES

– Fabric Scraps for the geometric sewing print
– Fleece fabric ( I used a fleece blanket)
– Pattern Template – free download: here
– Sewing Machine
– Fabric Chalk or something similar
– Scissors
– Pins
– Measuring Tape
– Iron

SEWING DIY | Geometric Blanket

STEP 1

Download the free template and print it on regular paper. Cut the shape out.
(This is also the time to adjust the size of the shape)

A regular piece of paper will work just fine as a stencil, but if you are making a larger blanket, I suggest tracing the shape onto a piece of cardboard. This will be more user-friendly.

SEWING DIY | Geometric Blanket

STEP 2

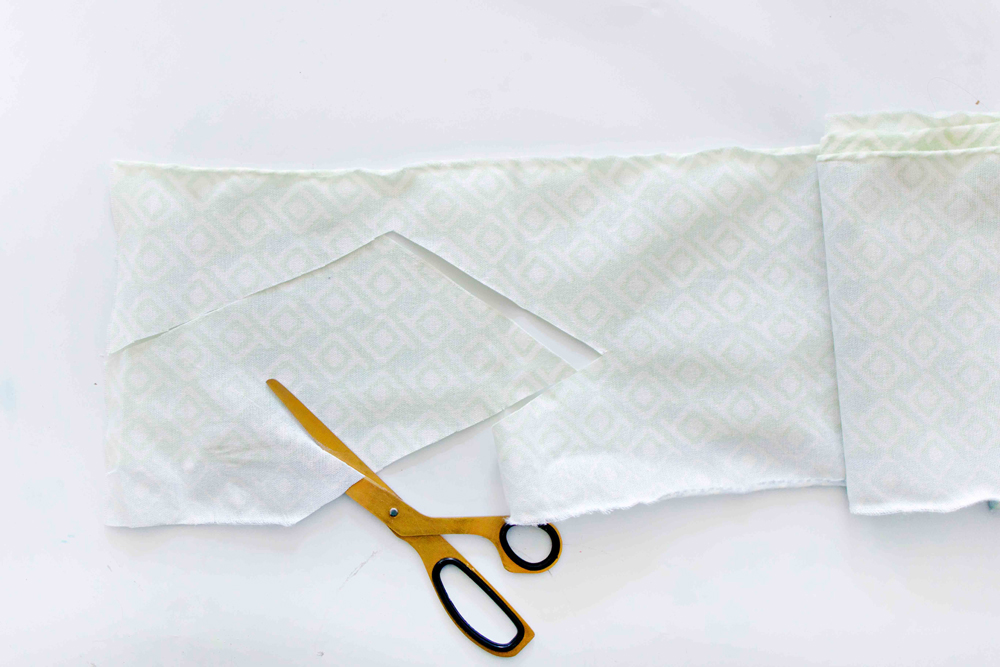
Place your stencil onto the wrong side of the fabric and trace the shape with your fabric chalk.

SEWING DIY | Geometric Blanket

STEP 3

Cut the drawn shape out of the fabric.

SEWING DIY | Geometric Blanket

STEP 4

Repeat step 2 and 3 until you have enough pieces of fabric to create your blanket. I made two blankets. Each blanket using 3 different colours for the best optical illusion result.

SEWING DIY | Geometric Blanket

STEP 5

Place your cut out pieces of fabric onto a flat surface and place them in the desired pattern. This is the part where you can decide the placement of your different fabrics.

SEWING DIY | Geometric BlanketSTEP 6

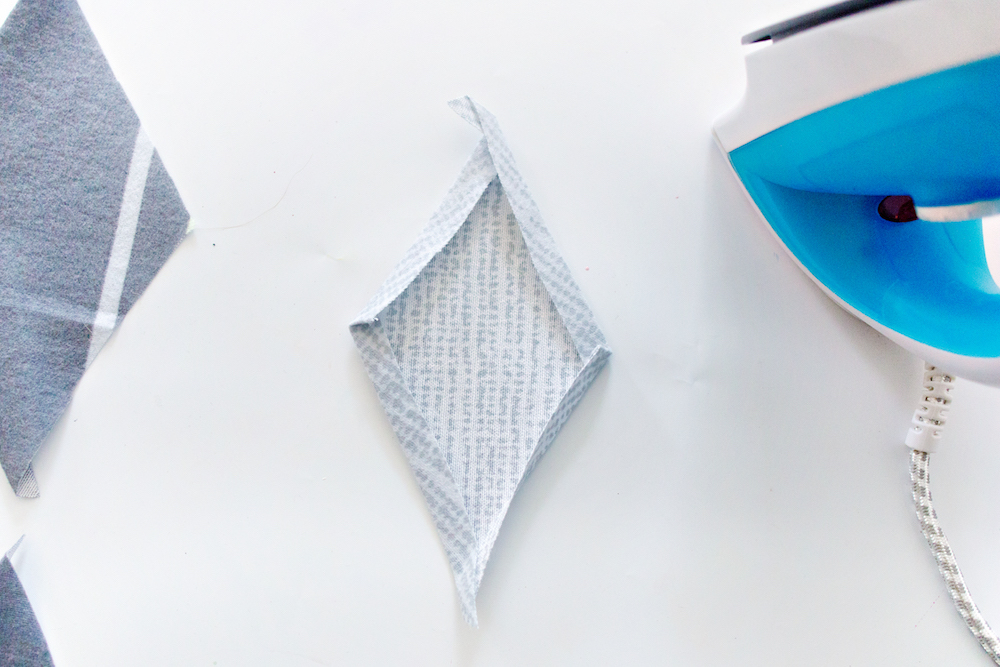
Take one piece of fabric and place it wrong side up on a flat surface or ironing board. Iron the edges 1 cm to the inside.
The fold will be your guide when you sew the pieces together.

Repeat this for all of the pieces.

SEWING DIY | Geometric Blanket

STEP 7

– Place your ironed pieces back in the desired pattern on a flat surface.
– Take 3 pieces as shown in the photo above and sew them together. Use the ironed fold as a sewing guid.

– Repeat this for all of the pieces, making sure that you stick to your pattern.
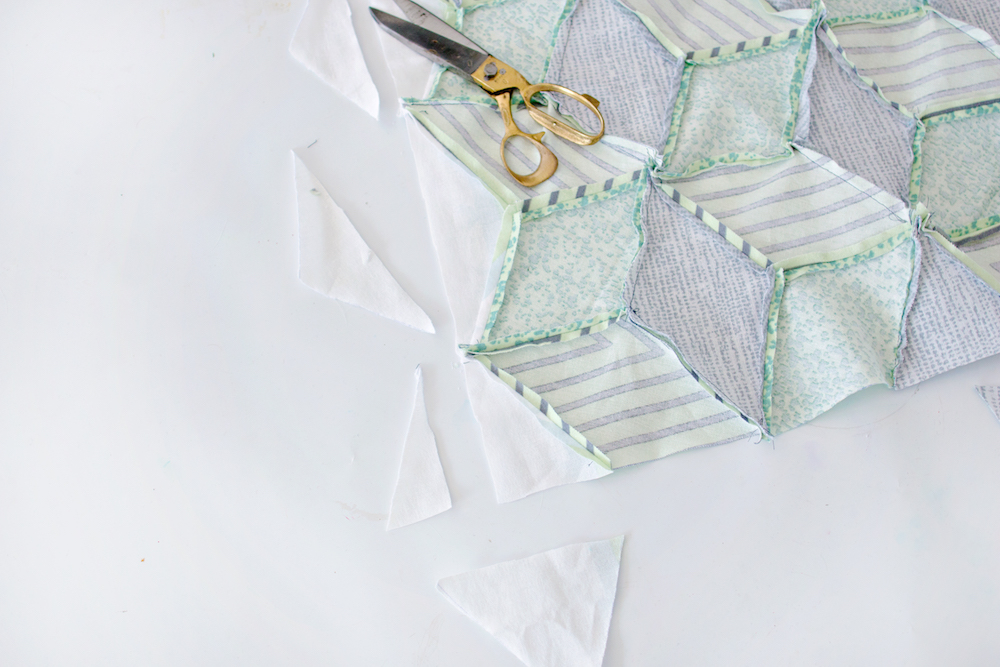
SEWING DIY | Geometric Blanket

STEP 8

Cut the excessive fabric from the sides, creating a square or rectangle shaped piece of fabric.

SEWING DIY | Geometric Blanket

STEP 9

– Place the fleece blanket or fleece fabric onto a flat surface, wrong side down.
– Lay the geometric fabric wrong side up, onto of the fleece blanket.
– Cut the fleece blanket in the size of your geometric fabric.
– Pin the two pieces of fabric together.

Optional: add filling for a softer or warmer blanket.

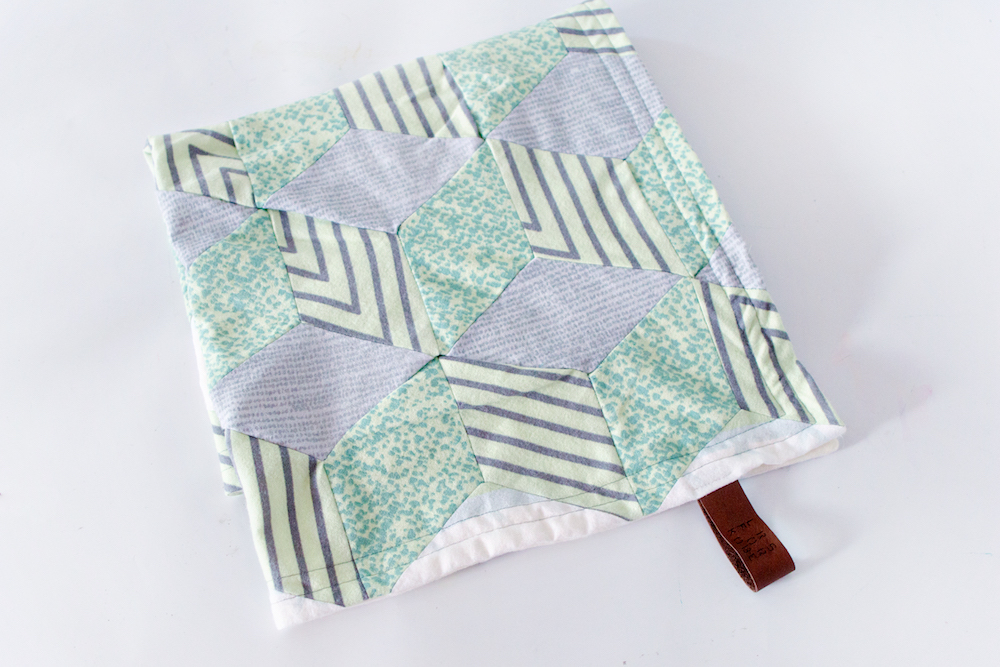
Optional 2: if you want to add a label to the blanket, this will be the time to stitch it between the two layers.
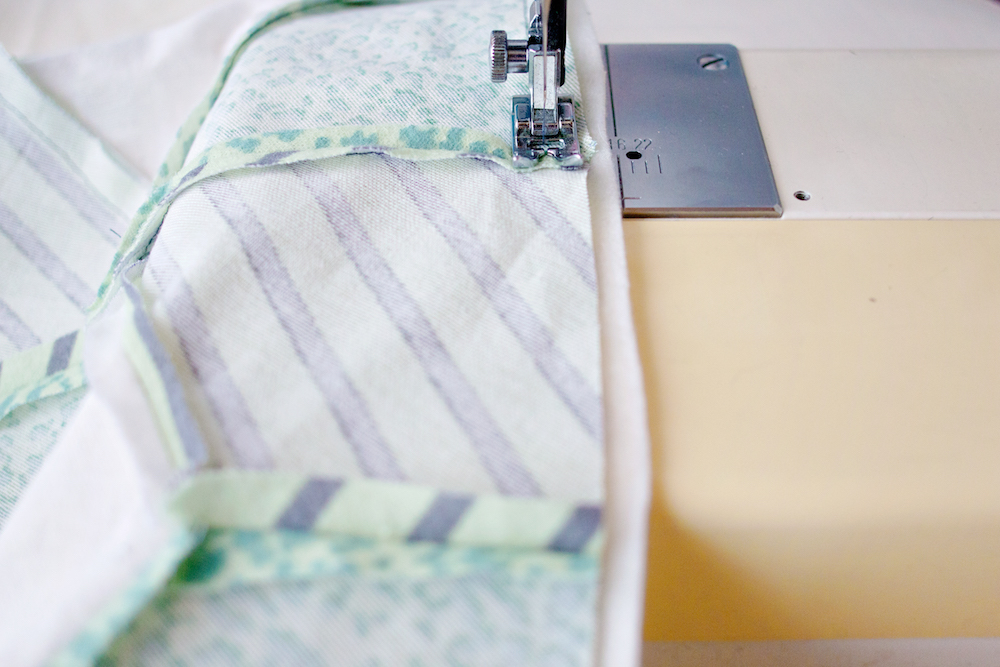
SEWING DIY | Geometric Blanket

STEP 10

Sew the fleece blanket en geometric fabric together, keeping one side open.
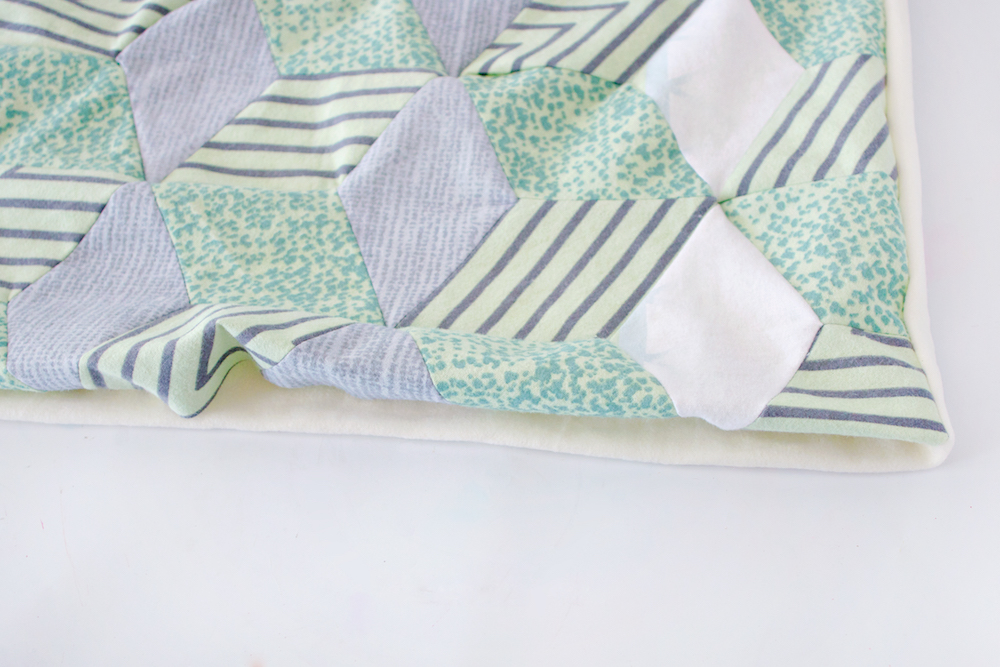
SEWING DIY | Geometric Blanket

STEP 11

– Turn the blanket inside out (or outside in, however you would like to see it;)
– Fold the edges of the open side to the inside.
– Sew the folded parts together.

SEWING DIY | Geometric Blanket

STEP 12

To give the blanket that extra look, create two extra stitched rows all around, 1 or 2 cm from the edge.

SEWING DIY | Geometric BlanketSEWING DIY | Geometric BlanketSEWING DIY | Geometric BlanketSEWING DIY | Geometric Blanket SEWING DIY | Geometric BlanketSEWING DIY | Geometric Blanket SEWING DIY | Geometric BlanketSEWING DIY | Geometric Blanket SEWING DIY | Geometric BlanketSEWING DIY | Geometric Blanket


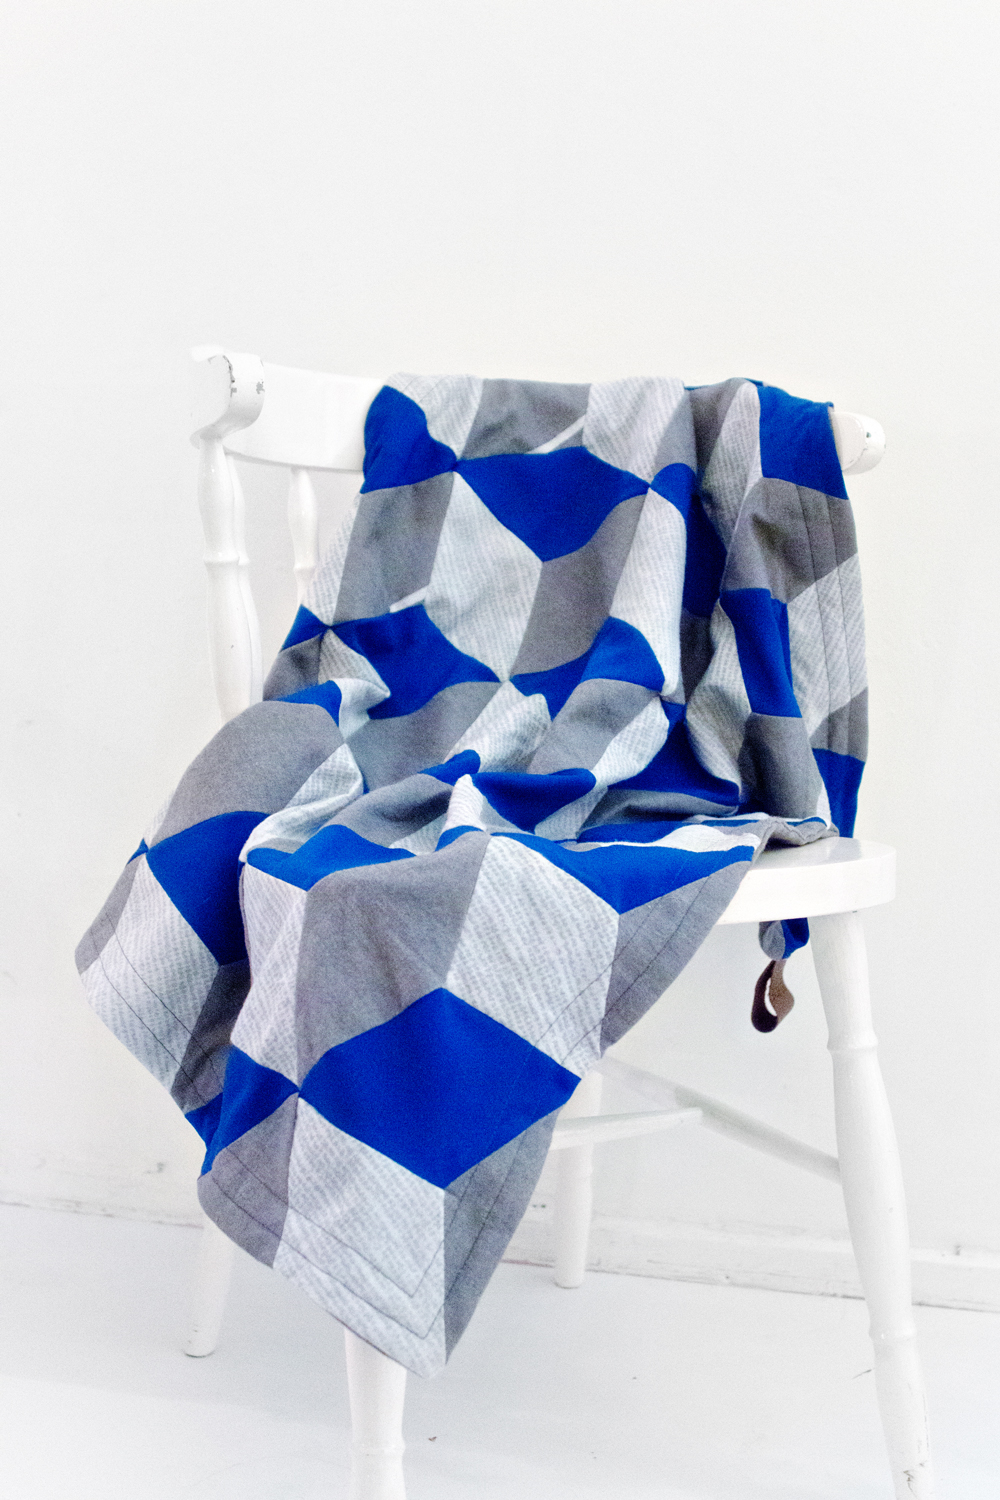
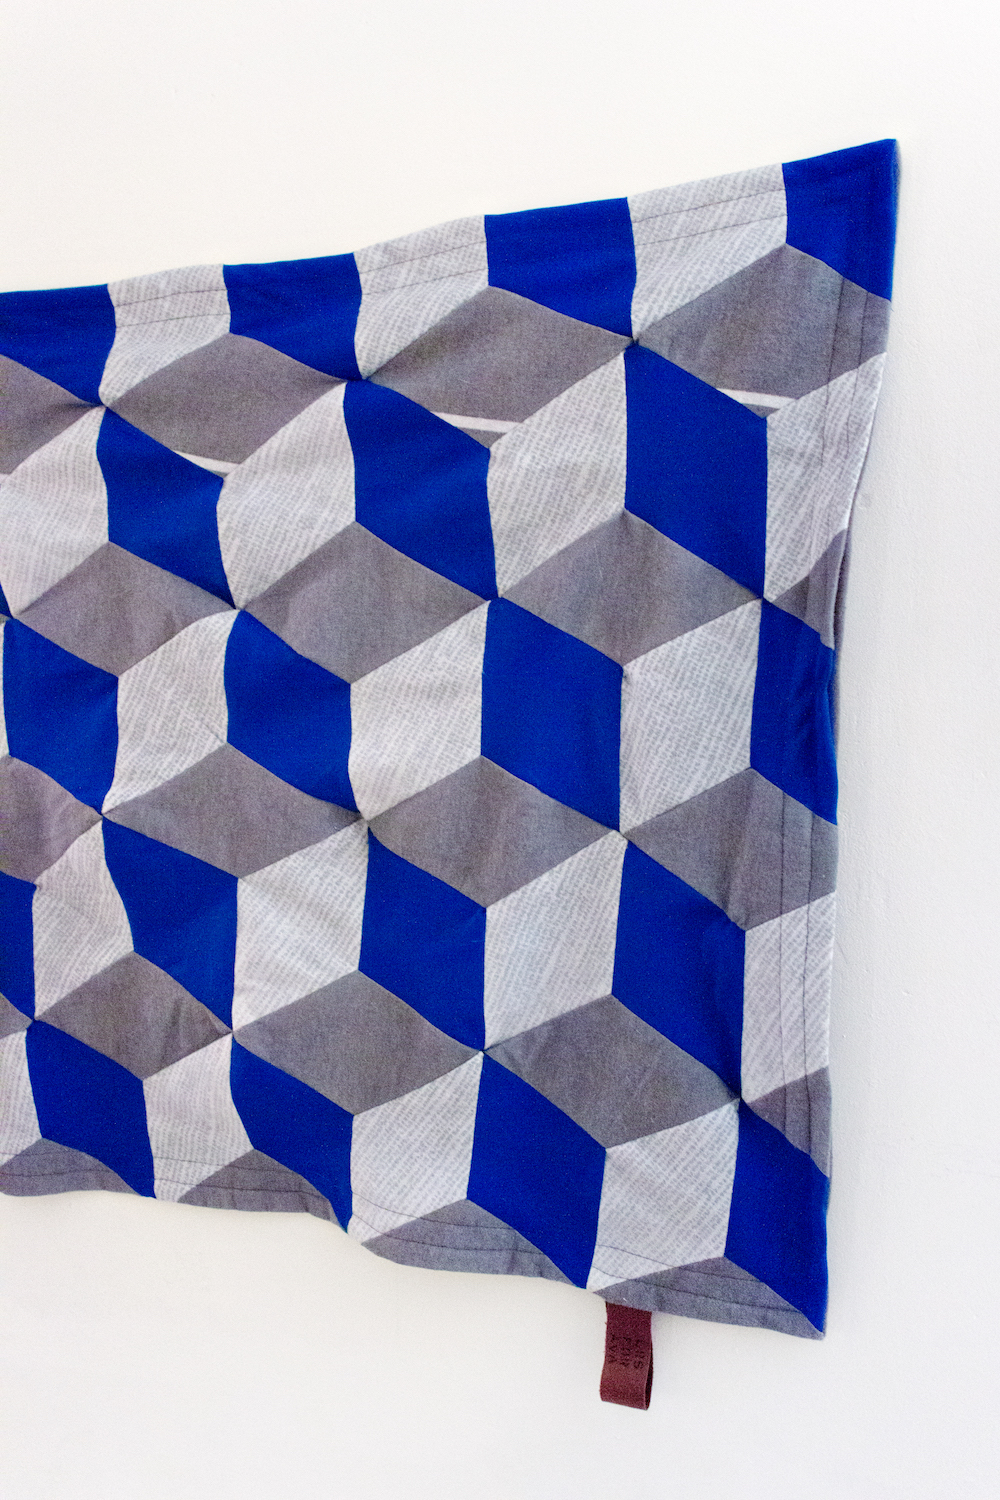
I had so much fun doing this project. And the print really has an optical illusion effect. I can’t wait to start a new project with a new print, maybe for a dress next time?

Do you have lot’s of sewing projects or are you interested in modernising the patchwork world? Let me know in the comment section!

Total
1
Shares
Share 0
Tweet 0
Pin it 1
Previous Article
  • Featured

FEATURE | Lace Panel Sweatshirt

View Post
Next Article
  • Featured

VIDEO | Lana Red Studio @ TV-Show ‘Koffietijd’

View Post

Sign Up for the LRS Newsletter

Be the first to receive lots of crafty news!

Get ready for more creative articles:
UPCYCLING DIY Old T-Shirt Hair Scrunchie
View Post
  • DIYit/BUYit
  • Sewing & Style
  • Upcycling

UPCYCLING DIY | Old T-Shirt Hair Scrunchie

DIY | Card Holder Phone Case
View Post
  • Sewing & Style
  • Tech DIY
  • Upcycling

DIY | Card Holder Phone Case

SMALL STUDIO APARTMENT | 10 Tips, Tricks and Ideas to Maximize Your Space
View Post
  • Home Decor

SMALL STUDIO APARTMENT | 10 Tips, Tricks and Ideas to Maximize Your Space

HANGING PLANTER DIY | From Sifter to Planter
View Post
  • Home Decor
  • Upcycling

HANGING PLANTER DIY | From Sifter to Planter

RESTYLE DIY | Custom Sofa Fabric Design
View Post
  • Home Decor
  • Rijksstudio
  • Sponsored
  • Upcycling

RESTYLE DIY | Custom Sofa Fabric Design

DIY | Candle Wax Table Lamp
View Post
  • Home Decor
  • Upcycling

DIY | Candle Wax Table Lamp

DIY | No-Sew Wire Headband
View Post
  • Sewing & Style
  • Video

DIY | No-Sew Wire Headband

ART DIY | Handmade Collage Greeting Card
View Post
  • DIYit/BUYit
  • Home Decor
  • Tech DIY

ART DIY | Handmade Collage Greeting Card

2 comments
  1. Maya-Lune says:
    26th August 2016 at 11:23 am

    Thank you Lana! I tried your diy, my blanket is gorgeous!
    xx from France ;-)

    Reply
    1. Lana Red says:
      31st August 2016 at 9:29 am

      That’s great! Thank your for using my DIY to make it, I hope you had fun doing it:)

      Reply

Leave a Reply Cancel reply

Your email address will not be published. Required fields are marked *

ABOUTLRS
THE LRS NEWSLETTER
  • But you don't look autistic at alll
    PERSONAL | Grief and other things
  • JEWELRY DIY | Gold Leaf Teardrop Earrings
    JEWELRY DIY | Gold Leaf Teardrop Earrings
  • UPCYCLING DIY Old T-Shirt Hair Scrunchie
    UPCYCLING DIY | Old T-Shirt Hair Scrunchie
One of my fav projects! The Origami Swan Brooch, made out of copperplate. It’s such a simple, yet unique item. Check out the blogs archive for the full tutorial!
BOOKSWAP! (For now, this is for all Dutch based friends)
The Dutch COVID lockdown has been extended for another 3 weeks. I am lucky to still have steady work as a freelancer and I know that it is hard on so many people, but let's all stay safe and take this serious.
NEW ILLUSTRATION • This time it's a personal one: A drawing of my sister Kelly, who passed away last year.
NEW ILLUSTRATION! • This time it is Christmas themed. Hurray!
It's official: we, the cheese loving Dutchies are in Covid lockdown.

Sign Up for the LRS Newsletter

Let's be friends!

  • Privacy Policy

Input your search keywords and press Enter.