 I have been wanting to make my own set of postcards for a while now, but I really wanted to use the process as part of an art DIY project to share how incredibly fun it is to see something that you have made in print!
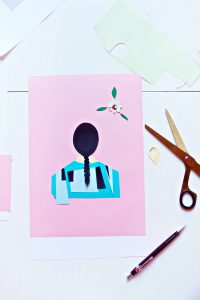
So, let’s start by collecting all of the scrap paper that you have laying around (this can be from your kids craft collection, old newspapers, etc.) and instead of bringing them to the recycling bin, turn them into your very own art card project!
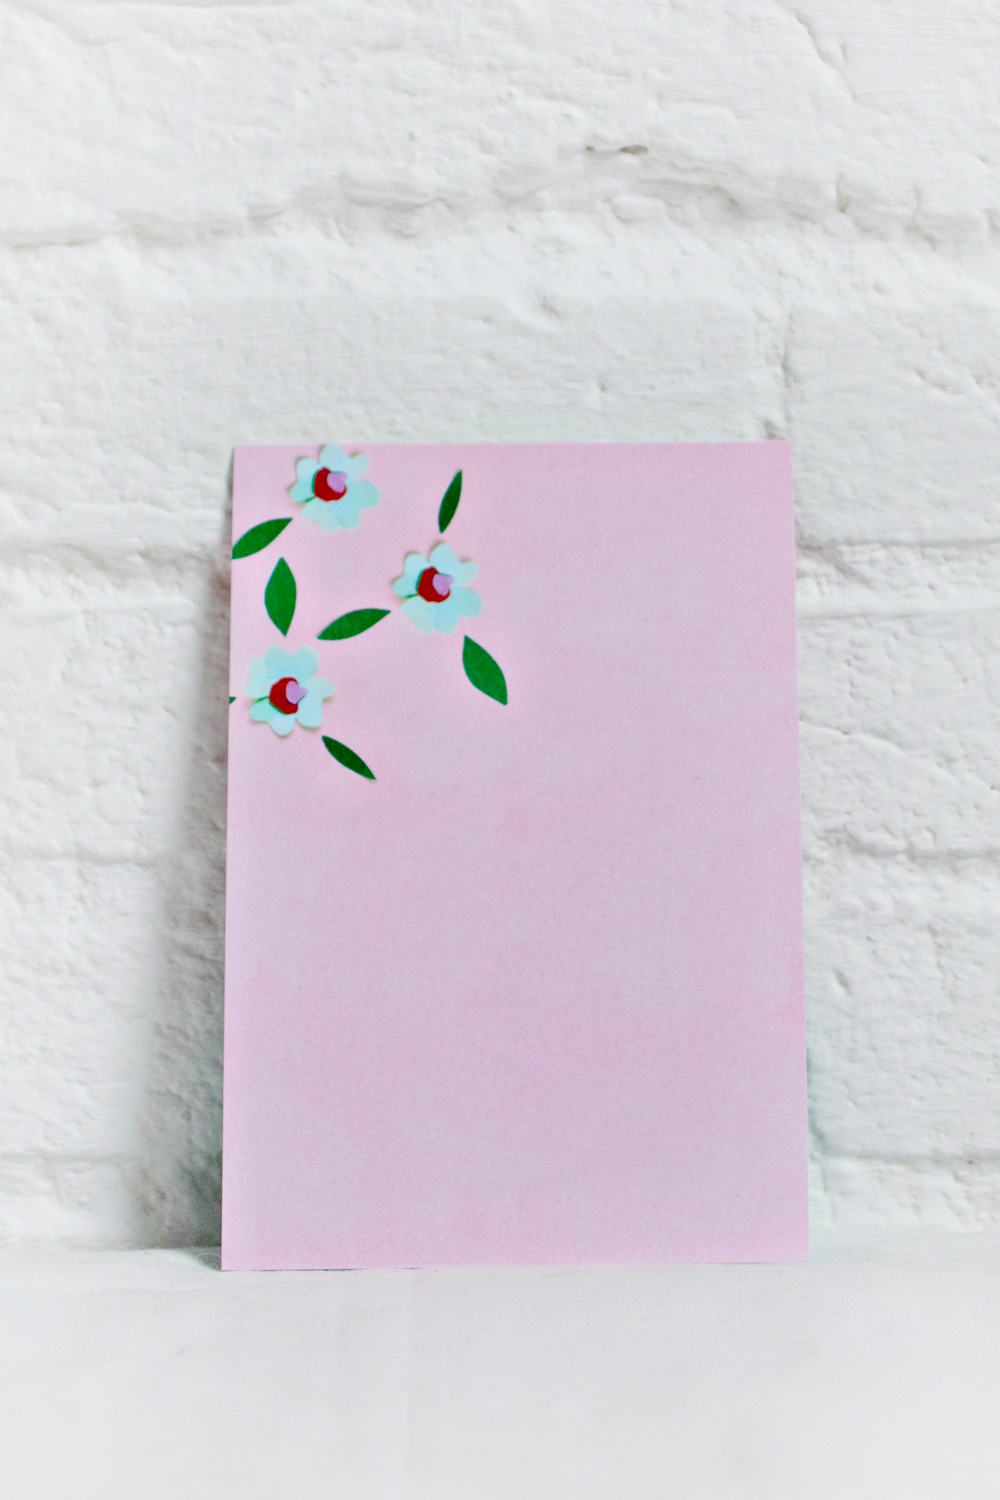
The idea behind the card design is to play with a real collage made out of paper (or other materials if you feel like trying something new) and use the layered effect to create a subtle 3d look. Later on, you photograph or scan the result and print it onto cardstock.
What I absolutely LOVE about this process is that you actually get to play around with different shapes and materials and try things that you might not think of when you are designing something on the computer.
Are you excited yet?! Let’s start making that card!
ART DIY | Handmade Collage Greeting Card
This project is a part of the LRS DIY / BUY it collection.
Make it yourself, or buy it today!
SUPPLIES
– Any kind of scrap paper that you like (I used kids craft paper and payed special attention to the color combination for the card design)
– Scissors or hobby knife
– Scanner or camera
– Printer (or you can order your cards online, like I did)
STEP 1.1
Designing
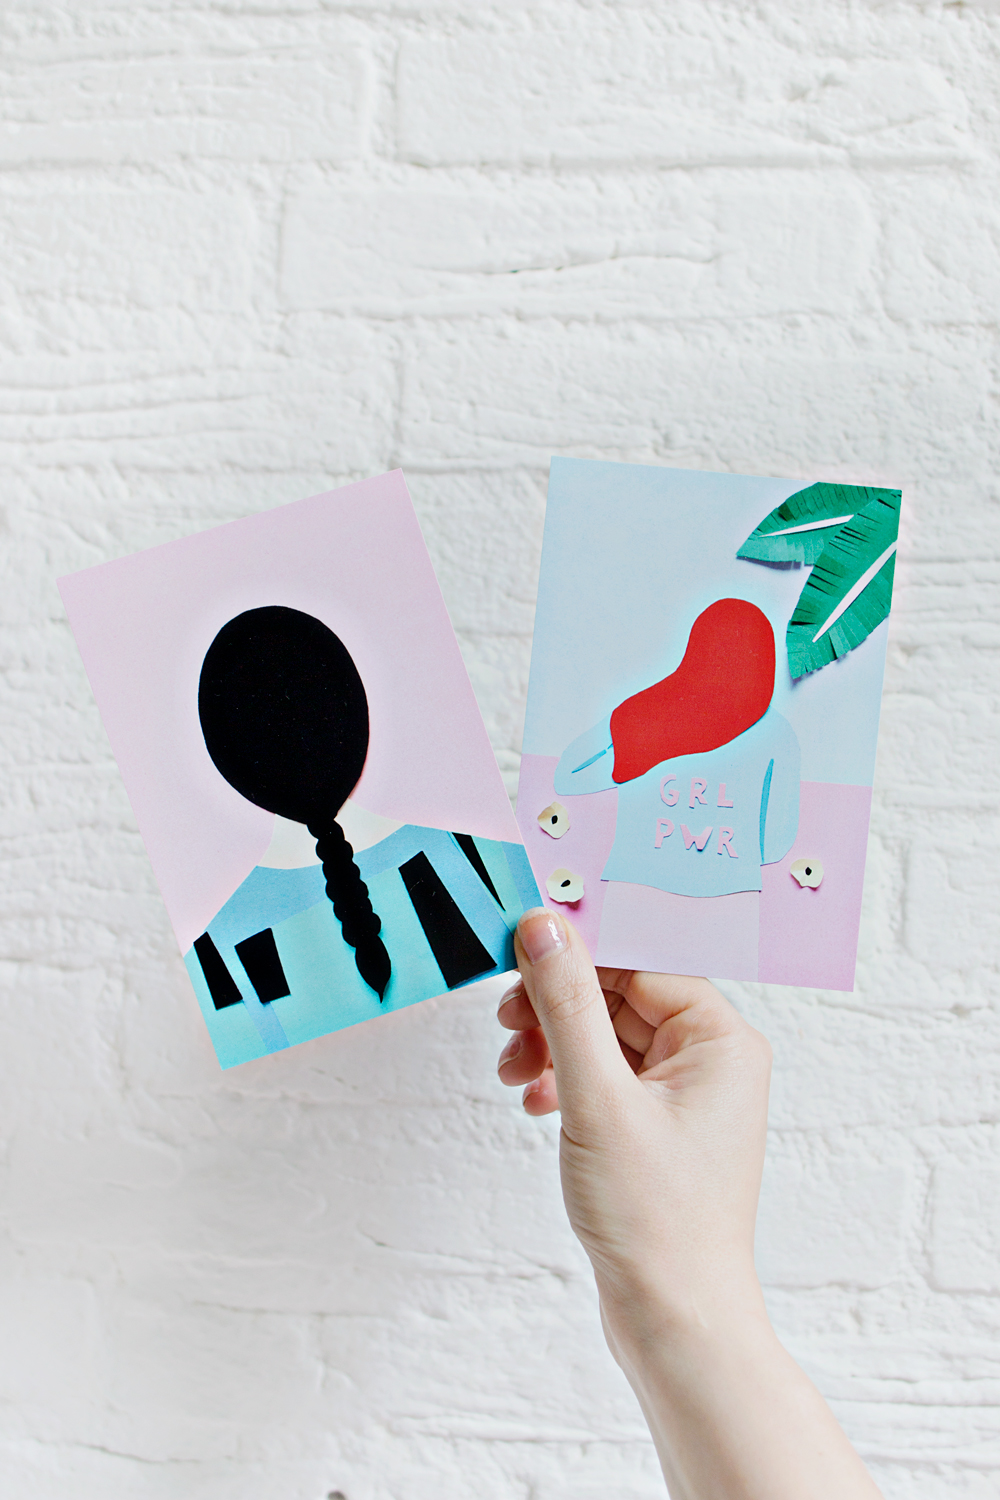
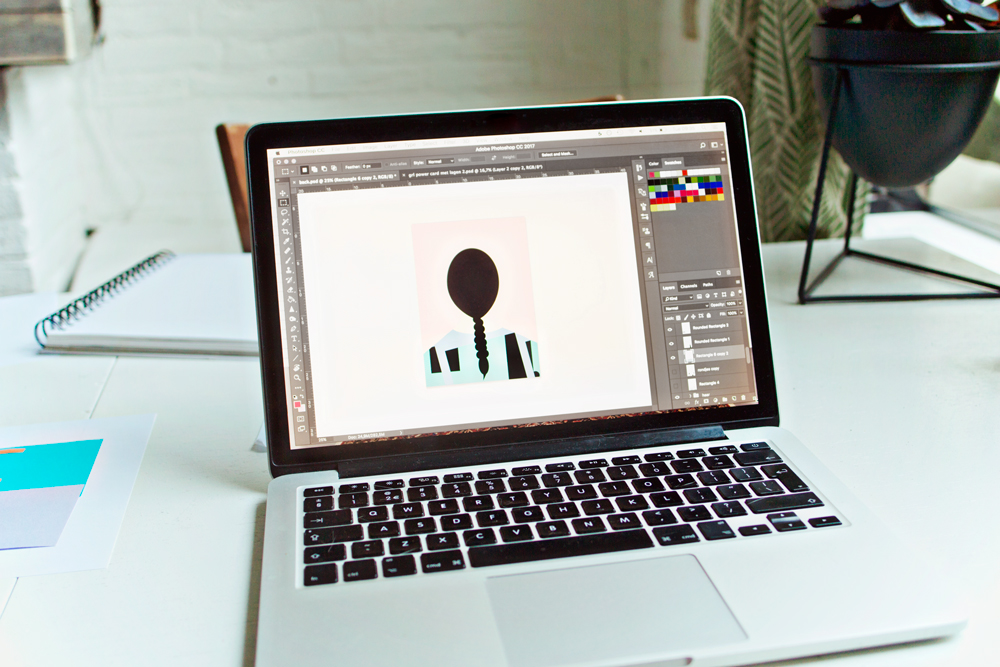
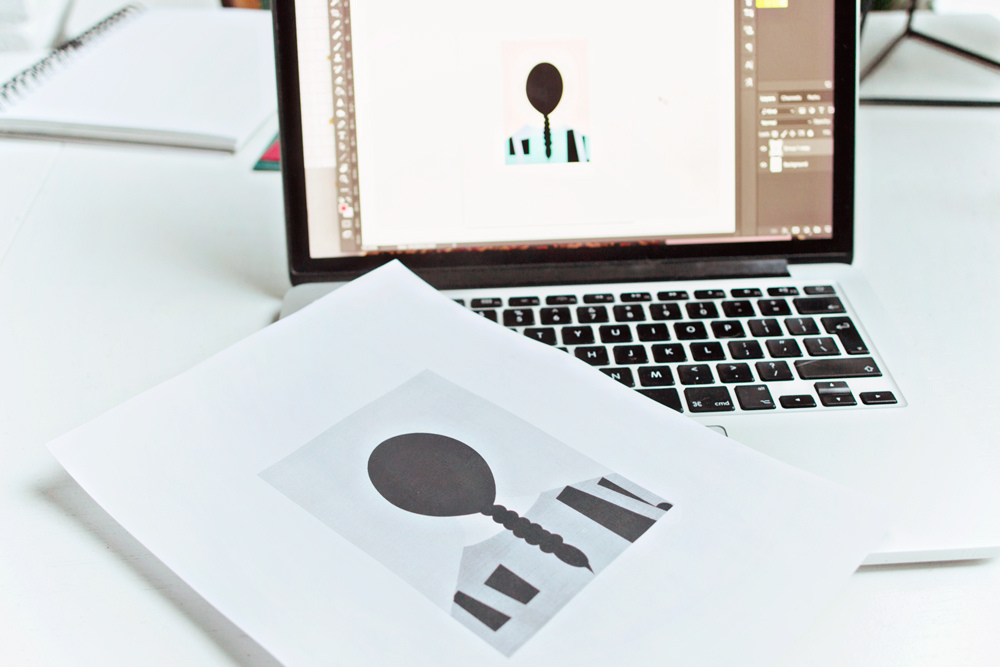
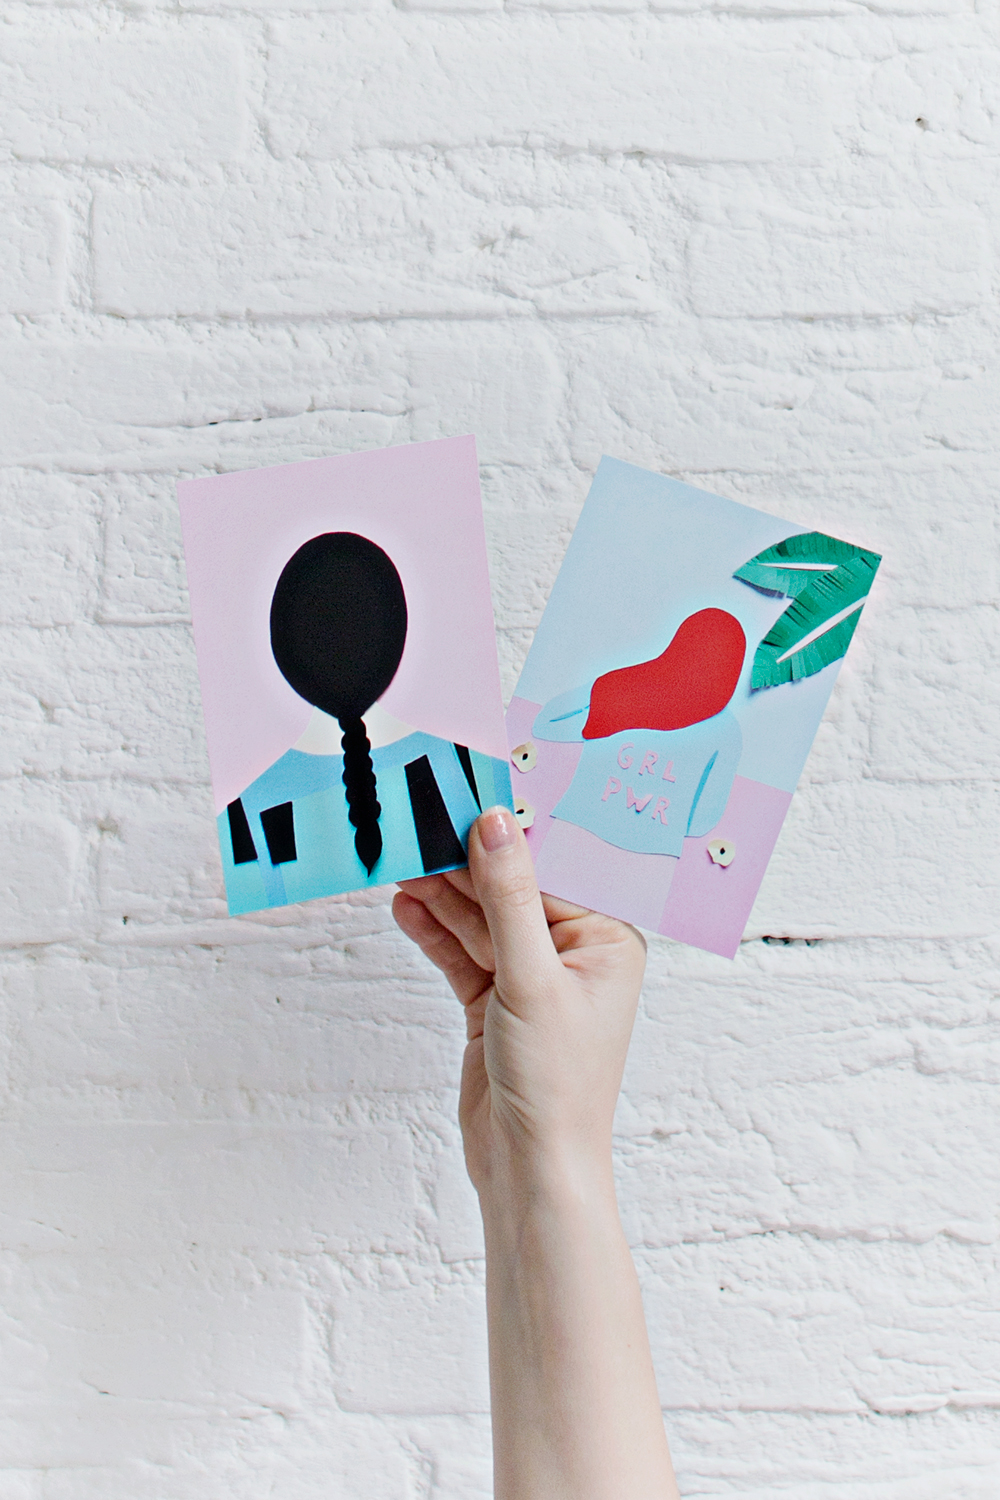
– I made 2 cards and used 2 different designing techniques. For the first card, I designed the image on my laptop in Adobe Photoshop. I played around with simple squares, circles and other regular shapes until they formed a portrait (the braided hair is actually a bunch of circles)
– You can of course design anything that you like, and use any computer software that you are comfortable with.
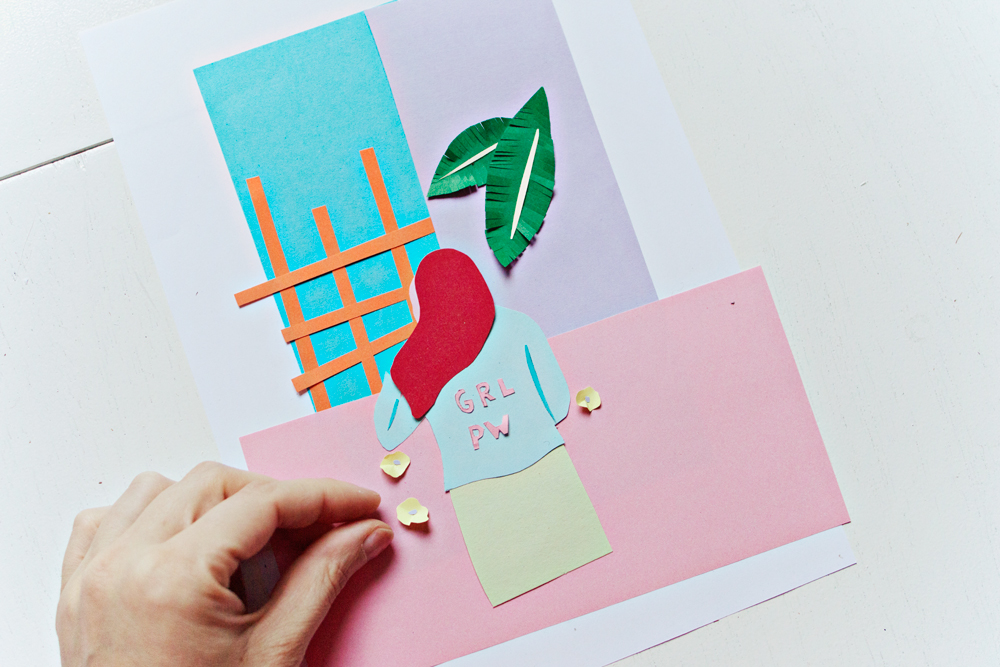
STEP 1.2
Designing
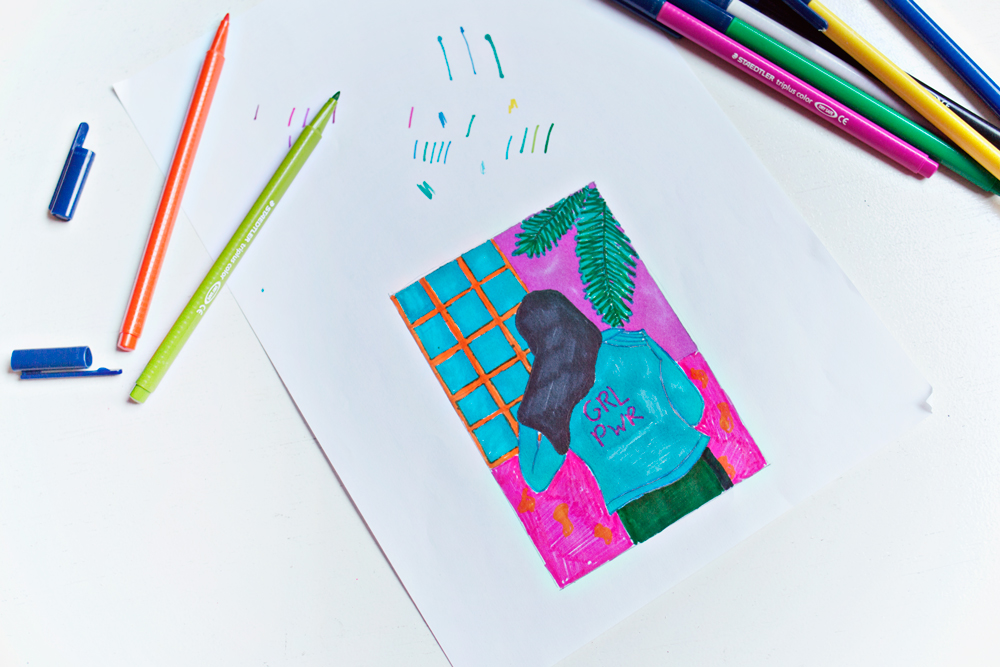
– For the second card design, I traced a photo of myself onto a piece of paper (keeping in mind to use the right proportions to that of a regular A6 sized card). I only traced the outer edges of my hair, the jacket, etc.
– After tracing the image, I used different colours to colour the big empty spaces.
– What I loved about this, is that I already got to experiment with colors and got to see what did and didn’t work.
STEP 2
– I you have designed your image on the computer, you can print it onto a regular piece of paper. It doesn’t have to be printed in the exact card size, just as long as the proportions are similar to that of a regular card (I made my cards in A6 format)
STEP 3
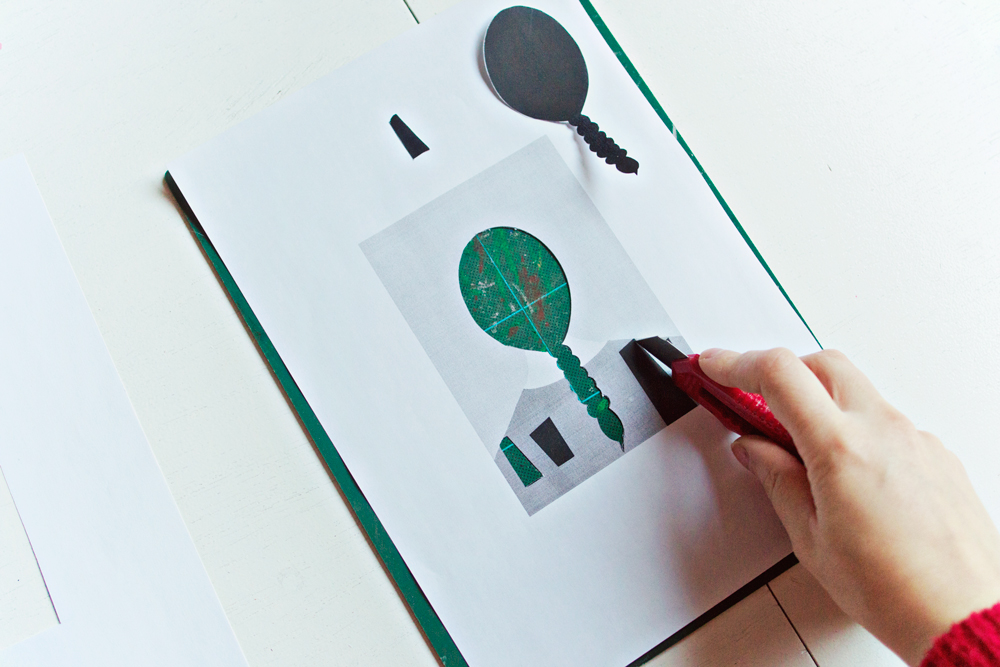
– Wether you have printed your design or painted it in a piece of paper, place it on a flat surface and start by cutting away the bigger shapes.
– After you have have traced a few bigger shapes with your scissors or knife, stop this step and follow the instructions in step 4.
STEP 4
– Place one of the cut out pieces on a piece of your chosen scrappaper and trace the shape.
– Cut the traces shape out of the paper, this is your first piece of the collage!
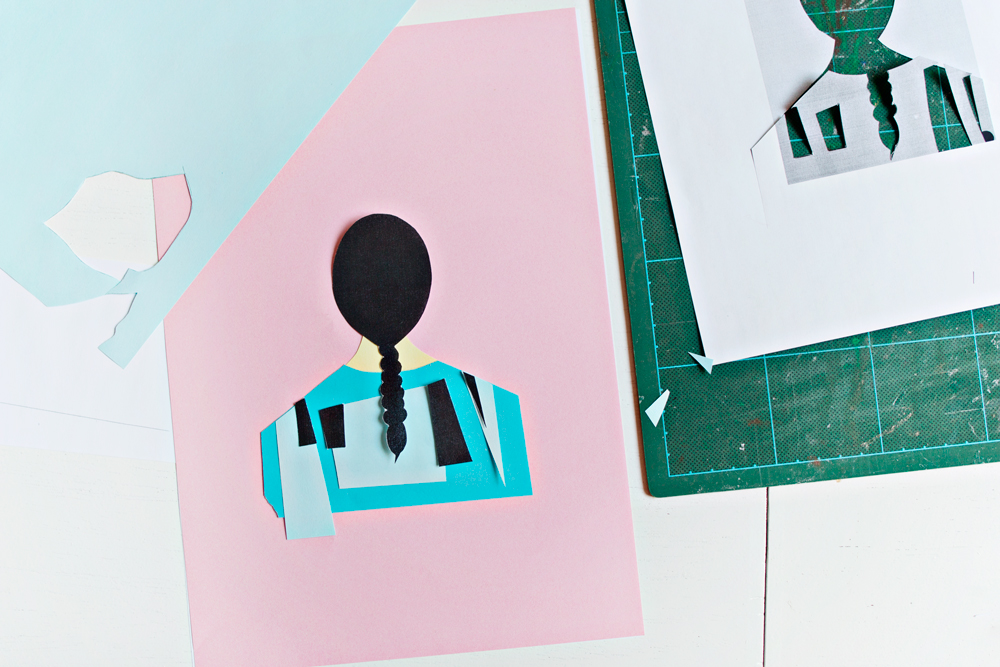
– Repeat step 3 & 4 until you have traced and ‘copied’ all of the shapes from your design.
– You can trace one piece unto different kinds of paper and see which one works best. Play around, trust me it’s fun!
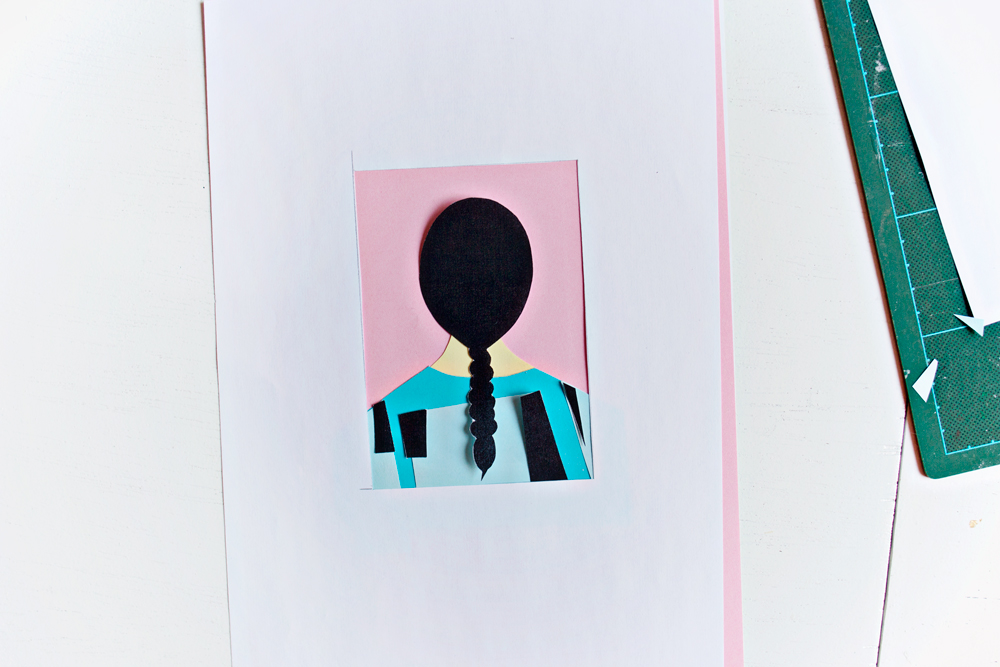
STEP 5
– Take Another piece of paper and cut out a hole that has the proportions of a regular card (size A6, A5, etc.)
– Place it over the design. This step really helped me to decide how zoomed in or out I wanted the design to be. Here you can think of how many space you would like all around your design and if something might still be missing in the design.
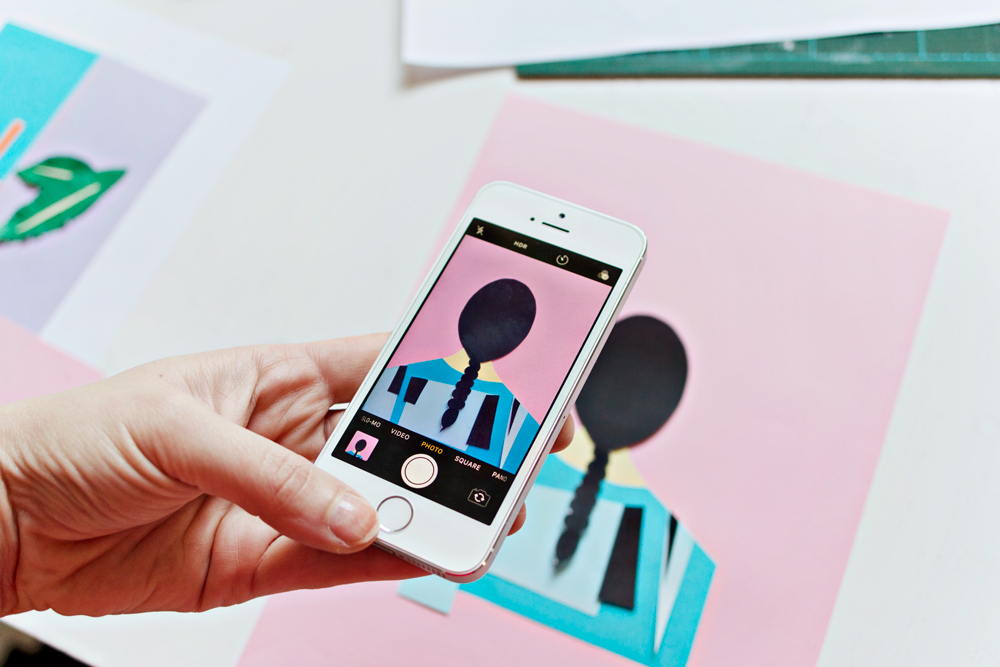
STEP 6
Digitising your design
– There are many ways to digitise your design:
- Take a photo of the design and print it onto cardstock with your own printer.
- Scan the image with a scanner and print it onto cardstock with your own printer.
- Take a photo of the design and order the cards online (or at a local printshop).
- Scan the image with a scanner and order the cards online (or at a local printshop).
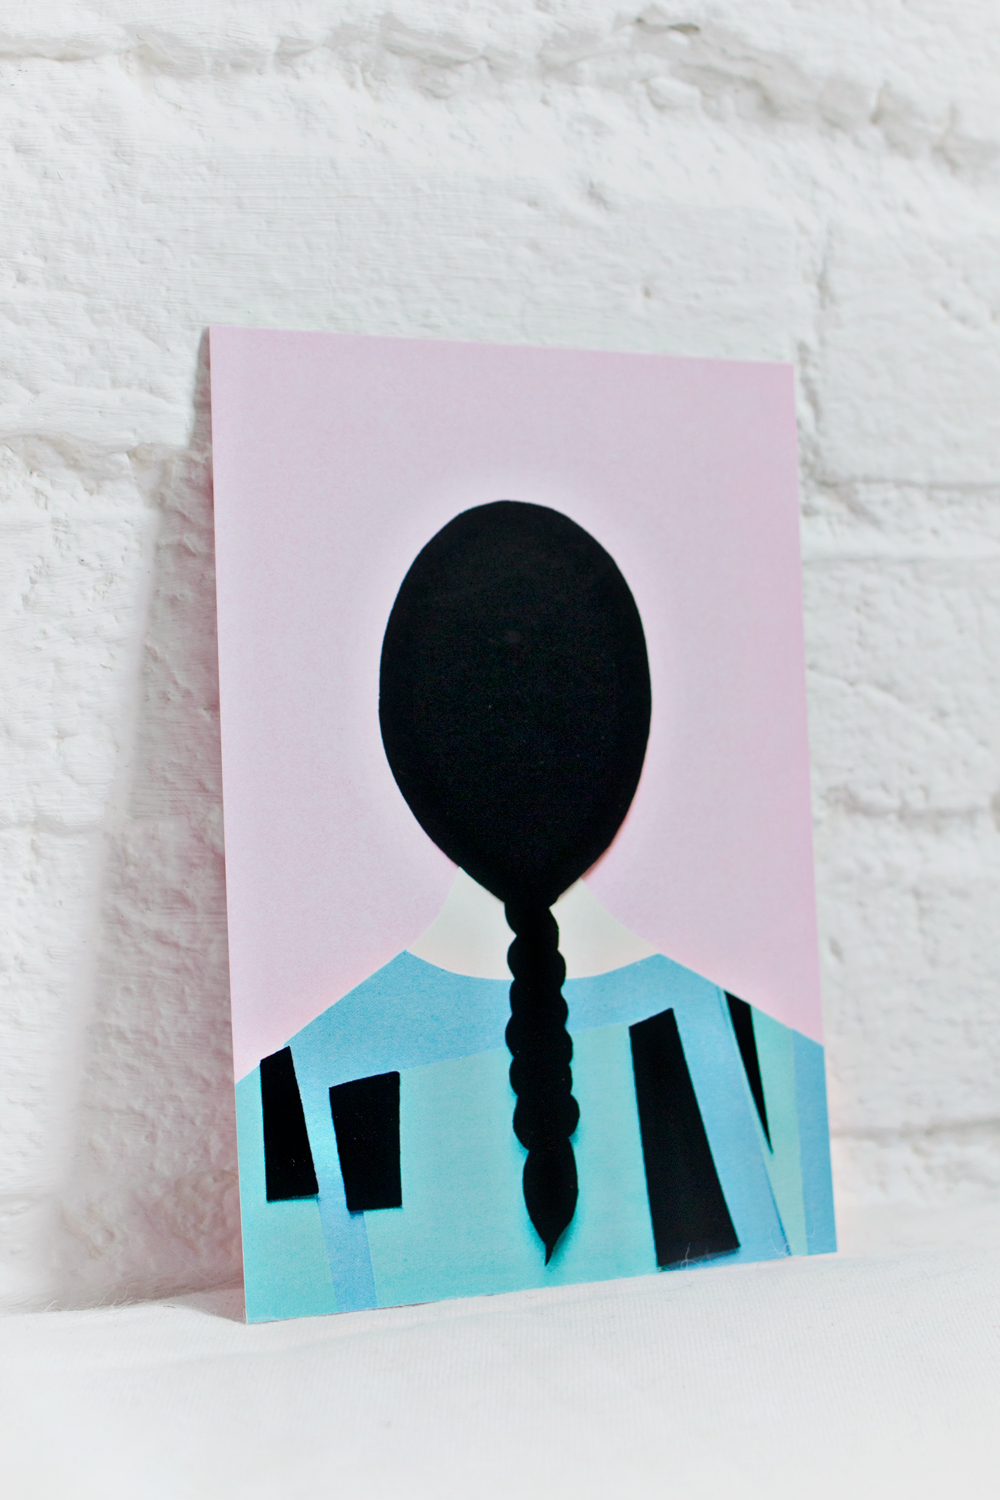
– I photographed the two designs and had them printed onto 330gr. cardstock. I also made a small design for the back of the card.
And that is it! You will now have your very own art cards!
Extra art DIY ideas
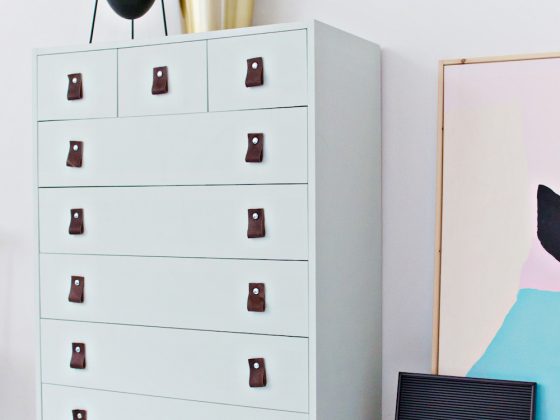
– Both of my cards have been printed on both sides. The front has a smooth glossy surface and the back card design is matt and writable. But there are many more possibilities, whichever works best for your design!
– You can also turn the back of the card into a postcard and design lines and a stamp area from scrappaper!


SHOP Lana Red Studio
Are you interested in the art DIY cards that I made? You are in luck! Because they are available in the LRS Etsy shop: