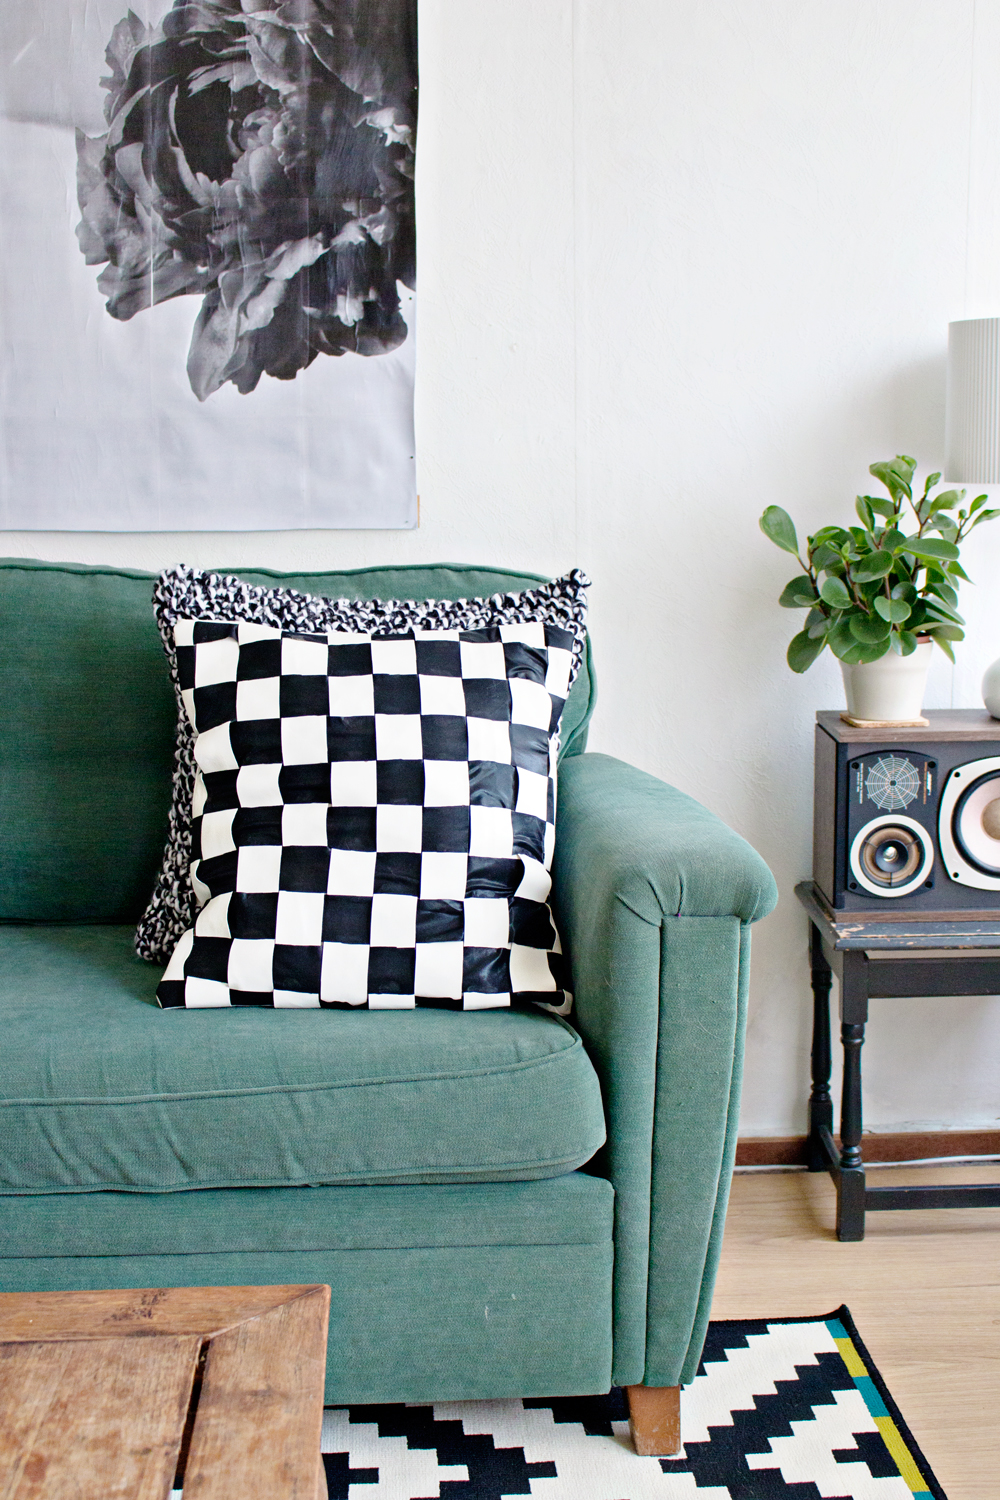
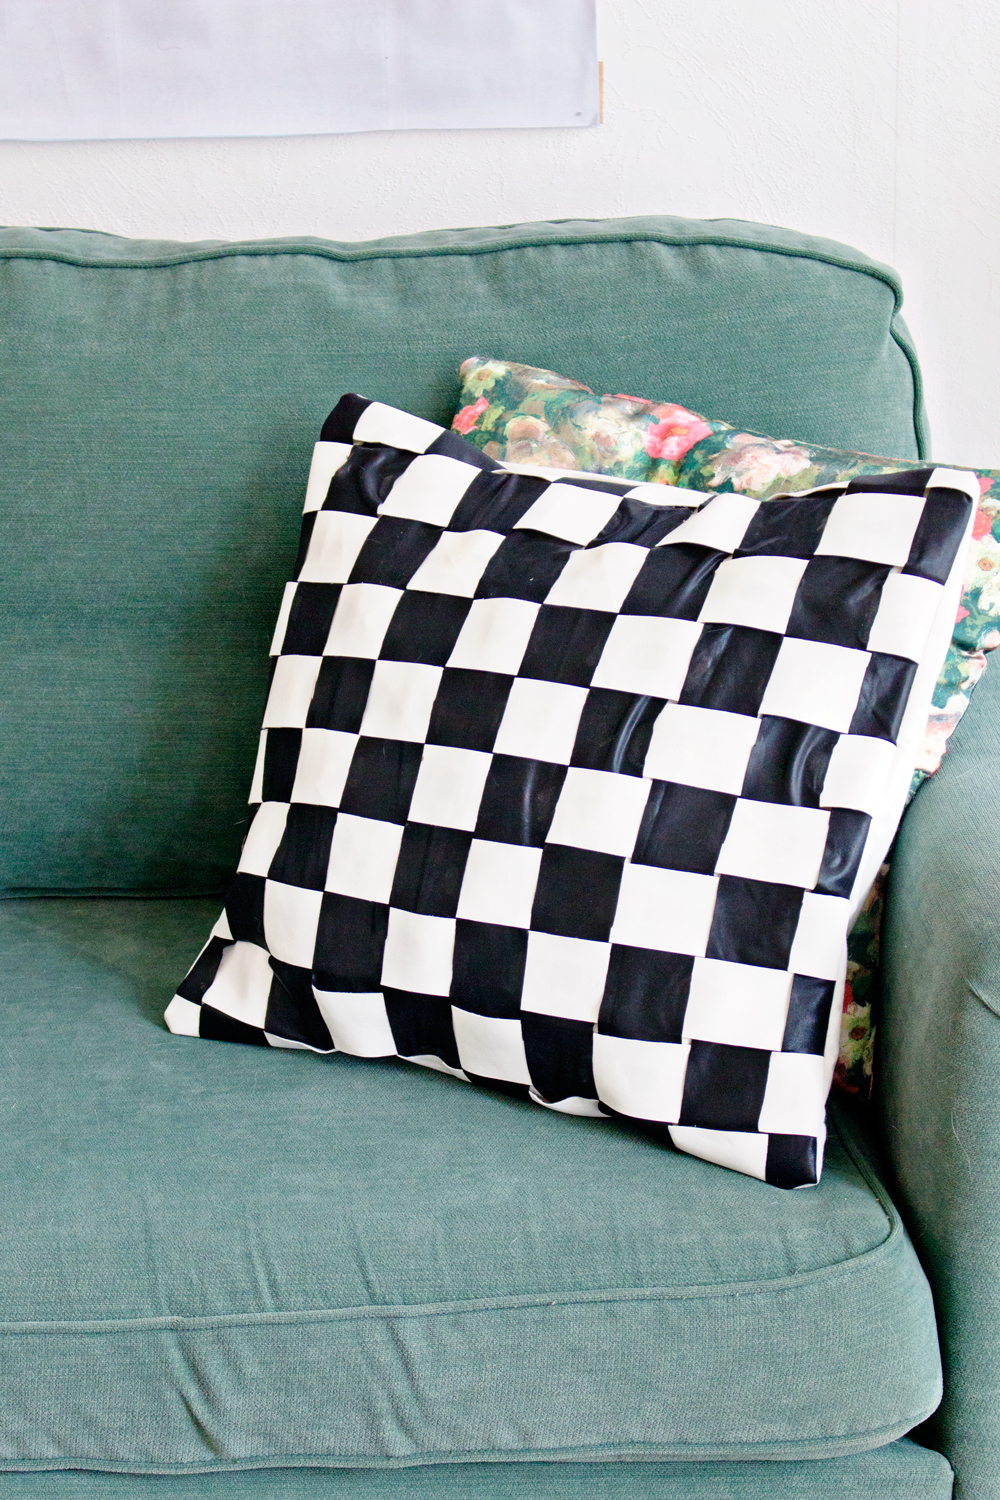
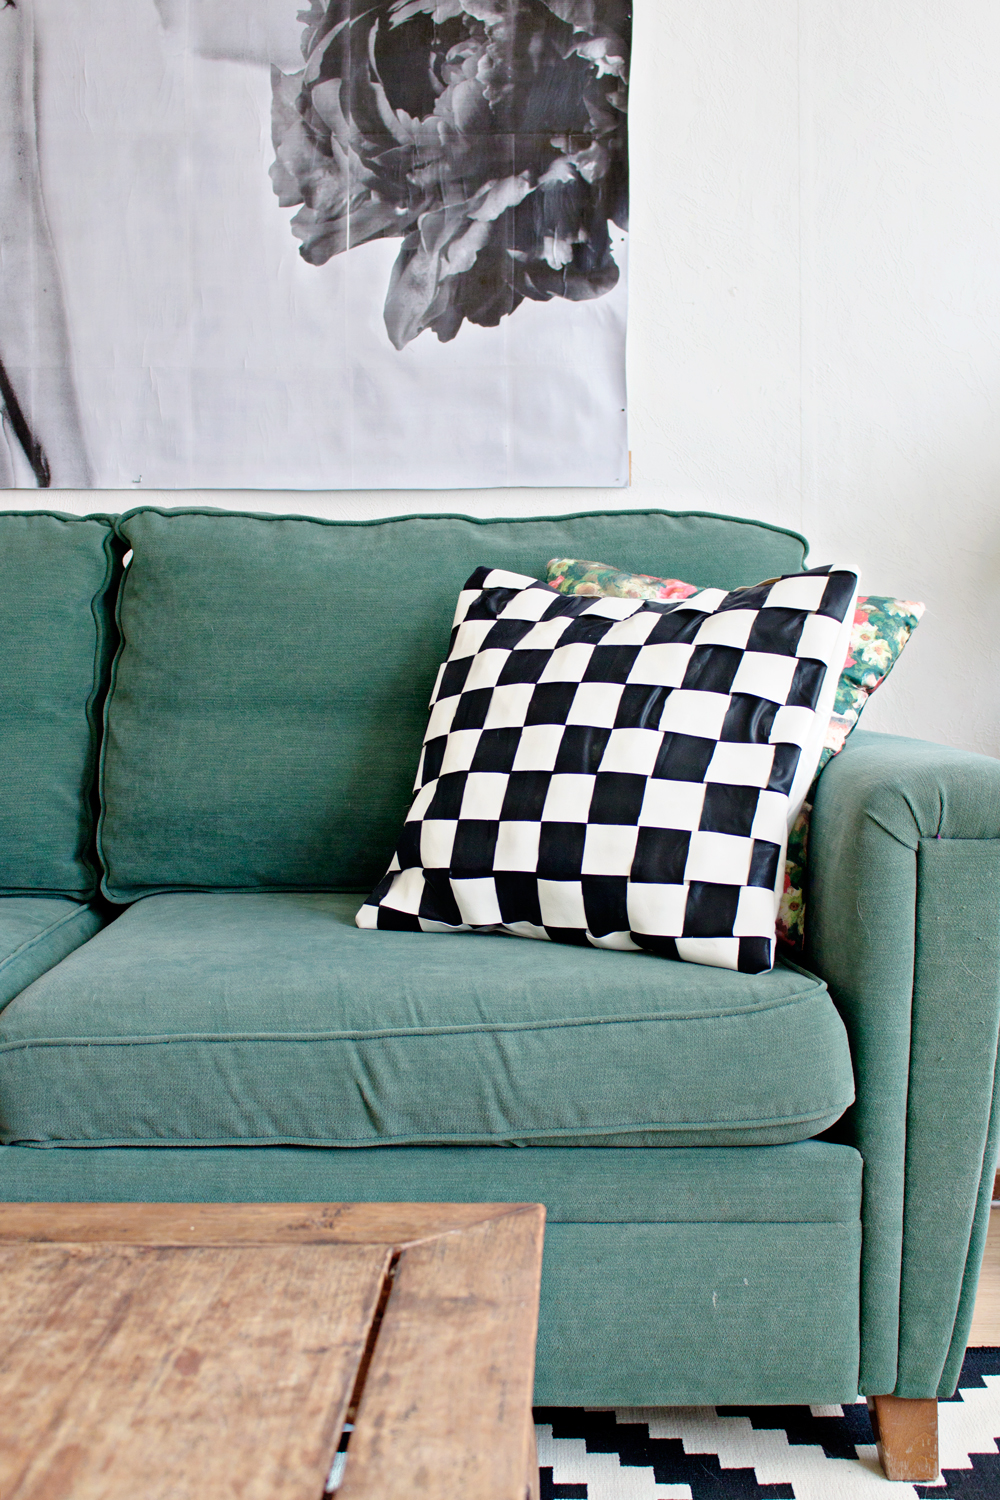
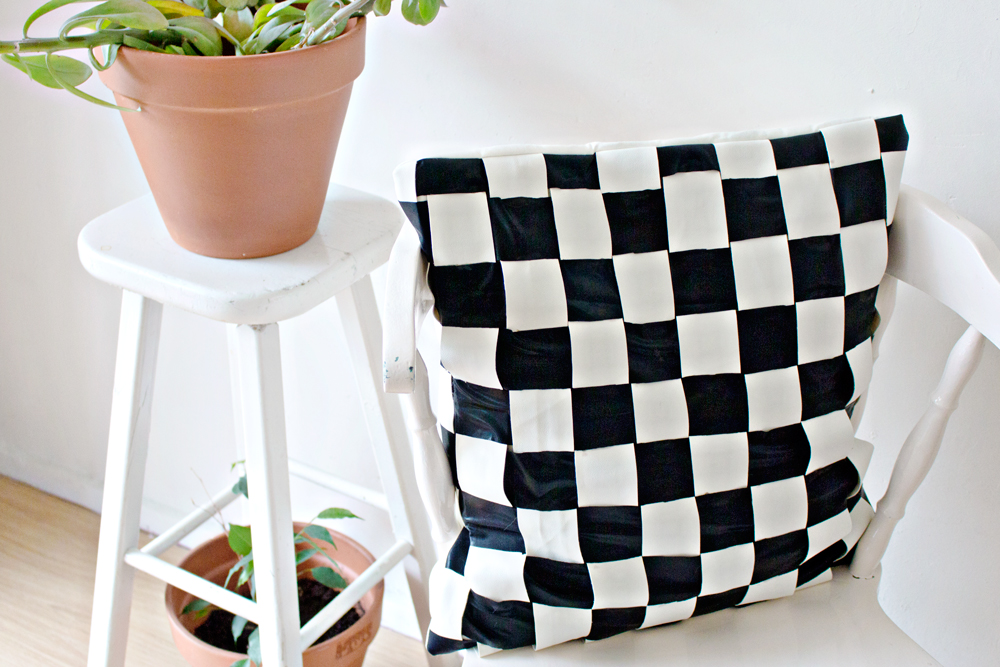
Remember my color block cushion DIY? Well, I made that one because I recently bought a new black and white rug and really needed some new items to match the style. And instead of making one cushion tutorial, I decided to make two!
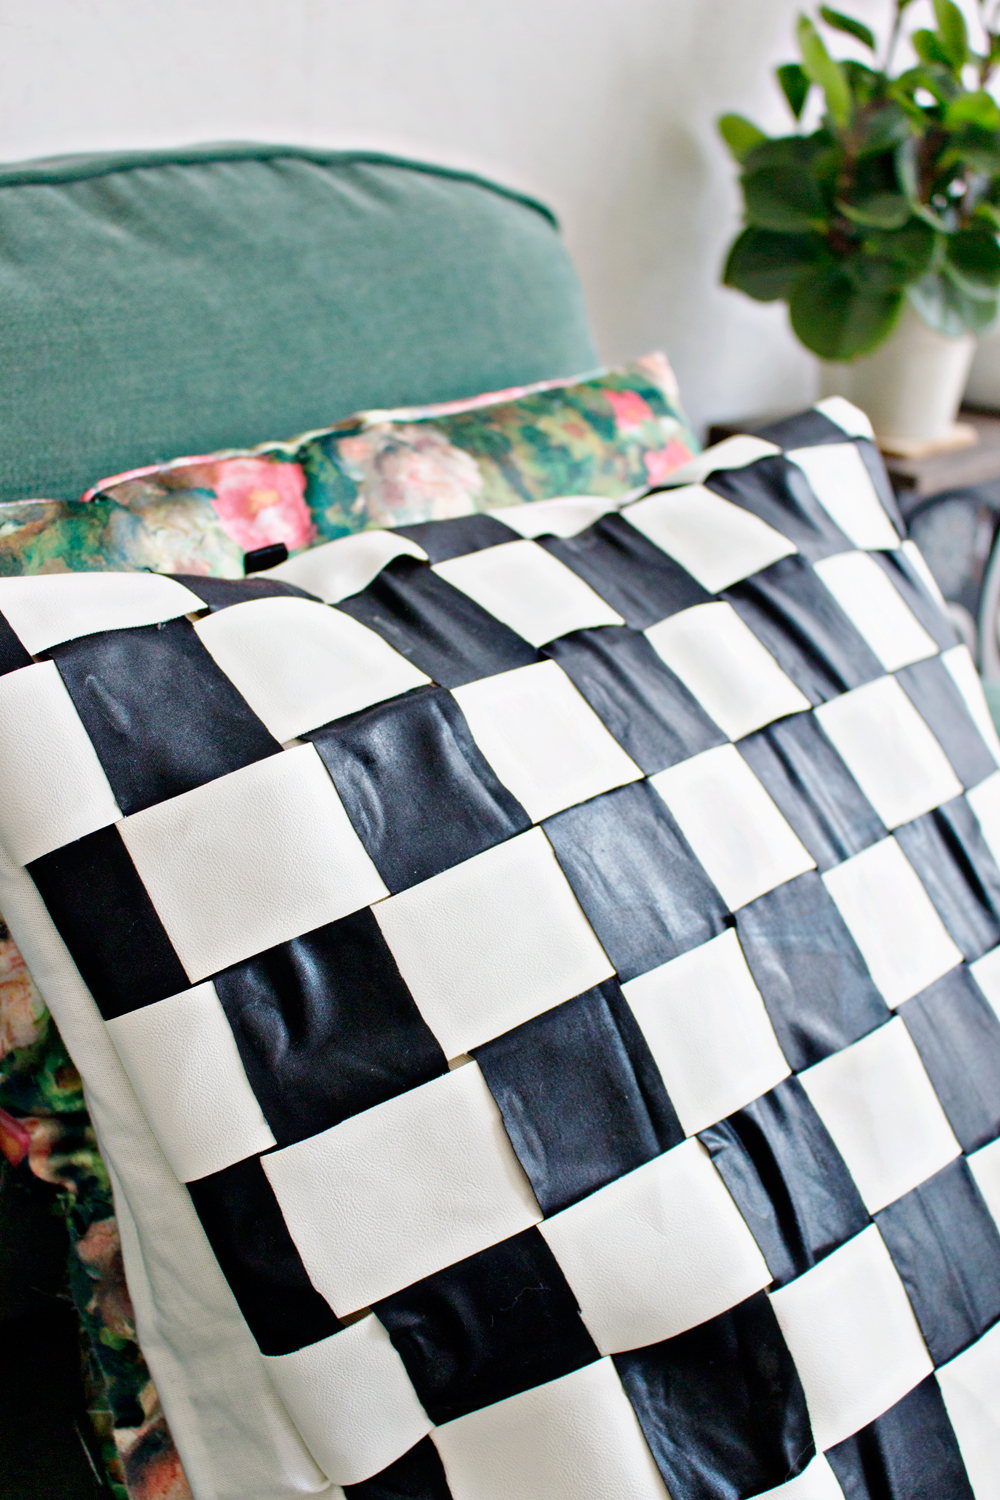
So today I am showing you my cushion cover weaving DIY! It’s not as quick as the other black and white cushion cover, you will need a bit of patience for this one, because we are creating the weaving strips ourselves! But it was definitely fun to do, and I always love when you can see the technique in the end result.
Here are the DIY instructions, happy weaving!:
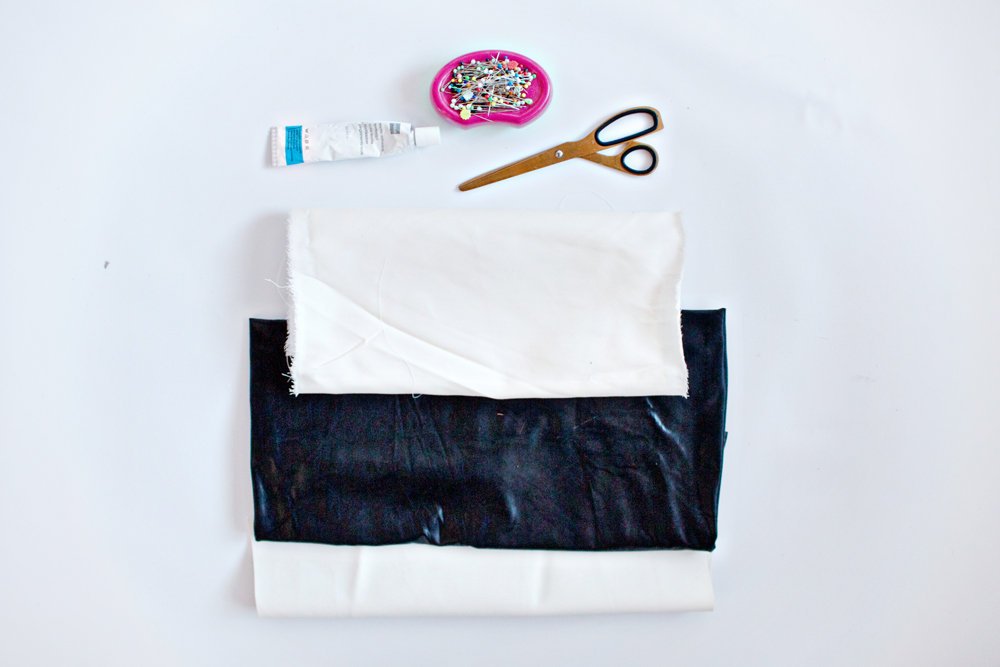
Supplies:
– Fabric for the weaving – Choose different materials, colours, patterns: go crazy!
– Fabric for the cushion basis
– Scissors
– Pins
– Fabric Glue
– Ruler and pencil
– Sewing machine (you can also use your fabric glue if you don’t have a sewing machine)
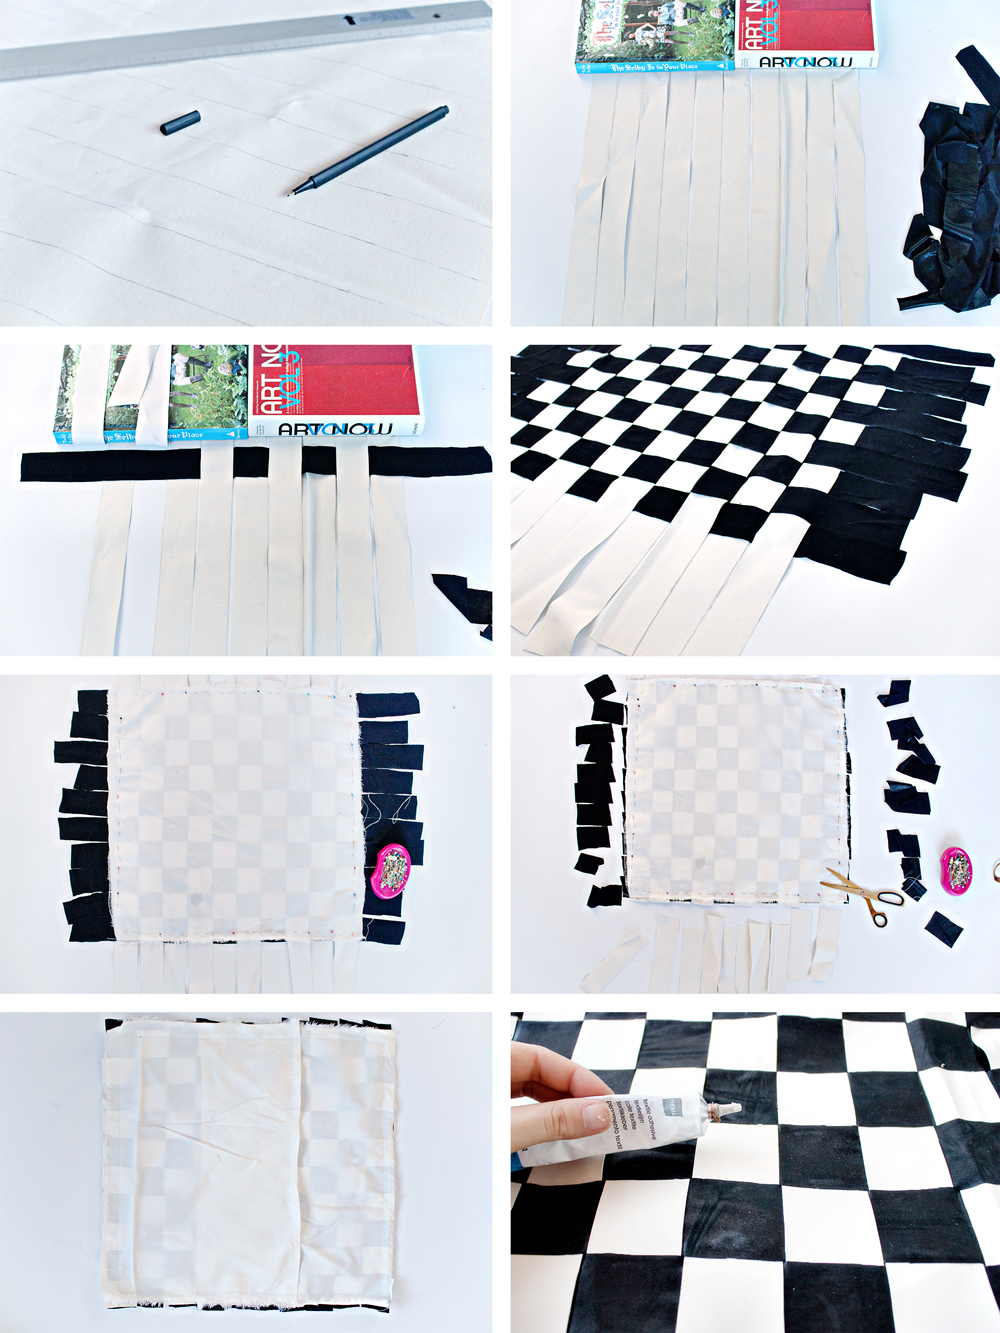
1. Place the weaving fabric with the right side down on a flat surface. Use your ruler and pencil to mark the width of the strips.
2. Cut the strips out of the fabrics with your scissors. Place one set of strips right side down on a flat surface. Align them as in the second picture. (you can use a heavy book to keep them in place)
3. Let’s start weaving! Weave the new strips with the right side down through the strips on the surface.
4. Repeat step 3 until you have your desired cushion size (+ 1,5 cm for sewing)
5. Cut the size of your cushion out of the fabric for the basis. Place this on top of your weaving with the right sides facing down. Pin them together.
6. Cut the excess fabric away.
7. Cut two more pieces of basic fabric for the back. Make sure they will overlap. Place them right side down on the back of the weaving. Sew everything together. Or use your fabric glue to attach everything.
8. For the finish you can use your fabric glue, to glue the weaving to the basic fabric to prevent it from rolling up.
All done!

