Take your jewellery making skills to the next level with this surprisingly easy copper bracelet project!
If you have visited the blog in the last month, you may have noticed my copper origami brooch DIY and since the brooch is so tiny and delicate, I had a lot of material left over from that project.
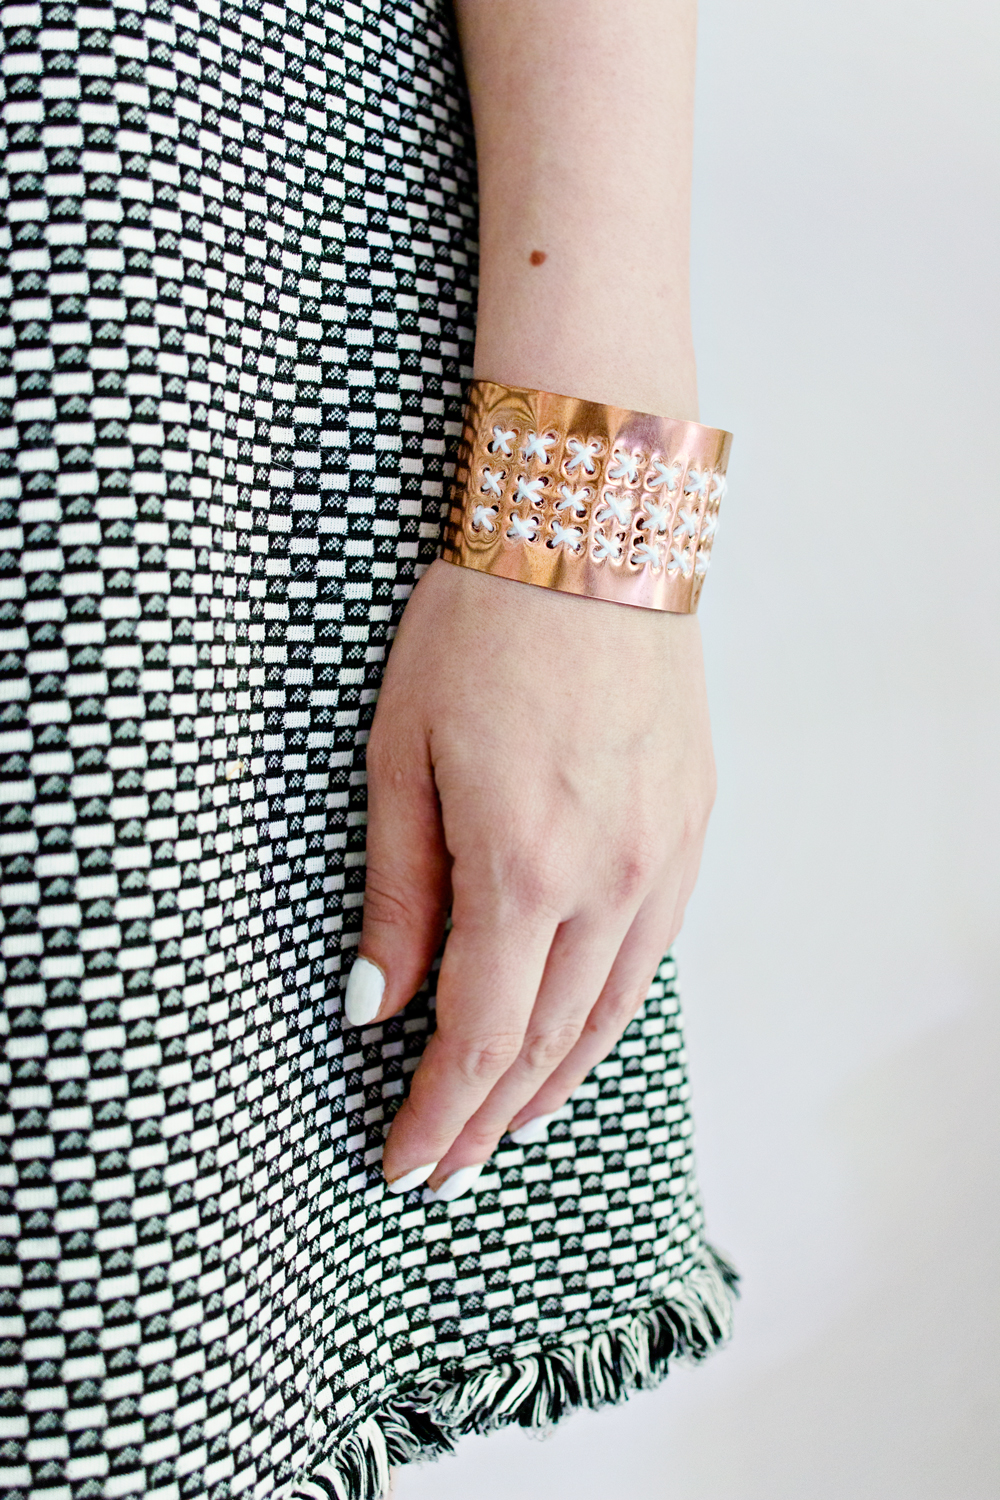
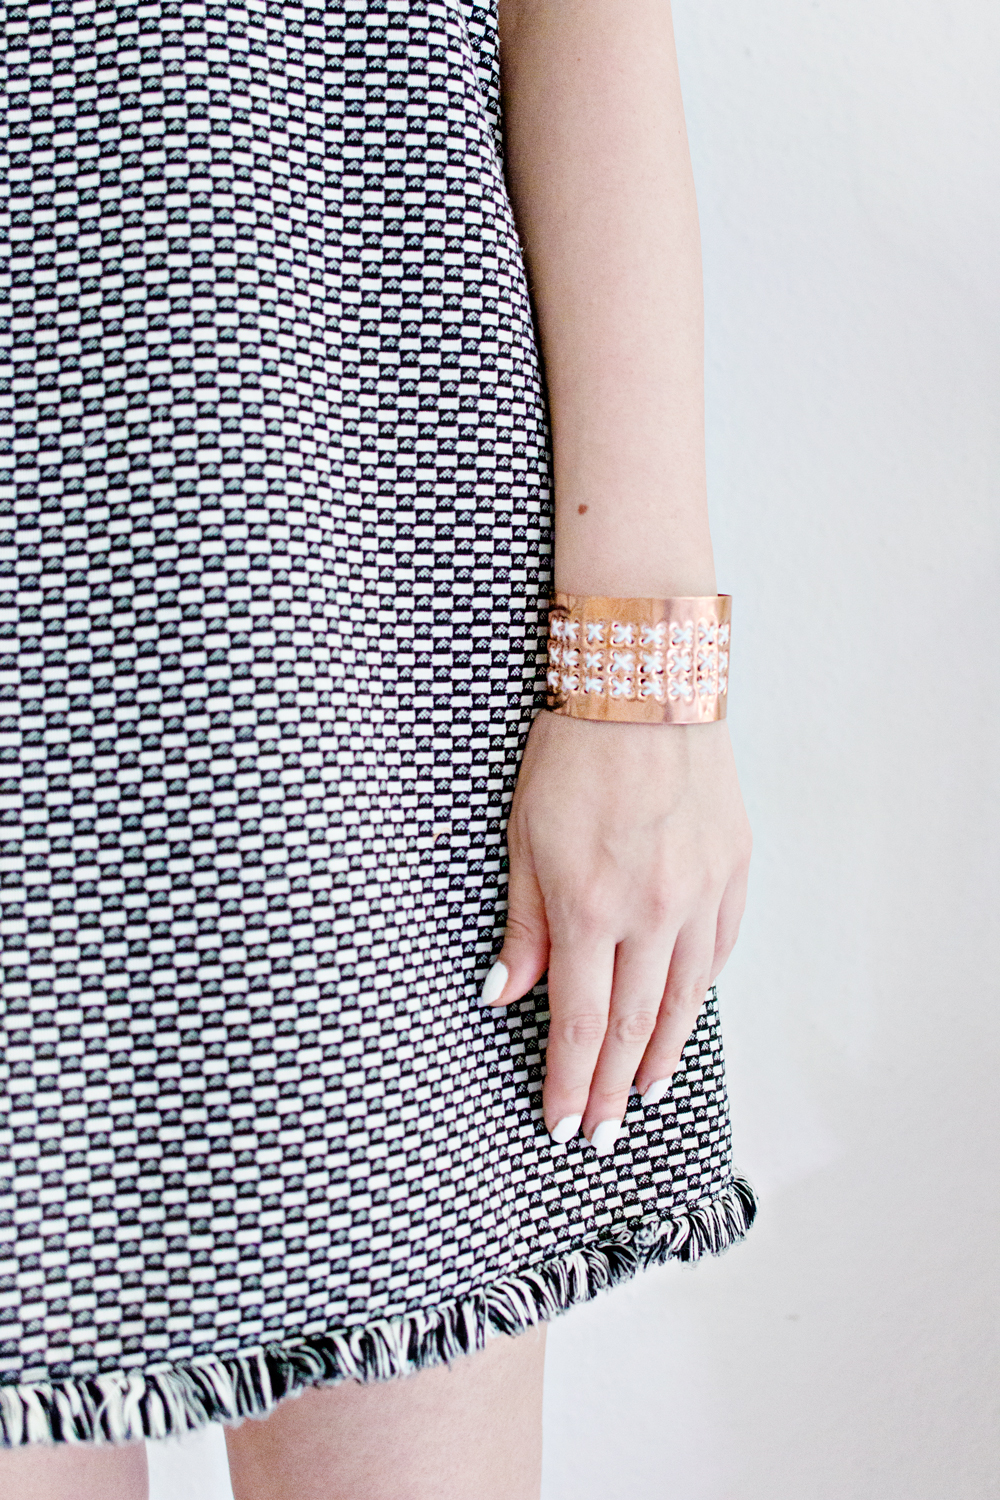
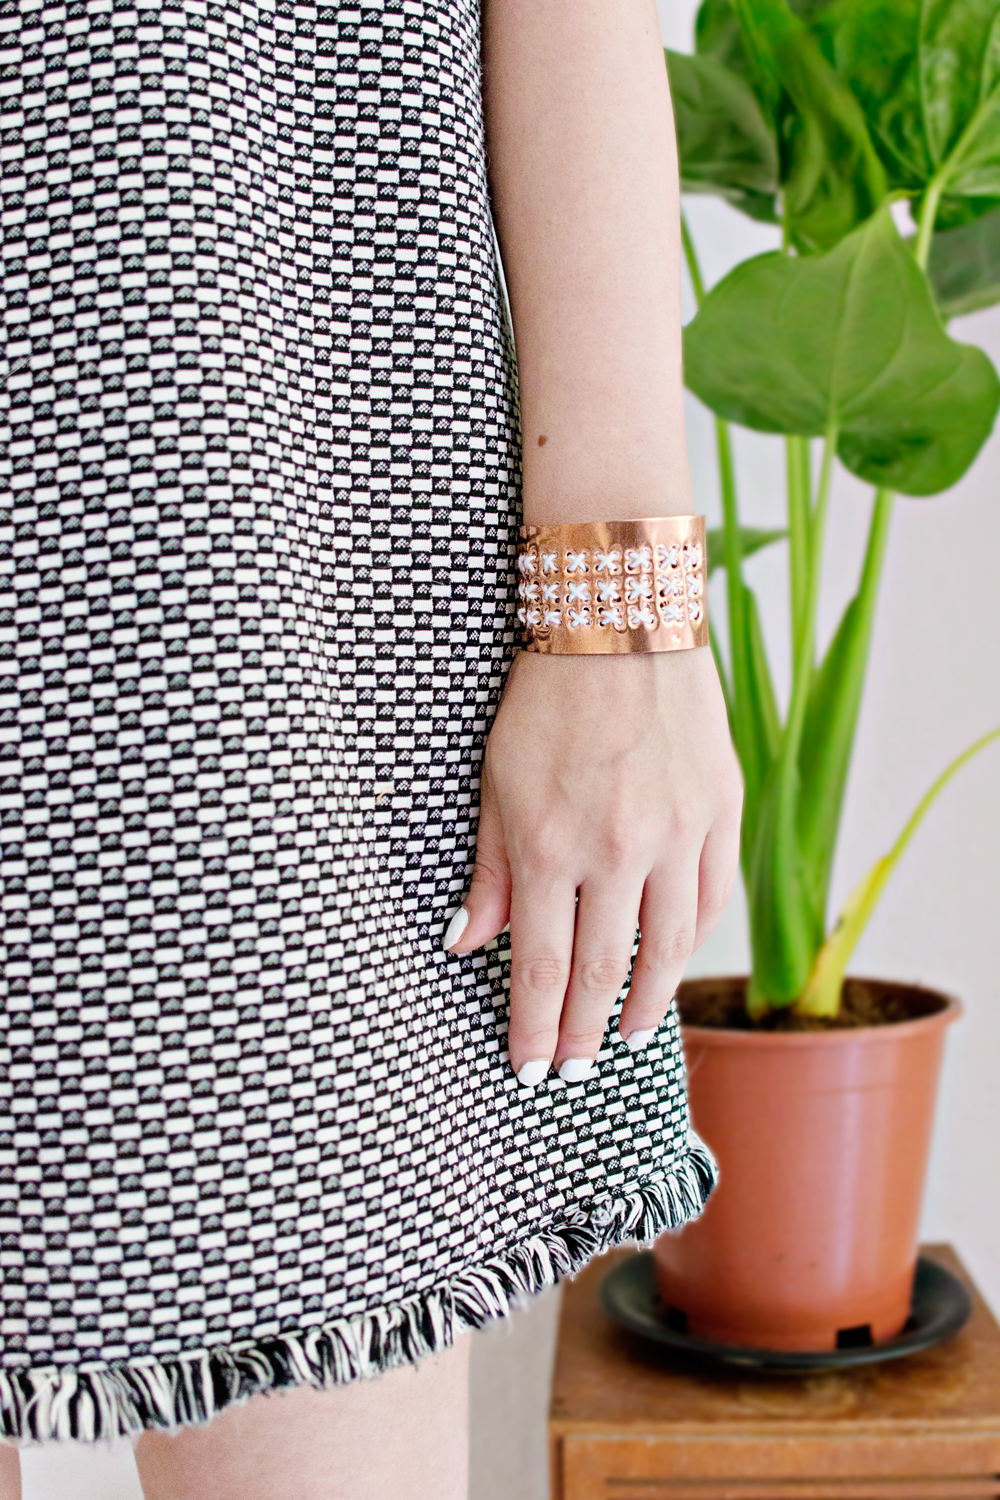
I had been experimenting with copper foil and different thicknesses for the brooch and this time I really wanted to make an extremely simple piece of jewellery that would go with anything, a sturdy bangle bracelet. I added an embroidery detail to give it a more personalised look and also to give you the chance to get more creative with this project.
Creating the basic shape for this bracelet is incredibly simple and easy to do and the embroidery detail is definitely optional but highly recommended, because I think it goes so well with the copper.
DIY:
SUPPLIES
– Copper Plate/foil – I used 0.3mm thickness.
– Scissors
– Measuring Tape
– Pushpin or a hammer and a small nail (depending on the thickness of the copper foil)
– Thread and a big needle
– Post-it’s
– Round Glass
STEP 1
– Use the measuring tape to measure your wrist. This is where you decide if you want the bracelet to be tight against the skin, etc.
STEP 2
– Draw the length that you measured in step 1 onto the protective plastic on the copper foil.
– Draw a 5 cm line straight up on both sides, this will be the height of the bracelet.
STEP 3
– Use your scissors to cut the drawn shape out of the foil.
STEP 4
– Place a round glass on the edge of the bracelet and trace the round edge* onto the protective plastic on the foil.
– Repeat this for the other side of the bracelet.
**This shape will create a playful effect and get rid of the sharp corners.
STEP 5
– Cut the rounded shape out of the bracelet with your scissors.
– Make sure to get rid of all of the sharp corners. (You can also use a soft scourer to soften the edges)
STEP 6
– Stick two post-it’s overlapping each other onto the bracelet.
– Draw a grid onto the post-it’s, creating a pattern for the holes.
– Decide the placements of the holes and mark them with a marker. Make sure that you end up with an even number of holes, or else the cross-stitch doesn’t come out even.
STEP 7
– Place a protective surface underneath the bracelet and use your pushpin* to push holes into the bracelet.
– Make holes in all of the marked dots.
** If the foil is too thick for the pushpin, you can also use a small nail and hammer to create the holes.
STEP 8
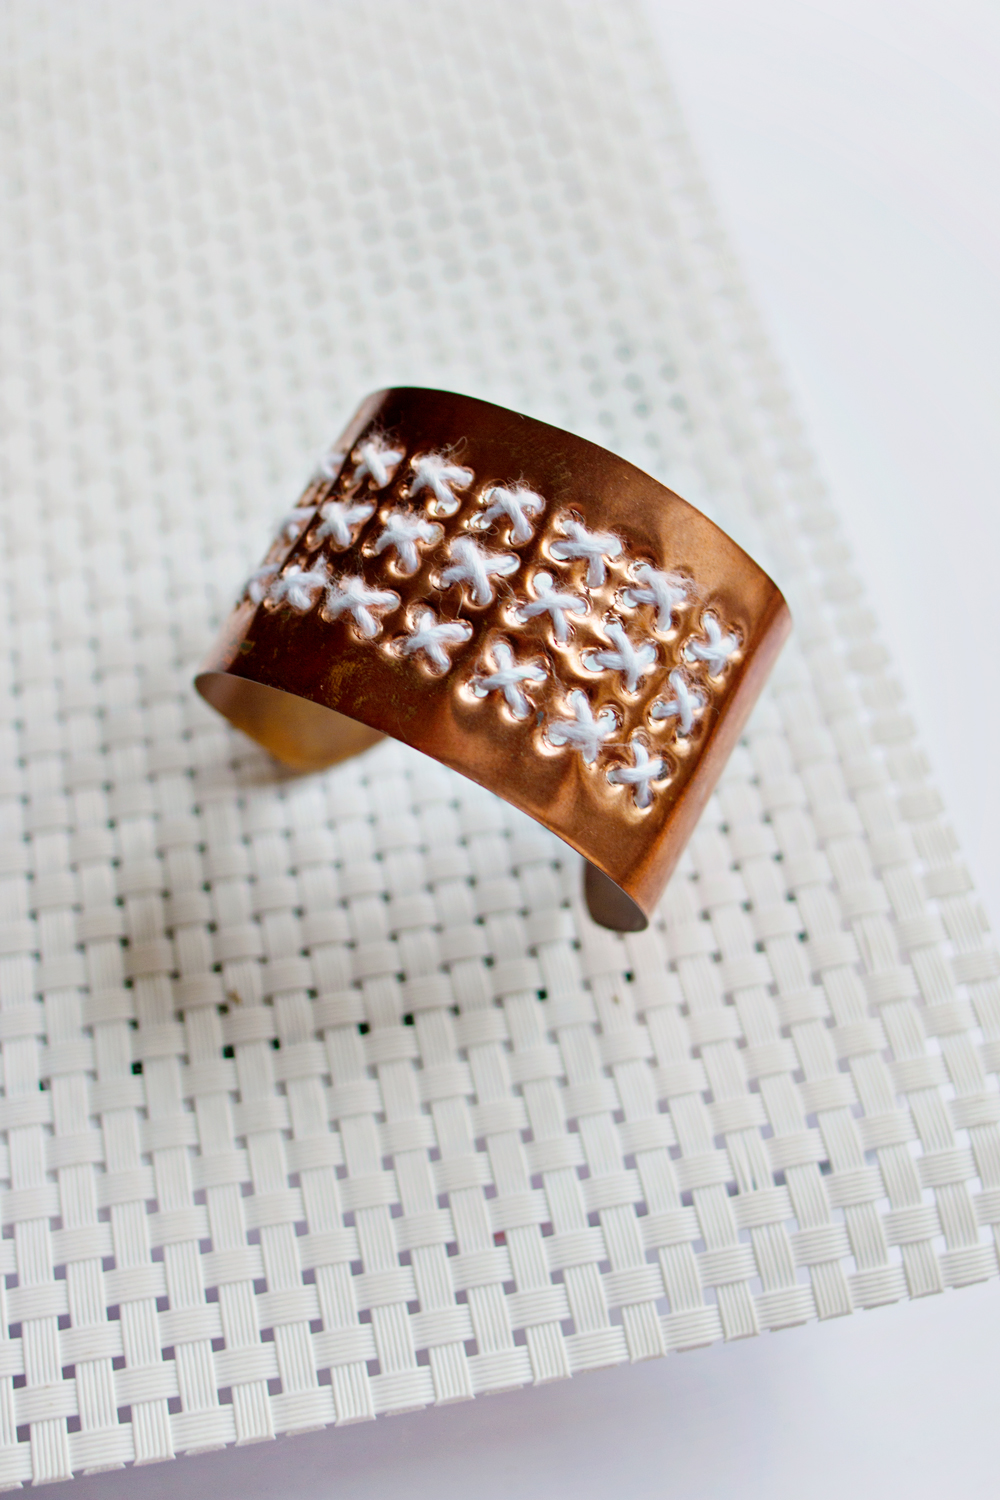
– Use your needle and thread to embroider the bracelet.
– You can make any embroidery design that you like, I went with a simple cross-stitch.
** You can go all out with your embroidery skills: use different colours of yarn, mix and match with stitches or use a simple straight stitch, the possibilities are endless!
STEP 9
– After you have finished embroidering the bracelet, take the round glass and carefully fold the bracelet around the glass.
– Try to press the copper evenly against the glass.
– Once you have a rounded shape, you can put the bracelet around your arm en ‘squeeze’ the copper around your arm, to create the perfect shape.
This project has so many possibilities to shape it to your own taste. Here are a few alternative ways to make the bracelet:
– Instead of making it 5cm high, make a skinny version, with only one row of the embroidery detail.
– Instead of making rows of holes, make only a few and embroider through them, this way you can embroider your initials for example!
– Use different colours of thread to make your bracelet even more festive!


2 comments
So gorgeous and brilliant! Love this so much!
Thank you!! (and thanks for sharing it on Facebook ;)