
What do you get when it’s too cold outside, cats that want to cuddle 24-7 and you are in between projects? Yes: many new creative adventures!
These adventures include:
– A new jewelry collection
– A Lana Red Studio webshop!!!
– A tutorial of one of the jewelry pieces, because you can DIY-it or BUY-it ;)
– A brand new stop-motion DIY video of said initial bracelet (because why not!)
That is right, I just finished making a whole bunch of jewelry pieces and besides offering them in my Etsy shop you can also purchase them in my own webshop!
shop.lanaredstudio.com is officially live and I am offering items that you might recognise from the blog.
I encourage everyone to be creative, so you can also find the tutorials to make the pieces yourself on the LRS blog, but for those of you lacking the supplies or energy can buy the handmade items online today.
DIY-it or BUY-it is a concept that I just love. A unique style is in all of us and I am a big believer of having options and doing what feels right. Choose your way to go:
Scroll down to learn how to make your own Initial Bracelet
or
Visit the LRS Shop to order your own Initial Bracelet today
INITIAL BRACELET PROJECT
And now onto the bracelet project (since that is the reason for your visit to this page). Ever since I made my concrete jewelry and opened up my Etsy shop, I really enjoyed making jewelry. And while experimenting with new materials and textures I started to use polymer clay for the first time since I was 8.
Polymer clay comes in so many pretty colours and tones, that I instantly fell in love with the idea of turning something that is known to be a ‘kids crafting supply’ into fancy looking jewelry.
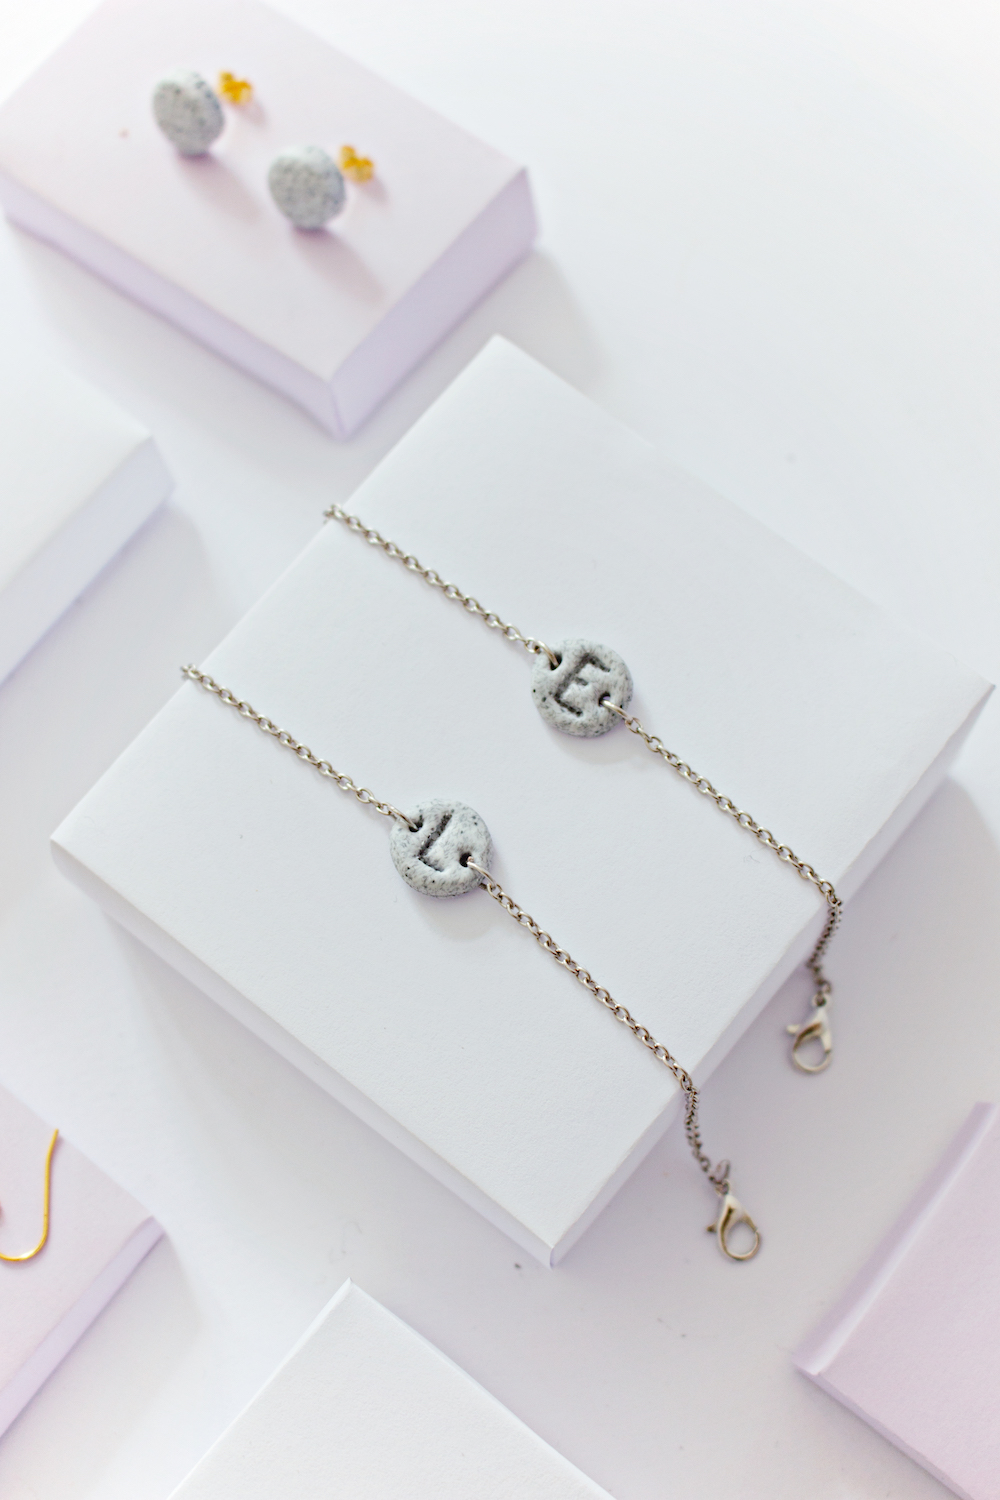
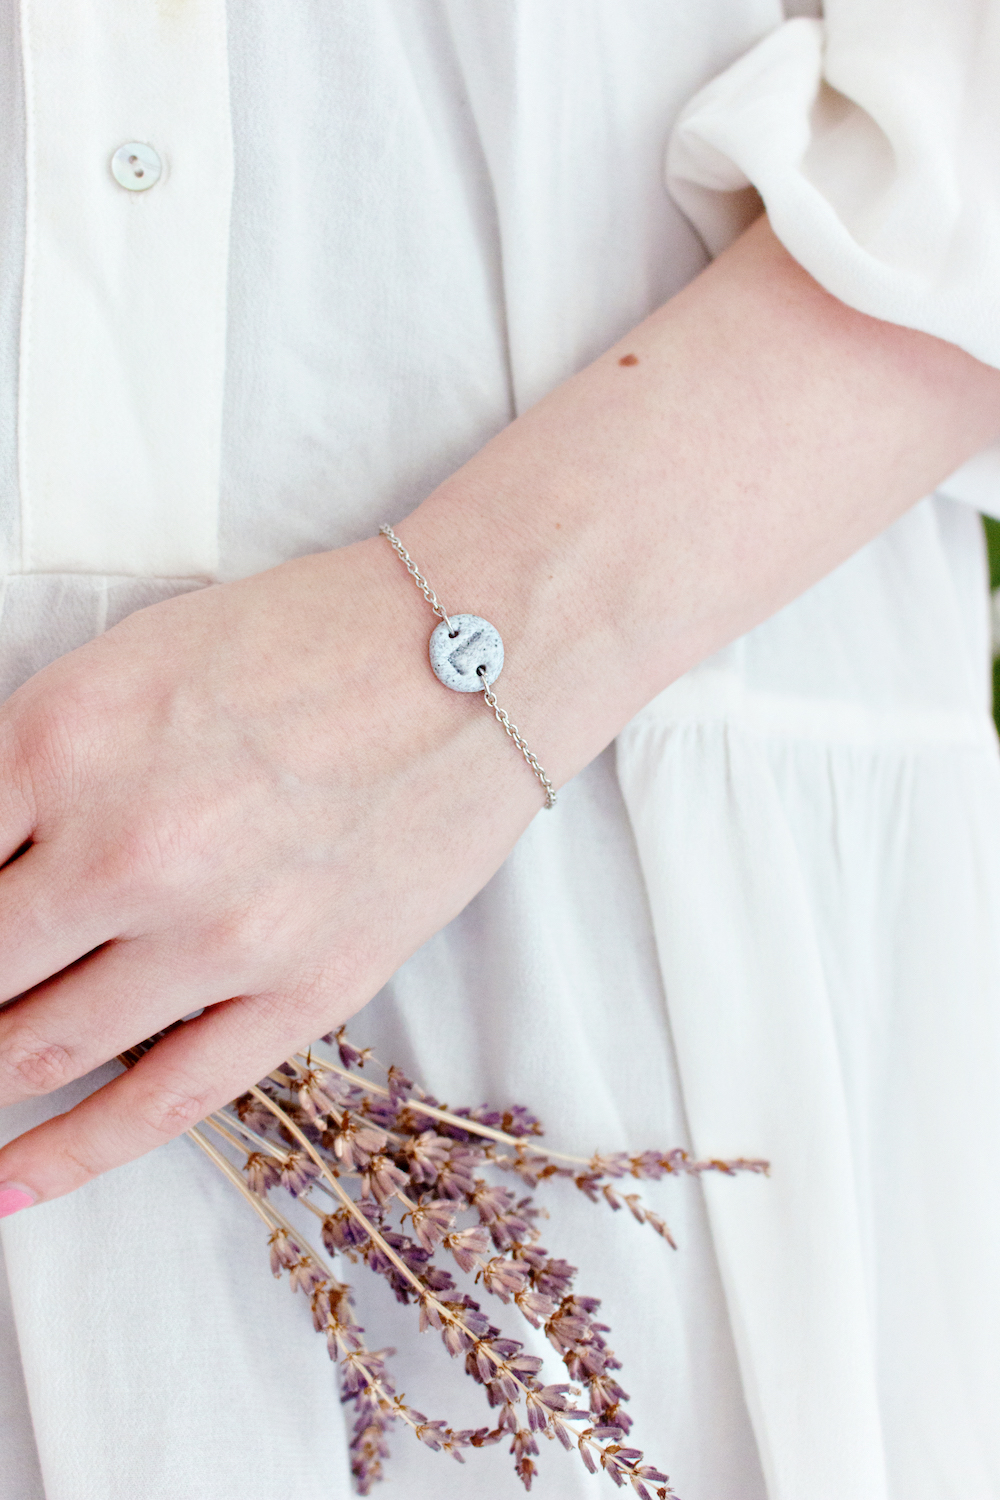
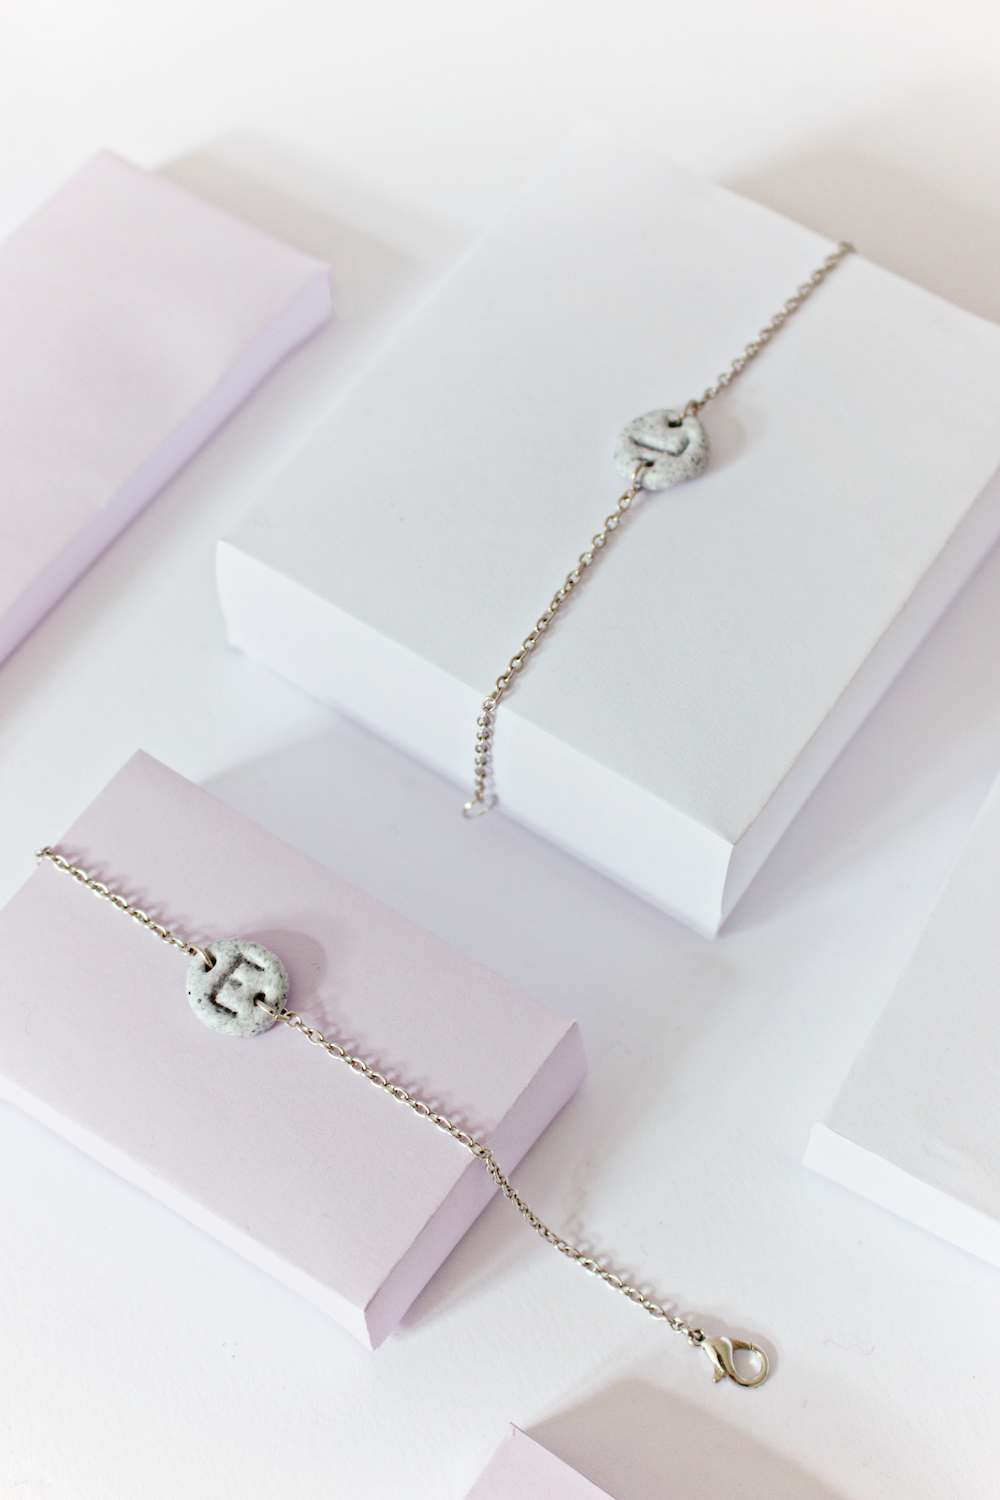
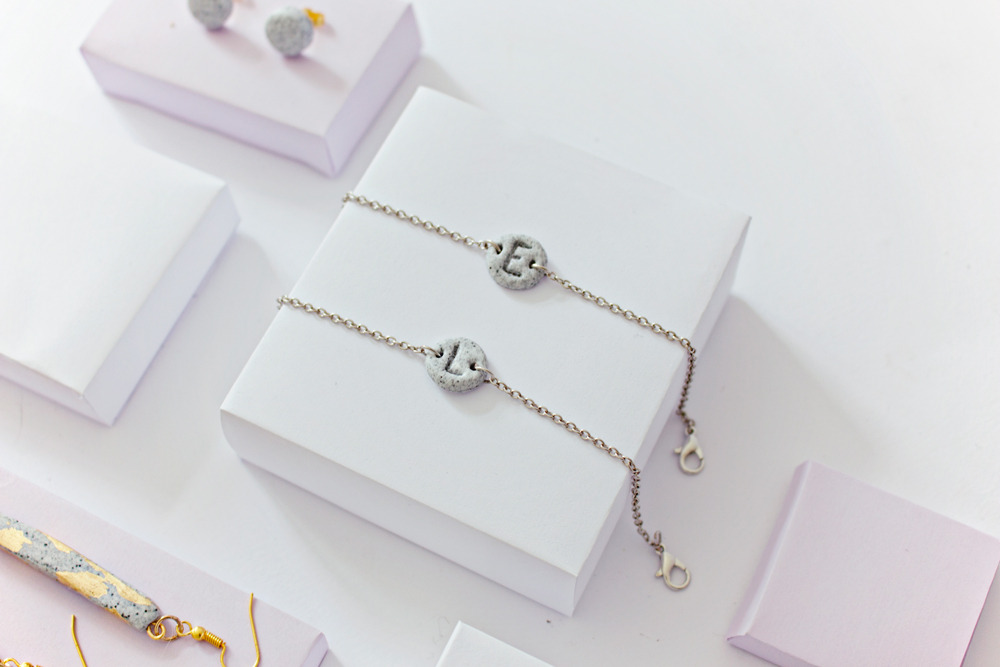
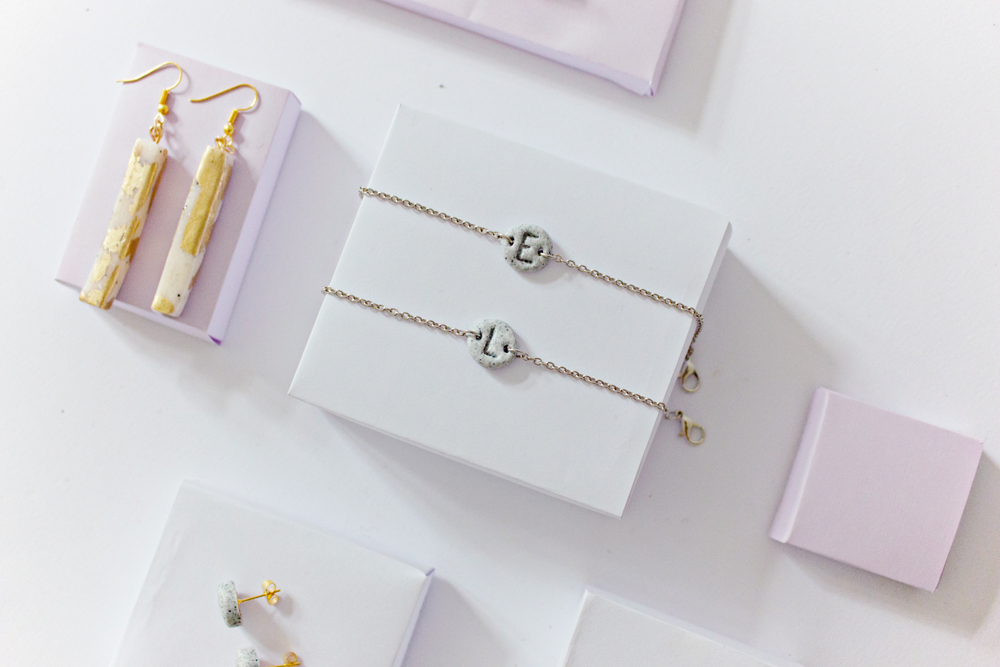
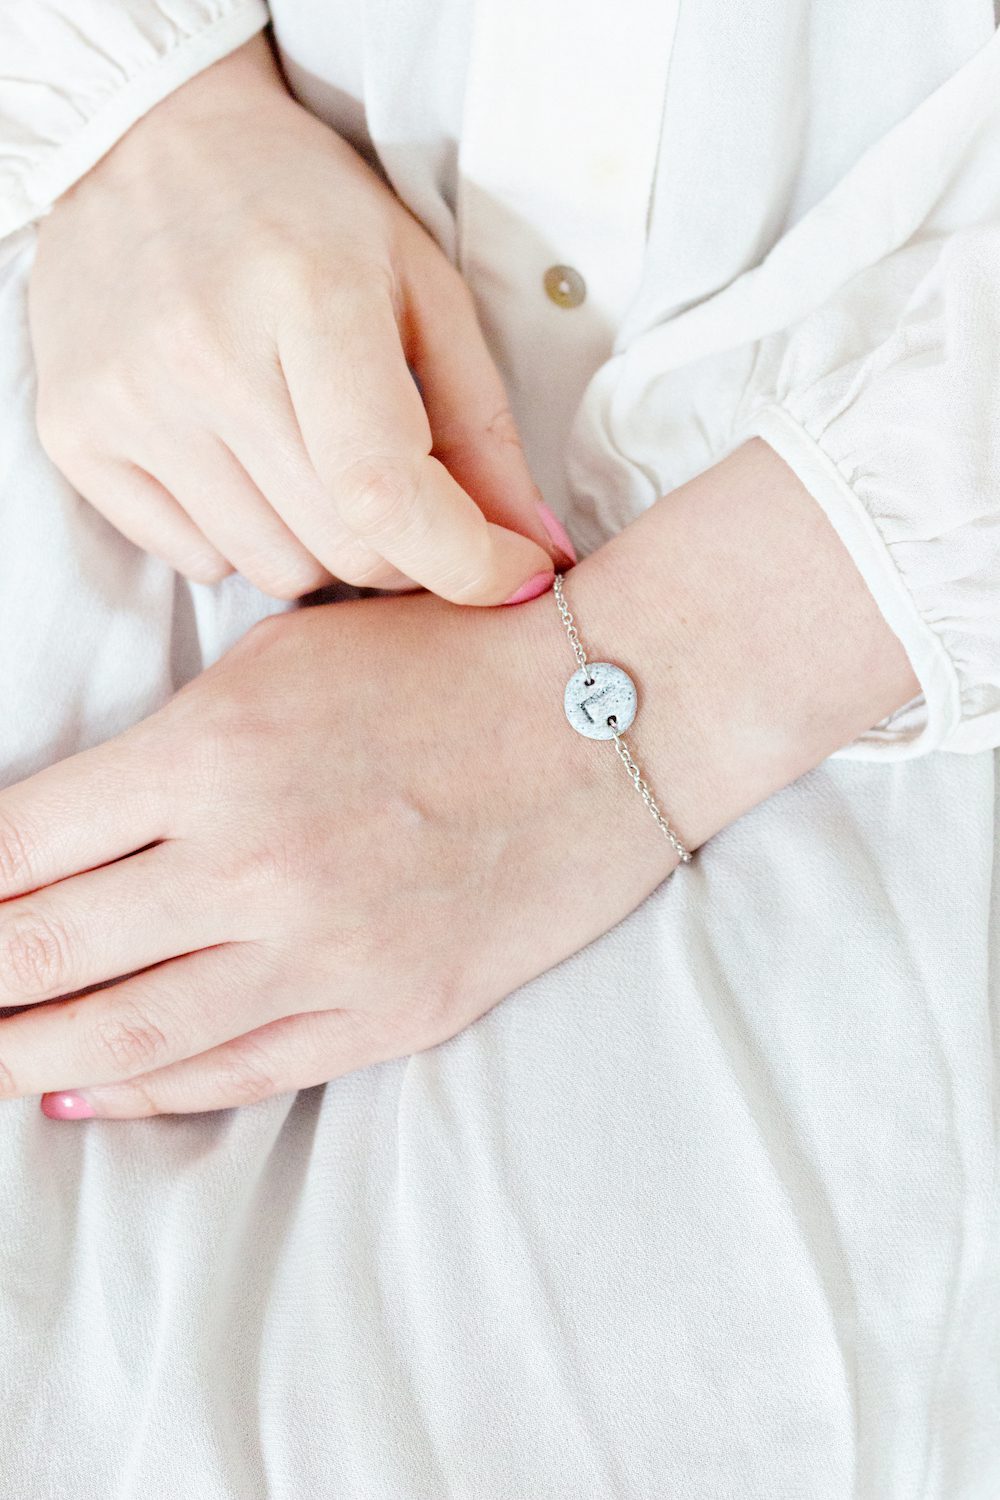
The results are great and after making earrings (which I combined with gold leaf) I used my left-over clay to make this initial bracelet, knowing that it is just one of those pieces that can go with anything and anyone, would be the perfect personal gift and is easy to make!
After giving one to my sister for her birthday (with a rose-gold chain) and making one for myself, it was time to share it with you!
This clay project is really easy, inexpensive and the fun part is that you can also adjust it to your own taste: use a different color chain, different color clay or even change the circle shape into something else (like a heart or star shape); the possibilities are endless.
Polymer Clay Bracelet DIY:
STOP-MOTION
VIDEO TUTORIAL
STEP-BY-STEP
PHOTO TUTORIAL
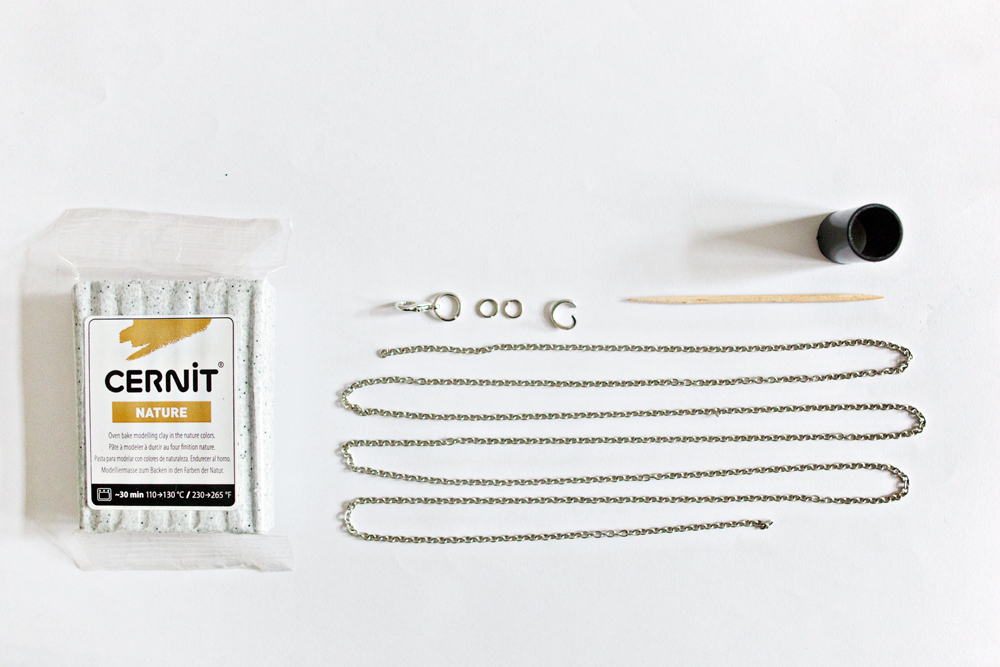
SUPPLIES
– Polymer Clay (I used Cernit with a granite look, but any kind will work for this project)
– Circle Mold (I used the lid of a marker. Anything will work, just as long as you can reach the circle from both sides to be able to remove the clay)
– Silver Chain
– 4 Hoop Rings
– Jewelry Clasp
– Toothpick ( or something similar to engrave the letter)
– Oven
STEP 1
– Take a piece of your clay and roll it around in your hand* until you have made a small ball.
* Depending on the brand that you use, the clay can be a bit too hard to knead and mold. If this is the case, you can use a hairdryer to slightly warm the clap up and make it more flexible – Use the lowest setting on your hairdryer and check the clay every few seconds.
STEP 2
– Use a rolling pin, glass or something similar and press it on top of the clay ball.
– Press and roll until you have reached your desired thickness.
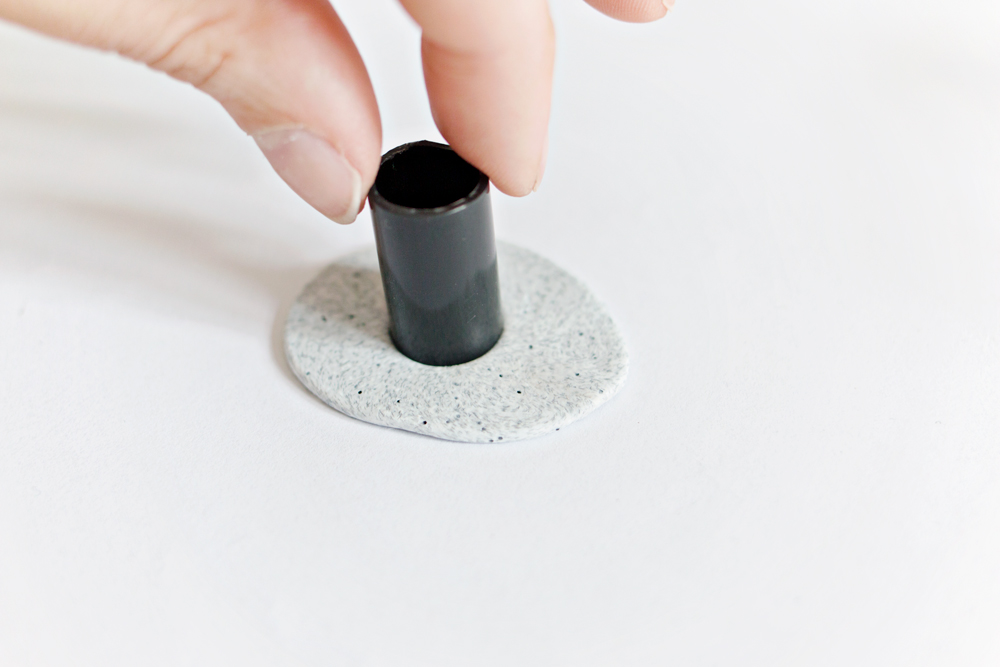
STEP 3
– Place the mold of your choosing into the clay.
– Twist the mold around to separate the excess clay from your disc.
STEP 4
– Remove the clay from your mold, revealing a small disc shaped piece of clay.
STEP 5
– Use your toothpick to make two small holes* in your clay disc.
* Depending on the size of your disc and hoop rings, you can make the holes as big or as small as you like.
STEP 6
– Choose your letter and start carving it into the clay. Start at the top and first mark the letter with small dots into the clay.
– Once you have ‘dotted’ the entire letter, follow the dotted line by pressing the toothpick into the clay and combining the dots into a line until you have carved the entire letter.
BAKING
– Once you are satisfied with the look of your charm, it is time to bake it.
– Bake the clay according to the instructions on the packaging in a preheated oven.
STEP 7
While the clay is in the oven, let’s start working on the bracelet!
– Place the chain on you wrist and measure the length.
– Once you have decided the length of your bracelet, measure the clay charm and jewelry clasp.
– Subtract these measurements from you bracelet length and cut the chain bracelet in the correct size with your pliers.
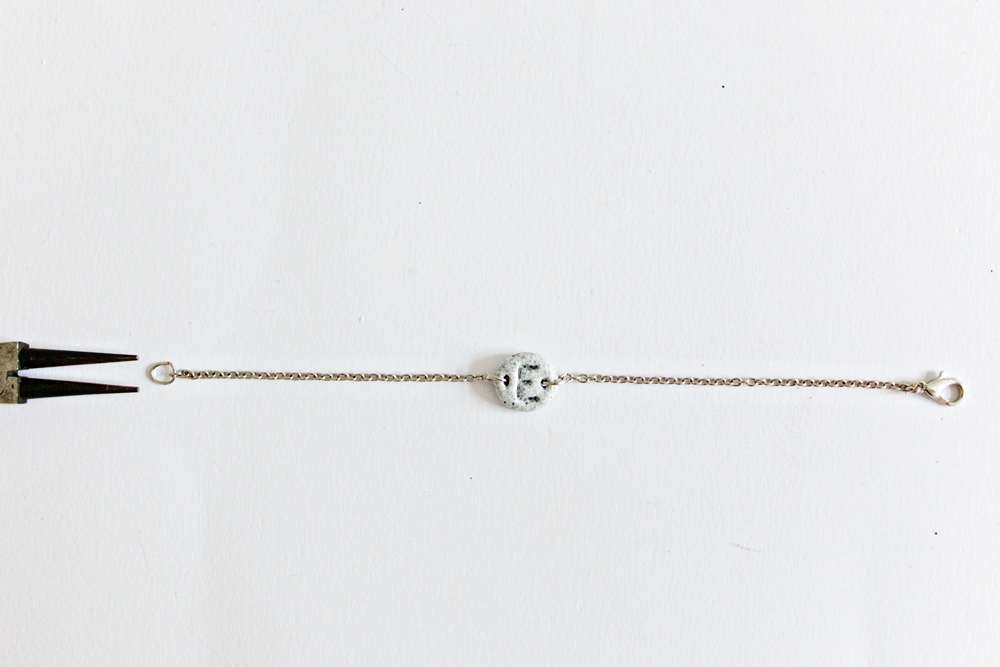
STEP 8
– Cut the bracelet chain in half with your pliers and place them on a flat surface as shown above.
STEP 9
– Place the baked charm in between the two chain pieces.
STEP 10
– Use a hoop ring to attach the right chain to the right hole in the clay.
– Repeat this for the left side.
STEP 11
– Use a hoop ring to attach the clasp to the end of the right chain.
STEP 12
– Attach the last hoop ring to the left side of the bracelet.
All done! Your personalised clay bracelet is finished and ready to be worn!

1 comment
hi this was an awesome project