LRS
  • START HERE
  • DIY
    • SEWING & STYLE
    • HOME DECOR
    • JEWELRY
    • TECH DIY
    • ANIMAL
    • ROUNDUPS
    • CHRISTMAS CRAFTS
  • FASHION
    • NAIL DESIGN
    • HAIR
    • MAKE-UP
    • OUTFITS
    • FASHION INSPIRATION
    • TIPS & ADVICE
  • RECIPES
    • BREAKFAST
    • DESSERTS
    • TREATS
    • SAVORY
  • TRAVEL
    • TRAVEL
    • BERLIN GUIDE
  • INSPIRED
    • ART
    • BLOGGING
    • PERSONAL
  • ABOUT
    • CONTACT
  • SHOP
  • START HERE
  • ABOUT
  • CONTACT
  • SHOP
L A N A R E D S T U D I O
  • CRAFTS

    SEWING & STYLE

    HOME DECOR

    JEWELRY

    ROUNDUPS

    TECH DIY

    CHRISTMAS CRAFTS

    ANIMAL

    UPCYCLING

    HOME DECOR

    SMALL STUDIO APARTMENT | 10 Tips, Tricks and Ideas to Maximize Your Space

    TECH DIY

    DIY | Card Holder Phone Case

    JEWELRY

    JEWELRY DIY | Gold Leaf Teardrop Earrings

  • FASHION

    OUTFITS

    HAIR

    MAKE UP

    NAIL DESIGN

    FASHION INSPIRATION

    TIPS & ADVICE

    HAIR STYLES

    HAIR DIY VIDEO | Braided Scarf Hairstyle

    NAIL DESIGN

    NAIL DIY | It's a Glittery Sharpie Christmas

    Outfits

    OUTFIT | Autumn, Me & My Tripod

  • RECIPES

    DESSERTS

    SAVORY

    TREATS

    BREAKFAST

    BREAKFAST

    RECIPE | Sugar Free - Banana Bread

    TREATS

    RECIPE | Courgette Chips

    SAVORY

    RECIPE | Sweet Potato & Goat's Cheese Tart

  • INSPIRED

    ART

    BLOGGING

    PERSONAL

    BLOGGING

    HOW TO | 10 PRACTICAL Tips Every Blogger Should Learn

    PERSONAL

    PERSONAL | Grief and other things

    ART

    DIY | Double Exposure Photography

  • TRAVEL

    Berlin

    TRAVEL | BERLIN GUIDE

    Travel

    LIVING ABROAD | How to Make Your Temporary Home Feel Like Home

    explore

    TRAVEL

    BERLIN GUIDE

  • Sewing & Style

DIY | Sharpie & Alcohol Textile Print

Total
5
Shares
0
0
5

DIY | Sharpie & Alcohol Textile Print

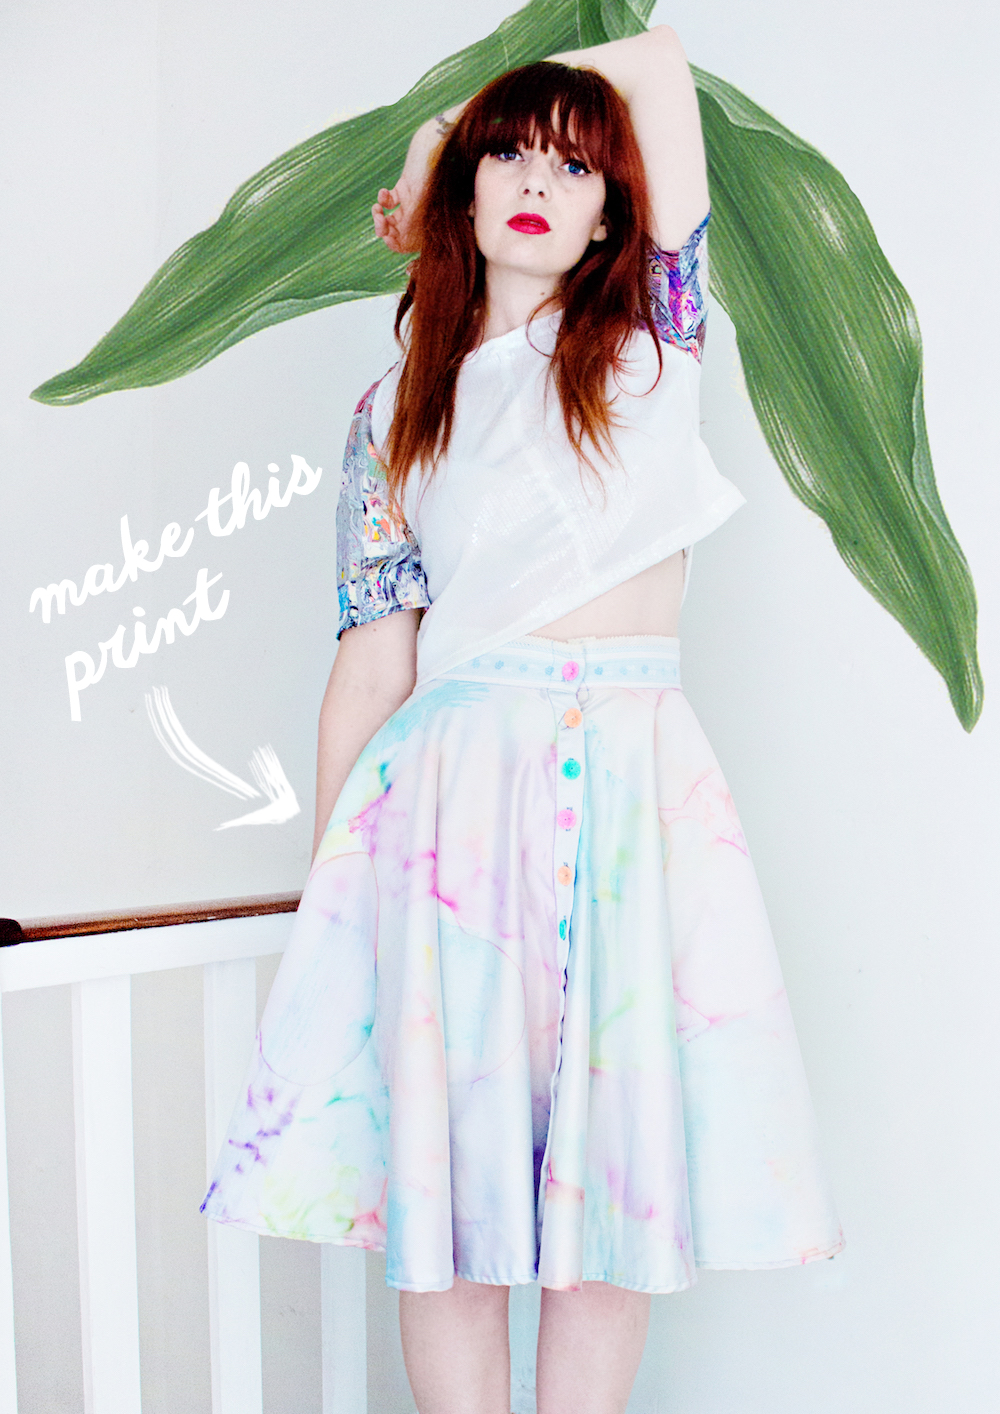
How about a fun summer inspired print tutorial! It’s easy, quick, affordable, fun and apparently very much in style.

You might recognise this skirt from my L1 Fashion Collection. This was my first ever fashion collection and all of the pieces are made from reused items like curtains. Including this skirt, which is believe it or not, actually made out of an old Ikea curtain.

One of the main reasons why I wanted to make this collection, was to show how fun and most of all easy it can be to create or upcycle your own clothes. There are really not many skills involved when you can find the right DIY. So after my Tassel Necklace DIY, it is time to share the secret technique behind this watercolour skirt!

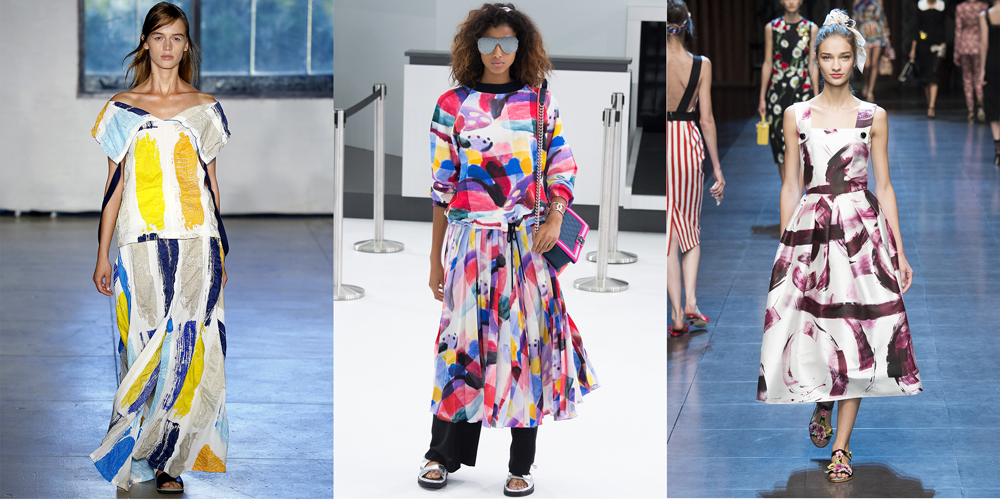
First I want to mention how perfect the timing for this piece is, I have been spotting all kinds of brushstroke, watercolour prints on the spring runways! see image below
So not only will you be wearing a custom made piece, but you will also wear it while being very trendy ;)

DIY | Sharpie & Alcohol Textile Print
Zero+Maria Cornejo – Chanel – Dolce & Gabbana

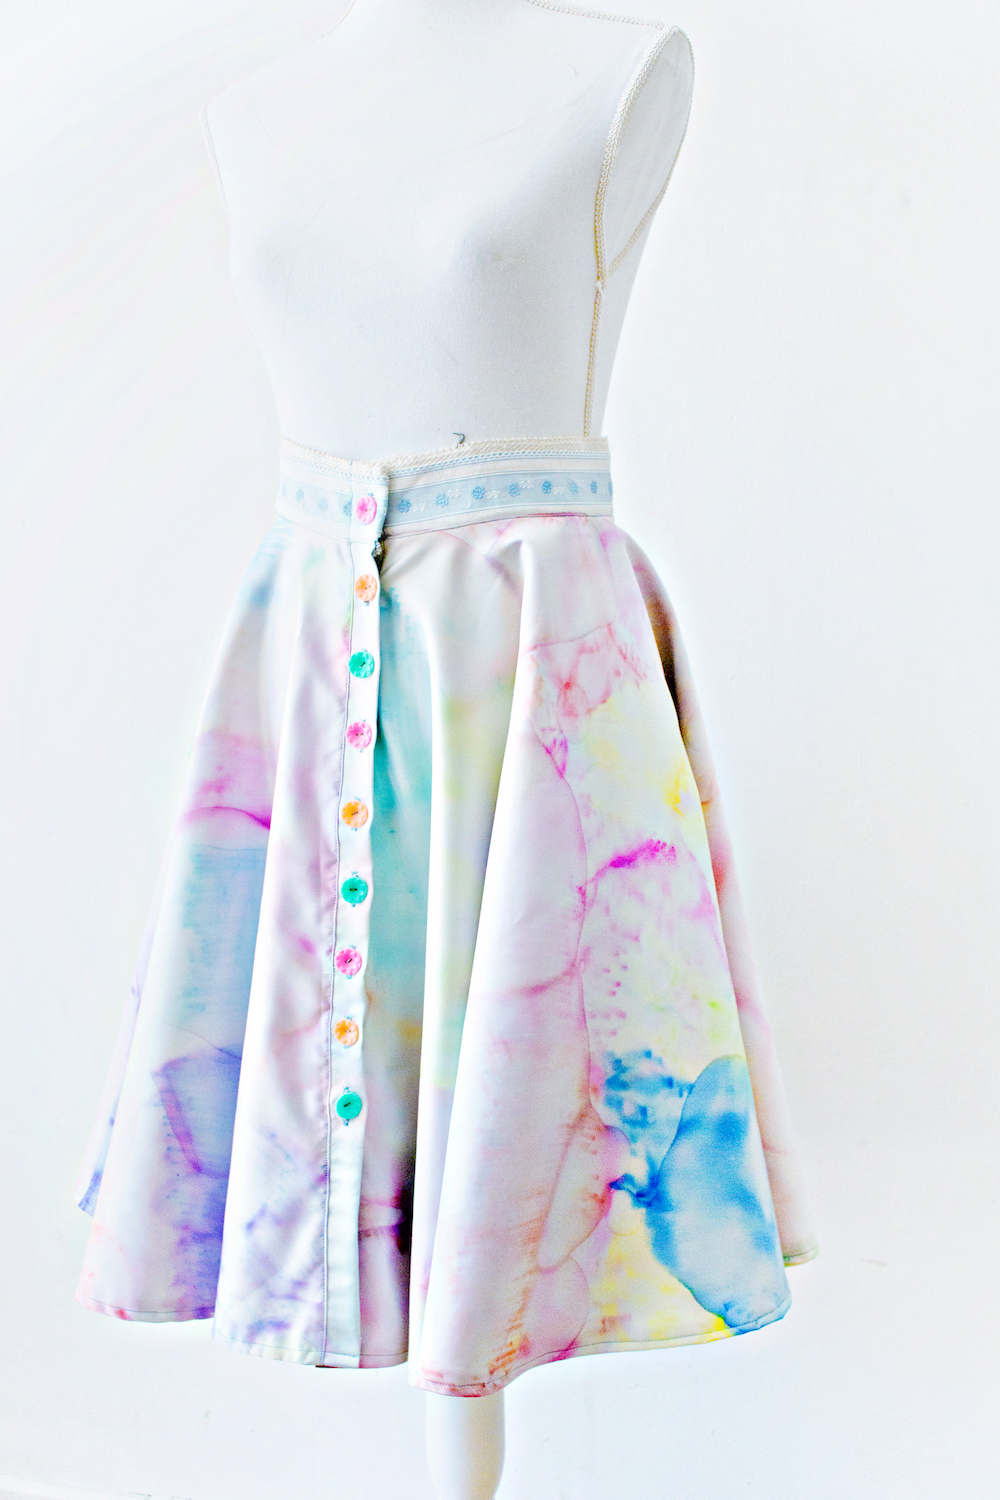
The process for this skirt is actually really easy, and it cost me only about 8 euros to make (sharpies are something that I will never run out of). I especially enjoyed this, because anyone can do this without ruining it! I mean really: you just cannot go wrong here.

Find your inner artist and doodle away with this super fun textile DIY

TUTORIAL:

DIY | Sharpie & Alcohol Textile Print

SUPPLIES

– Sharpies in as many colors as you like (neon, metallic, grey tones, the options are endless)
– Rubbing Alcohol
– Q-tips, or if you are covering a larger area: a spray bottle, or an eye-dropper
– Fabric. The fabric that I used (actually a curtain from Ikea) had a silky structure, which worked really well with this technique.
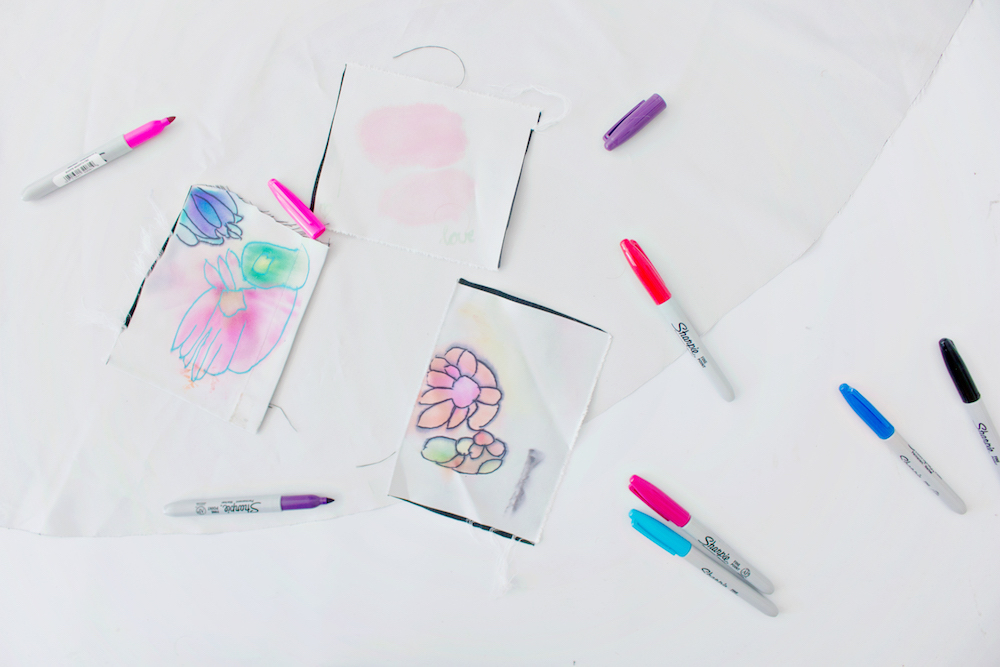
DIY | Sharpie & Alcohol Textile Print

STEP 1

– Before you start doodling all over your precious shirt/skirt/entire wardrobe, make sure to do some tests first.

– Take some sample pieces of the fabric or a similar fabric and doodle on it. Afterwards you add a small amount of the rubbing alcohol to see how much the colors will bleed. This way you can see how much alcohol you will need and what the effect is.
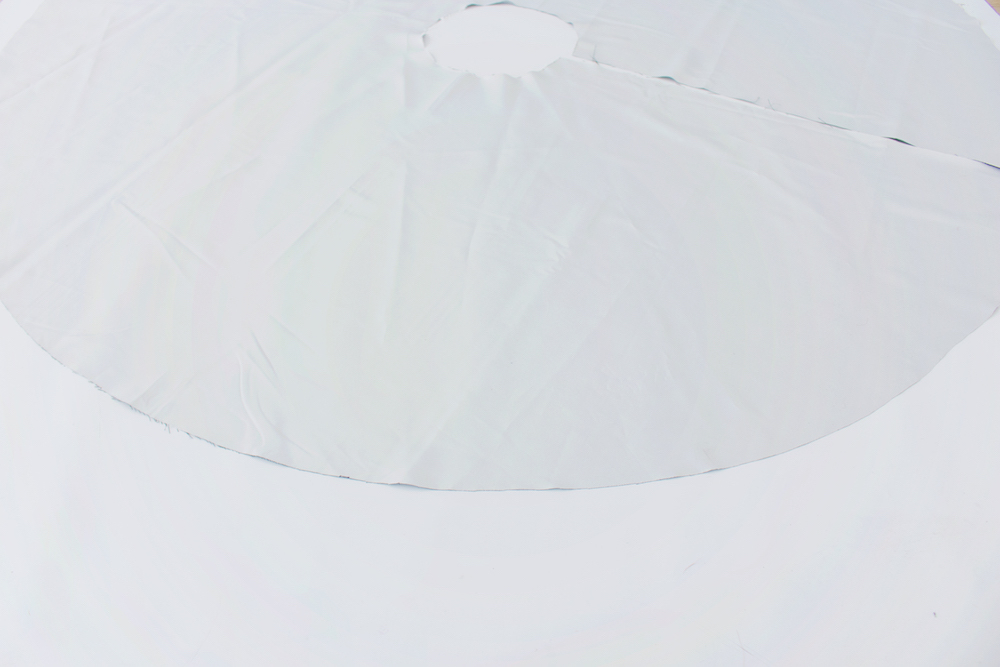
DIY | Sharpie & Alcohol Textile Print

STEP 2

– Prepare your fabric. Iron it, and place it on a flat surface that is aloud to get dirty.

– If you are making a piece of clothing or a pillow, etc. use this dye technique preferably before your sew it.
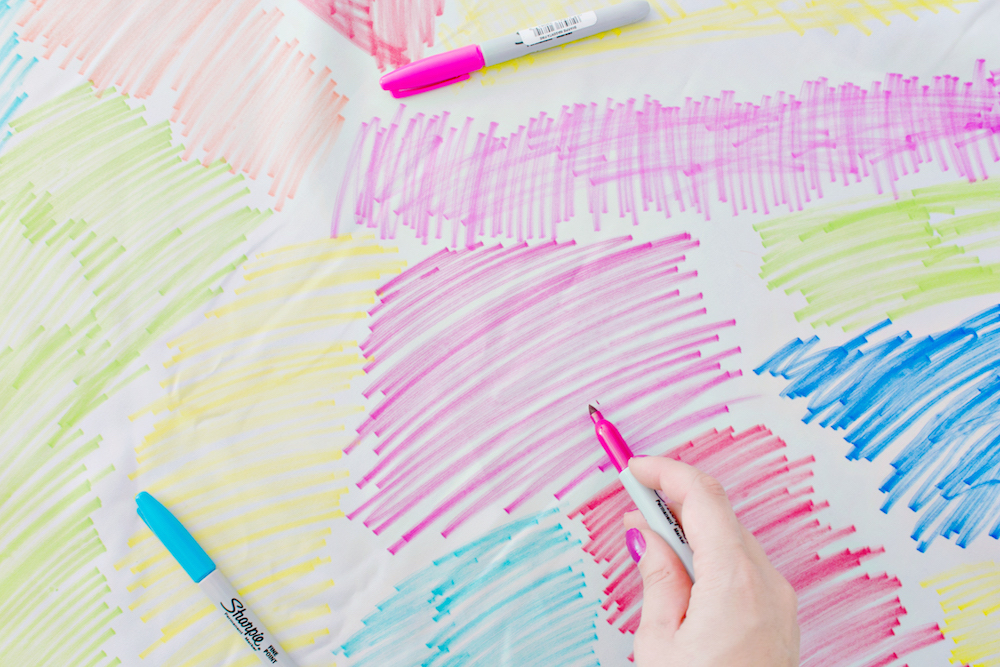
DIY | Sharpie & Alcohol Textile Print

STEP 3

– Start doodling! Mix and match with colors, cover larger and smaller areas with different colours. Go wild!
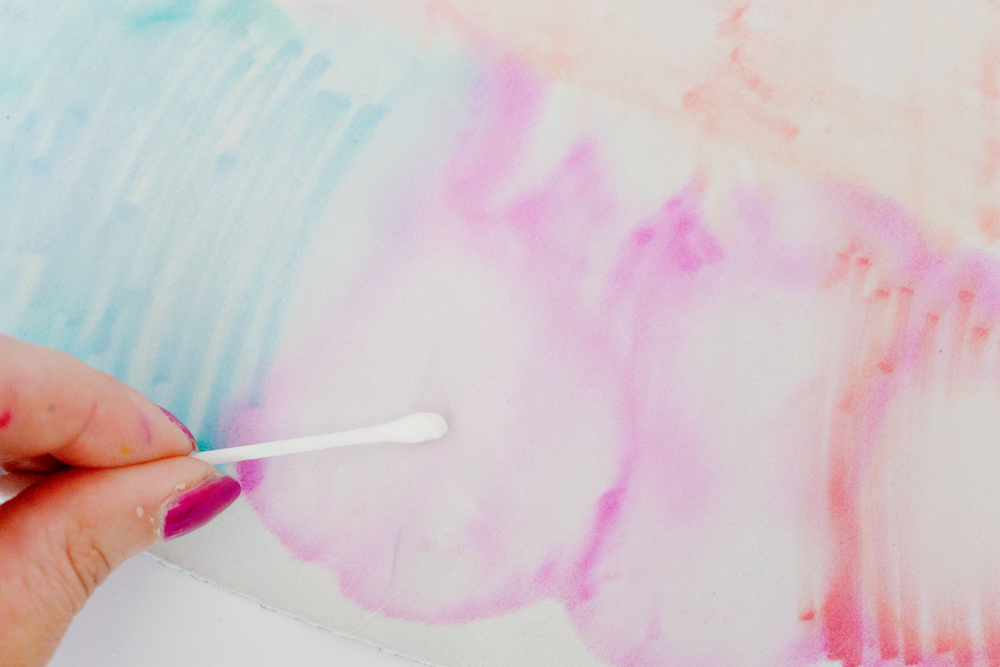
DIY | Sharpie & Alcohol Textile Print

STEP 4

– Here comes that magical part: adding the rubbing alcohol.*

– The amount of alcohol that you will need, depends on the desired look:

>Doodling still visible: a few drops** of alcohol every few centimeters will be enough.
>Tiny bit of doodling still visible, but also lots of colours bleeding across the fabric: Use a spray bottle or an eye-dropper, and don’t be scared to use a lot.
> Watercolor effect: Really soak the fabric in; no spray bottle necessary, just pour the alcohol over the fabric. (risky, because the fabric will decide how it’s gonna turn out, but also lots of fun!)

– Let the fabric dry.


Washing instructions:
Preferably no washing. If you still want to wash it, I suggest you wash your sample pieces in the washing machine on a gentle cycle and see how they turn out. Oh and wash separately ;)

*You might want to wear gloves for this part
**It is always possible to add another round of rubbing alcohol ones the old layer has dried. Do this until you get the desired affect.DIY | Sharpie & Alcohol Textile Print DIY | Sharpie & Alcohol Textile Print DIY | Sharpie & Alcohol Textile Print


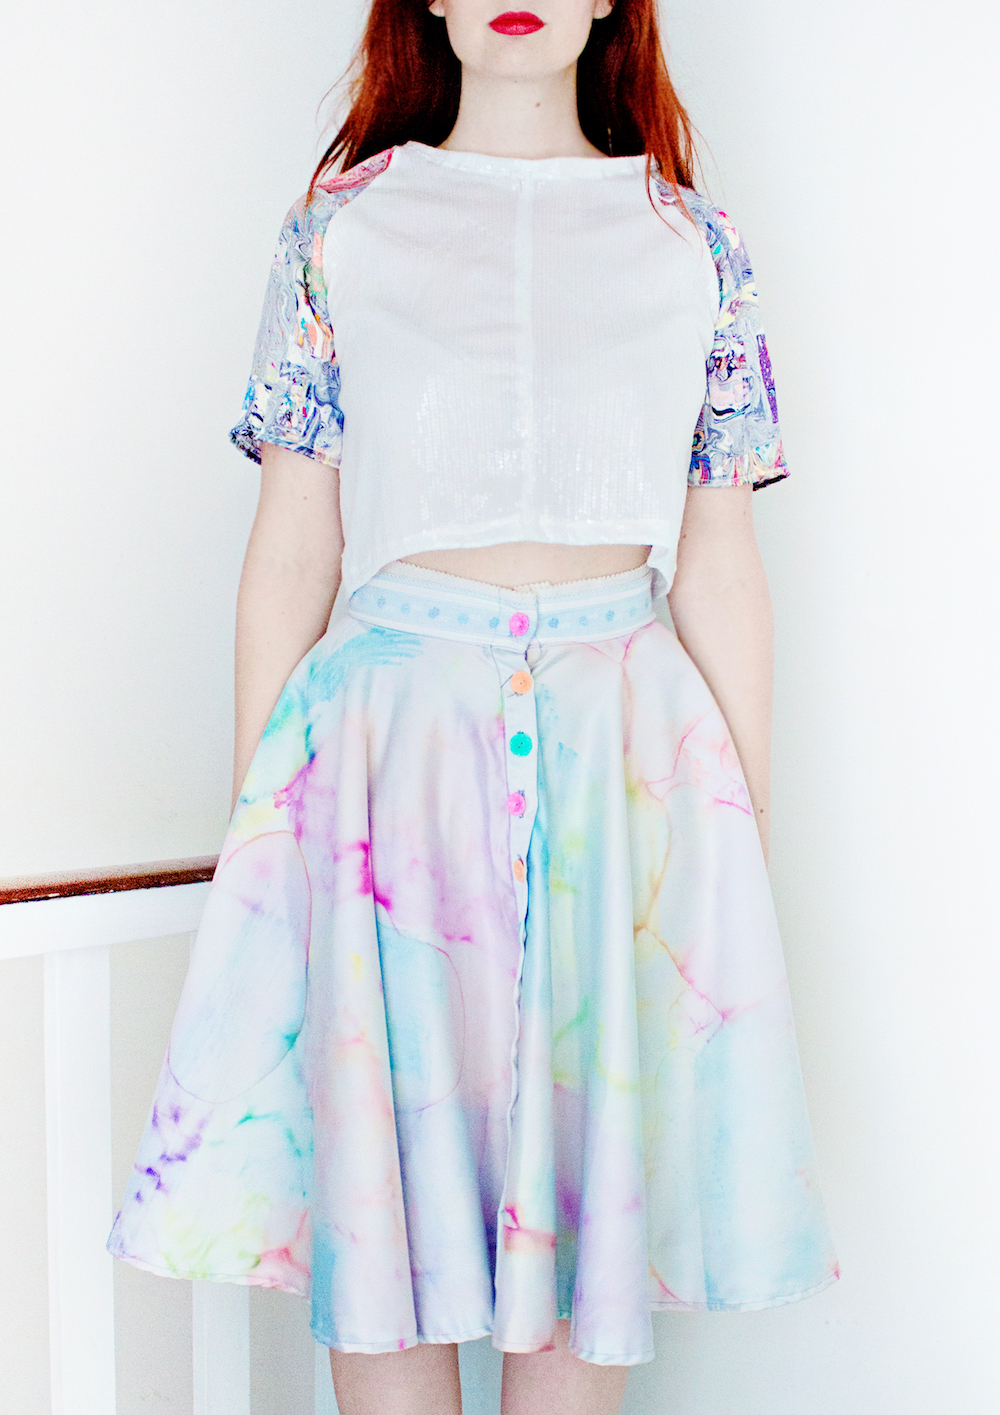
Which piece of clothing or fabric will you transform with this technique? Let me know in the comments section!!


Total
5
Shares
Share 0
Tweet 0
Pin it 5
Previous Article
  • Jewelry

ADVANCED DIY | Soldered Flower Necklace

View Post
Next Article
  • Featured

FEATURE | Lace Panel Sweatshirt

View Post

Sign Up for the LRS Newsletter

Be the first to receive lots of crafty news!

Get ready for more creative articles:
UPCYCLING DIY Old T-Shirt Hair Scrunchie
View Post
  • DIYit/BUYit
  • Sewing & Style
  • Upcycling

UPCYCLING DIY | Old T-Shirt Hair Scrunchie

DIY | Card Holder Phone Case
View Post
  • Sewing & Style
  • Tech DIY
  • Upcycling

DIY | Card Holder Phone Case

DIY | No-Sew Wire Headband
View Post
  • Sewing & Style
  • Video

DIY | No-Sew Wire Headband

DIY | Color Block Print Cushion Cover
View Post
  • DIYit/BUYit
  • Home Decor
  • Sewing & Style

DIY | Color Block Print Cushion Cover

SEWING DIY | Cut and Sew Wrap Dress
View Post
  • Rijksstudio
  • Sewing & Style
  • Sponsored

SEWING DIY | Cut and Sew Wrap Dress

DIY | (faux) Leather Jacket - 3D Embroidery
View Post
  • Sewing & Style
  • Sponsored
  • Upcycling

DIY | (faux) Leather Jacket – 3D Embroidery

SEWING DIY | Custom Fabric Frame Purse
View Post
  • Rijksstudio
  • Sewing & Style

SEWING DIY | Custom Fabric Frame Purse

SEWING DIY | Geometric Fabric Scrap Zipper Clutch
View Post
  • DIYit/BUYit
  • Rijksstudio
  • Sewing & Style

SEWING DIY | Geometric Fabric Scrap Zipper Clutch

2 comments
  1. Pingback: Gör det själv #20 - Anna María
  2. Pingback: 20 Creative Sharpie Ideas to Decorate Your Life - Yes Missy | A Lifestyle Blog

Leave a Reply Cancel reply

Your email address will not be published. Required fields are marked *

ABOUTLRS
THE LRS NEWSLETTER
  • But you don't look autistic at alll
    PERSONAL | Grief and other things
  • JEWELRY DIY | Gold Leaf Teardrop Earrings
    JEWELRY DIY | Gold Leaf Teardrop Earrings
  • UPCYCLING DIY Old T-Shirt Hair Scrunchie
    UPCYCLING DIY | Old T-Shirt Hair Scrunchie

Sign Up for the LRS Newsletter

Let's be friends!

  • Privacy Policy

Input your search keywords and press Enter.